


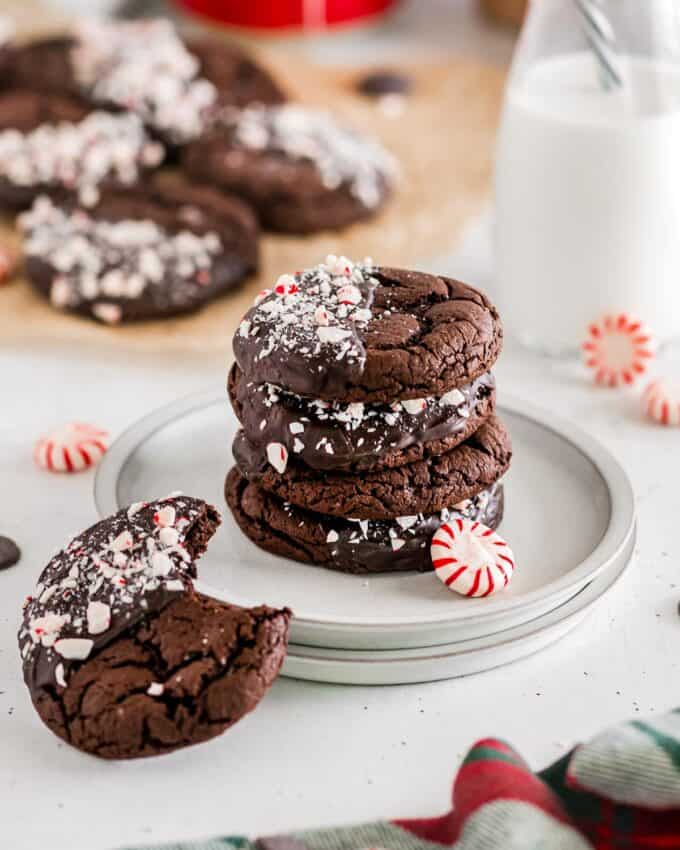
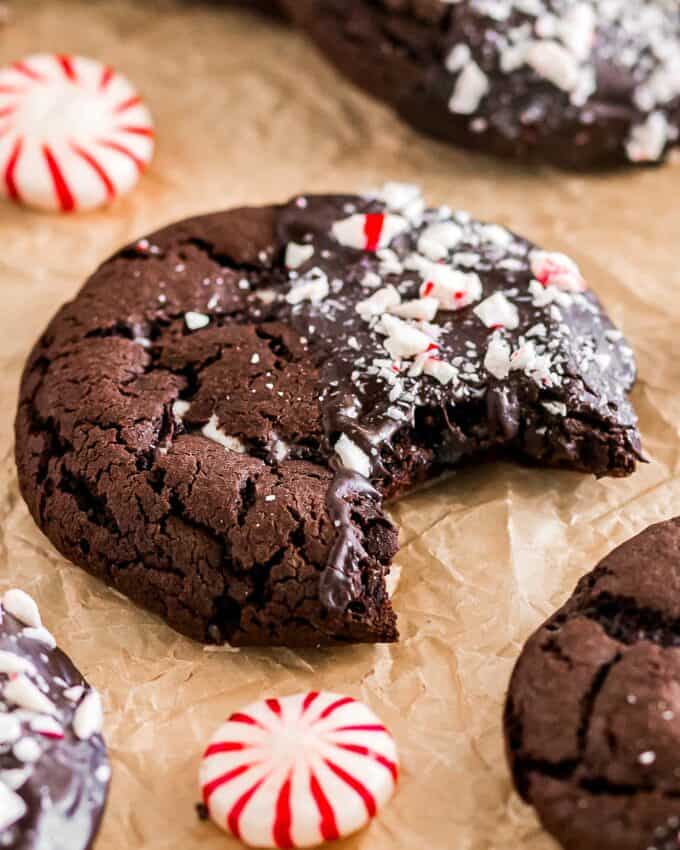
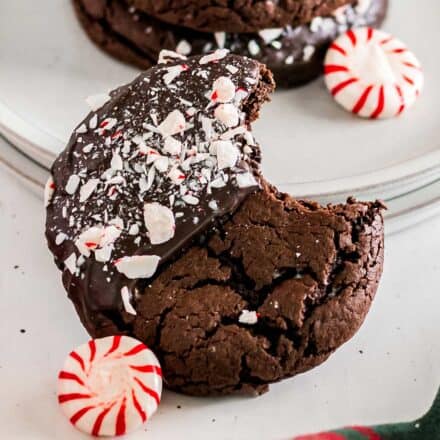
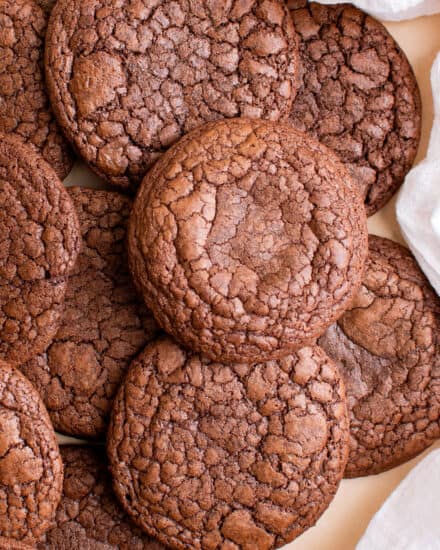
These chocolate peppermint cookies are made with cake mix, studded with crushed peppermint candies, then dipped in melted chocolate and more peppermint. Easy dessert recipes like this are perfect for your holiday gatherings/cookie exchanges, but could use a baking shortcut!
This is one of my Cookie recipes I know you’ll want to keep on hand!

For years I was skeptical of baking cookies from cake mix. I kept thinking they wouldn’t taste the same as cookies baked from scratch.
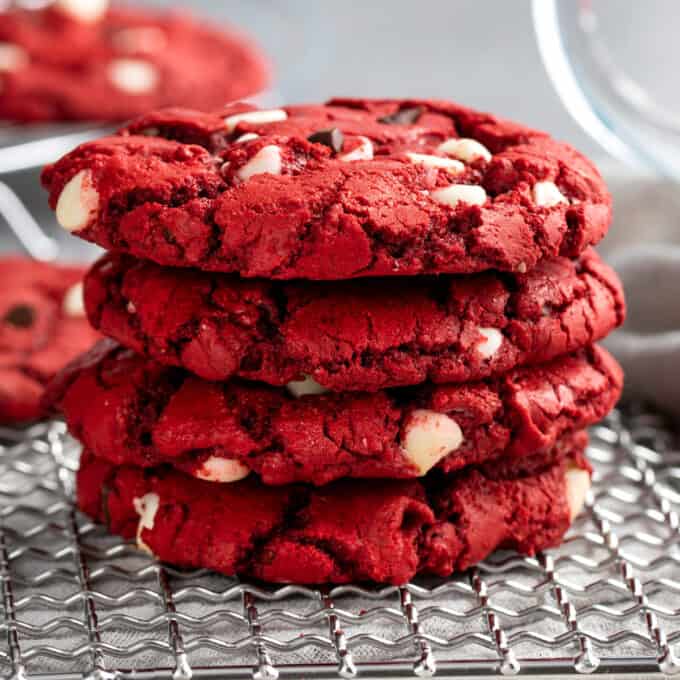
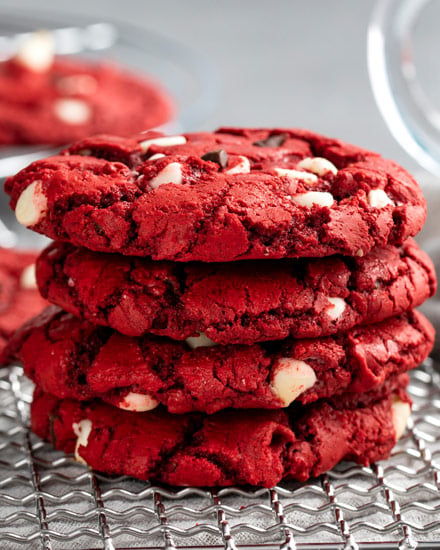
BUT, I finally tried it with these red velvet cookies… and was blown away. Y’all. These taste SO good! If I gave you one of these cookies, you’d never know they were made from a mix.
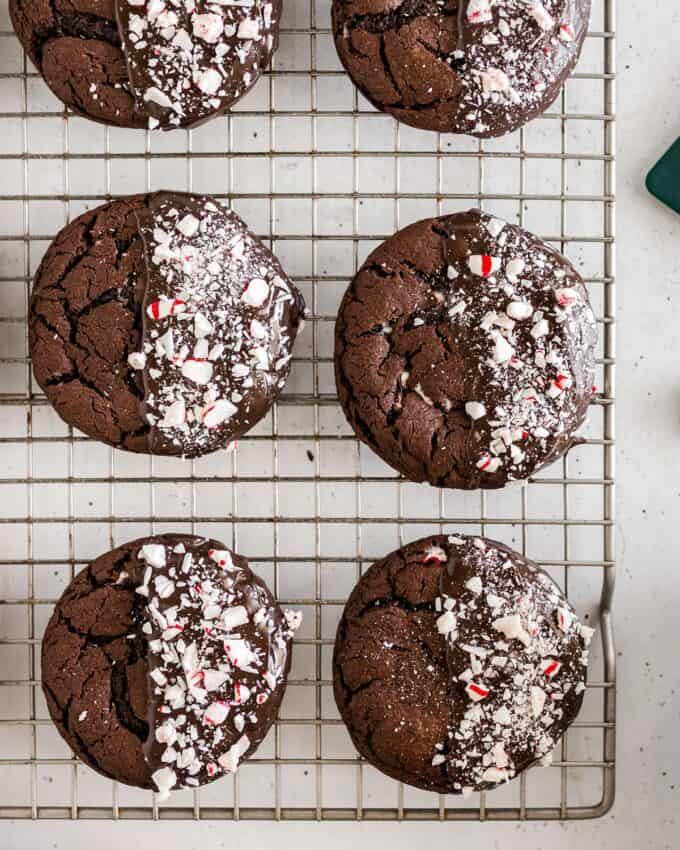
These cookies are so soft and chewy and full of sweet peppermint and rich chocolate flavor!
Baking cookies from scratch, while not hard to do, can be a bit time consuming. There are more ingredients to measure, and more often than not the dough needs to be chilled before baking.
But this recipe cuts a lot of those challenges out, and this dough needs no chilling!
Why you’ll love this recipe!
- Versatile – while I haven’t experimented with other types of cake mix, I think other varieties would work just as well.
- Easy – there are less ingredients to measure and no chilling.
- Festive – this time of year, holiday desserts reign supreme!
What do I need to make this recipe?
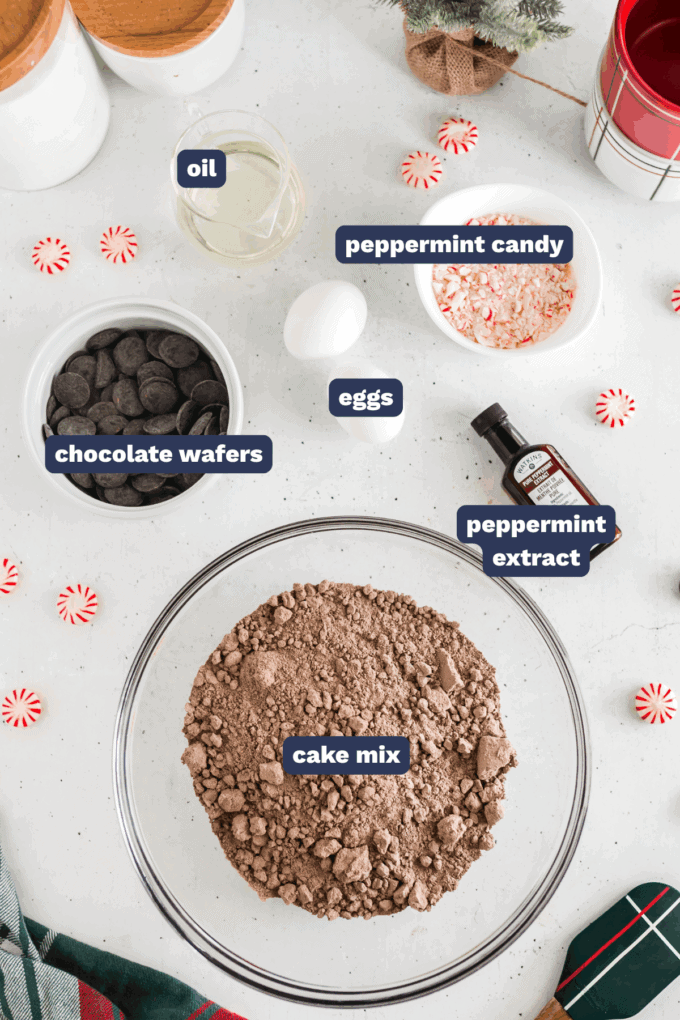
- Cake mix – you can use your favorite brand, you just want a box around 15.25 oz.
- Eggs – this recipe was tested and developed with large eggs.
- Vegetable oil – this is the oil that’s called for on the cake mix box.
- Peppermint extract – to amplify the peppermint flavor.
- Candy peppermints – you can use the pre-chopped ones, or crush them yourself.
- Chocolate wafers – I prefer to use Ghirardelli brand for this.
How to make chocolate peppermint cake mix cookies:
This is just an overview; the full ingredients and directions are in the recipe card toward the bottom of this post.
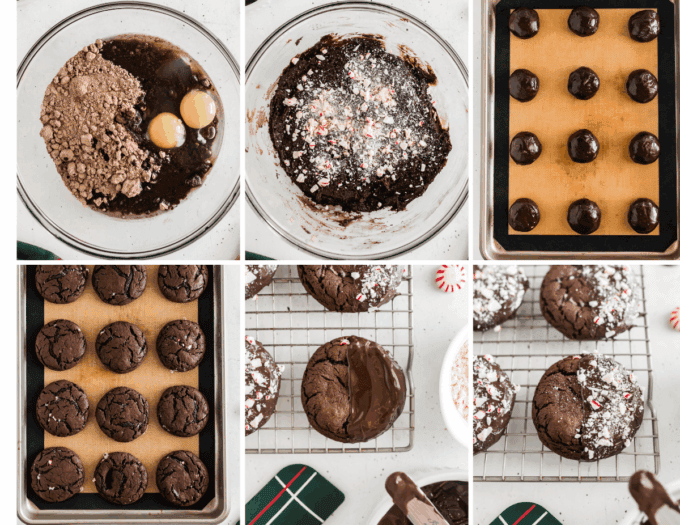
- Mix dough. No need for fancy tools here, just a bowl and a whisk is all you need.
- Stir in add-ins. Use a rubber spatula for this, so the cookies and peppermints don’t get stuck in the whisk.
- Scoop. Scoop the cookies about 2 inches apart, so the cookies can bake evenly.
- Bake. These cookies don’t take too long, about 9-10 minutes.
- Melt chocolate and spread. Once the chocolate is melted, you can either dip half into the chocolate, or spread it on with an offset spatula/butter knife.
- Add candy. While the chocolate is still wet, sprinkle with chopped peppermint candies.
Helpful Tip!
Using a cookie scoop is the best way to make uniform looking cookies. I like to use this scoop. If you don’t have one, just divide the dough evenly into 12 balls, rolling with your hands.
Variations of this recipe
- Oil – the oil adds needed moisture, and you want it to be a flavorless oil (like the vegetable oil mentioned). I haven’t tested using melted butter, but I think it would work well.
- Cake mix – I haven’t tested using other cake mix flavors, but I think several others would work well. Chocolate, vanilla, and Devil’s Food would be great alternatives.
- Other chocolate – for some extra flavor and a pretty presentation, try drizzling the cookies with melted white chocolate after adding the peppermint candies.
- Mints – if you prefer the flavor of Andes mints, you can swap them for the peppermint candies in this recipe.
- Melted chocolate – for even smoother melted chocolate, try adding a very small amount (start with 1/2 tsp) of vegetable or coconut oil to the wafers before melting.
FAQ’s
I haven’t tested using other cake mix flavors, but I think several others would work well. Vanilla, White, Red Velvet, and Devil’s Food would be great alternatives.
It’s not necessary, and I never chill the dough for this recipe. However, if you’d like to, you’re welcome to.
Making cookies ahead of time
These cookies are so easy, but you can even make them easier by mixing up the dough ahead of time and freezing it into individual balls.
That way when the baking mood strikes, all you have to do it pull out the pre-made dough and bake!
Bake as directed, adding an additional minute or two to the cook time.
Freezing
You can also freeze baked cookies for up to 3 months.
Storage
Leftover cookies should be kept in an airtight container at room temperature and consumed within 5 days.
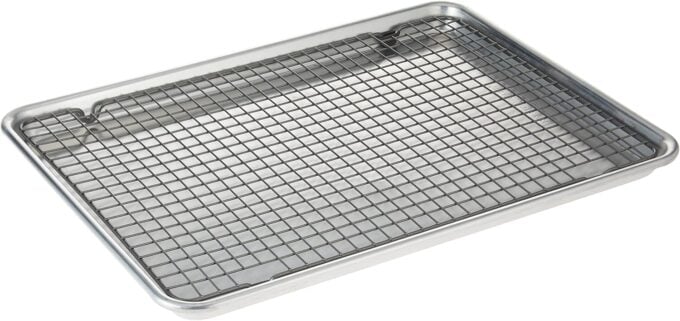
My Favorite Sheet Pan!
I’ve had multiple of these baking sheets for years and they hold up so well! Plus, as a bonus, this one includes an oven-safe cooling/baking rack.
Did you make this? Be sure to leave a review below and tag me @the_chunky_chef on Facebook and Instagram!
Ingredients
- 15.25 oz box of chocolate cake mix
- 2 large eggs
- 1/3 cup vegetable oil
- 1 tsp peppermint extract
- 1/2 cup crushed peppermint candies divided in half (so you have 2 quarter cups)
- 6 oz chocolate melting wafers I use Ghirardelli brand
Instructions
Prep
- Preheat oven to 350°F. Line a baking sheet with parchment paper and set aside.
Mix dough
- In a large mixing bowl, combine 15.25 oz box of chocolate cake mix, 2 large eggs, 1/3 cup vegetable oil, and 1 tsp peppermint extract, using a whisk.
- Use a rubber spatula to stir in half of the 1/2 cup crushed peppermint candies (so 1/4 cup).
Bake
- Lightly spray a cookie scoop with cooking spray (this helps the dough release from the scoop). Scoop batter onto prepared baking sheets, about 2 inches apart.
- ** If you don't have a cookie scoop, you can just divide the dough into 12 evenly sized pieces and roll into balls.
- Bake 10 minutes. The edges should be set and the center will be soft.
Cool
- Remove cookies to a cooling rack to cool completely.
Finish
- Melt the 6 oz chocolate melting wafers in whichever method you prefer (see chef tips below for tips).
- Use an offset spatula or butter knife to spread the melted chocolate over half of a cookie, then sprinkle with the remaining 1/4 cup crushed peppermint candies.
- Repeat with remaining cookies. Alternately, you can dip the cookies into the chocolate if you don't mind it being a bit thicker.
Want to save this recipe for later? Click the heart in the bottom right corner to save to your own recipe box!
Chef Tips
- This recipe makes 12 cookies, which you’re free to divide into as many servings as you’d like.
- This recipe was tested using Betty Crocker Super Moist (not the Delights version that has pudding in it), and Duncan Hines cake mixes.
Tips for Melting Chocolate:
Melting chocolate seems super easy, but sometimes it goes awry and we don’t understand what happened. Here are my top tips for getting perfectly melted chocolate, every time!- Use a double-boiler. A double boiler is an actual type of pot, but most people don’t have one on hand, so I make my own makeshift one. It’s easy, I promise! Add a bit of water to a sauce pan and place a heat-resistant bowl on top (I use a glass bowl) so it just rests on the sides of the pan, but doesn’t touch the water. Heat the water on LOW heat and add chocolate to the bowl on top. Stir often and you’ll see the chocolate start to melt. Keep stirring, and once you see tiny lumps of chocolate remaining, remove the bowl from the top of the pan. Stir, and the residual heat will melt those last little lumps and you’ll have perfectly melted chocolate.
- Don’t cook on full power. If you don’t want to use the double-boiler, you can use the microwave! Set your microwave to half power (or medium). This lessens the chance of the chocolate heating too quickly and “seizing”.
- Heat slowly. Melt the chocolate in 20-30 second intervals for the first minute, then in 15 second intervals after that, stirring after each cooking interval. It takes longer, but trust me, it’s worth it.
- Add a bit of oil. One of my favorite tricks is to add a little bit (depending on the amount of chocolate, use about 1-2 tsp or so) of vegetable or coconut oil to the chocolate before melting. I don’t think I’ve ever had seized or scorched chocolate when following the above tips and this one!
Nutrition Disclaimer
The Chunky Chef is not a dietician or nutritionist, and any nutritional information shared is an estimate. If calorie count and other nutritional values are important to you, we recommend running the ingredients through whichever online nutritional calculator you prefer. Calories can vary quite a bit depending on which brands were used.

Stephanie says
These cookies tasted really great! I will say, the dough was extremely gummy so it made it tough to actually mix the dough with the mixer. I would add either another 1/4 cup of oil to the dough or maybe another egg to get rid of the gumminess. But the cookies tasted great and I plan to make again!