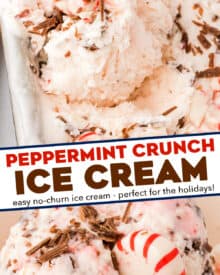

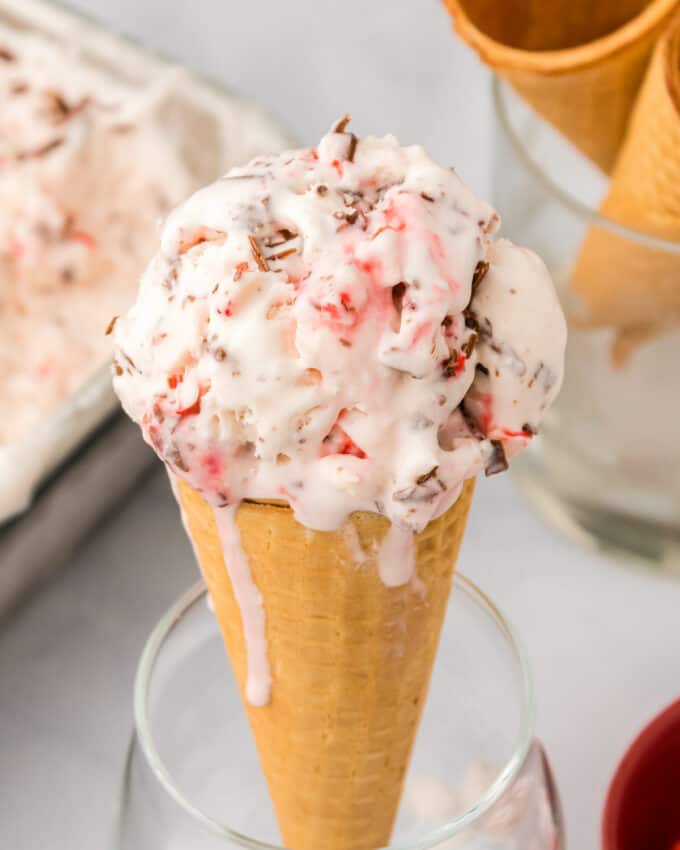
Creamy peppermint infused ice cream is packed with rich shaved chocolate and crunchy bits of peppermint candies. This frozen dessert is so simple to make, and very easy to customize! Plus, no ice cream maker is required!
This is one of my Frozen Dessert recipes I know you’ll want to keep on hand!

For some folks, ice cream is a summer treat, and only enjoyed in the summer. But not for me!
I’m that person that will happily enjoy a big bowl of frosty ice cream in the middle of a January snowstorm, all while bundled up in a thick hoodie and wrapped in a blanket.
Peppermint ice cream was a huge favorite of my beloved and since departed Grandma, and every time I have some, it reminds me of her.
Making homemade ice cream is deceptively simple, and most of the time is spent just waiting for it to freeze.
Plus, this recipe doesn’t use an ice cream maker – so you can absolutely make this, with no fancy tools required!
And as a bonus, there aren’t any added preservatives and you can add ANY flavor you want, with as many mix-ins as you want!
How to make peppermint ice cream?
This is just an overview; the full ingredients and directions are in the recipe card toward the bottom of this post.
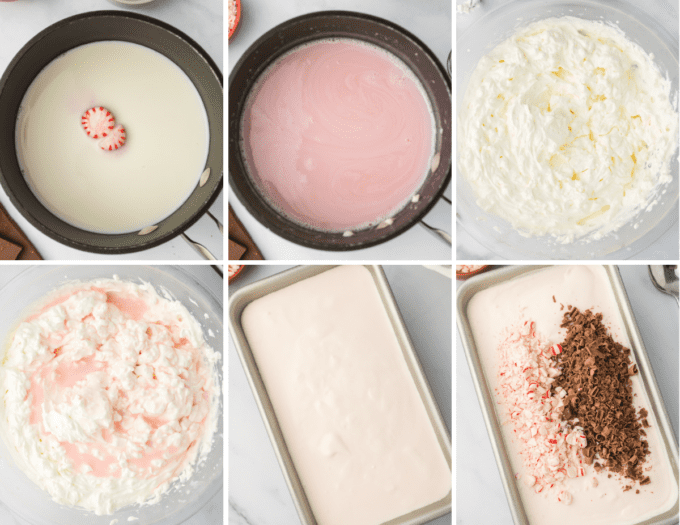
- Dissolve peppermints in milk. This can be done with whole peppermints or crushed, but after testing, I found it was easier with crushed candy (obviously after these photos were taken).
- Cool. The milk mixture needs to be room temperature, or chilled.
- Beat heavy cream. This is most easily done with a hand mixer, and the heavy cream needs to be very cold.
- Fold. Fold the peppermint milk mixture and the whipped cream.
- Add to loaf pan and freeze. At first, you’ll be freezing just the base, with no toppings.
- Add stir ins and toppings. Doing this part of the way during the freezing time helps keep the peppermint and chocolate from sinking to the bottom of the pan.
- Re-freeze. Freeze again until solid.
Helpful Tip!
This recipe is great to make around the holidays, when there are plenty of peppermint candies readily available. Leftover candy canes are a great option, and if your household is anything like mine, you’ll have plenty of those!

Variations of this recipe
- Larger batch – if you’d like more than the 1.5-2 quarts of ice cream this recipe makes, feel free to double the recipe (just make sure to double all of the ingredients), and use a 9×13″ pan instead of a loaf pan.
- Chocolate – feel free to use either milk or dark chocolate for this ice cream. Either one works great, it just depends how much sweetness you want.
- Peppermint – as written, this recipe uses round peppermint candies (such as the Starlight/Star Bright candies), but you can use candy canes, other peppermint candies, peppermint sticks, or pre-crushed peppermint pieces.
- Milk – I highly recommend whole milk for this recipe, but if you need to substitute, you can use 2%.
- Sweetened condensed milk – most no-churn ice cream recipes are made using a different method, involving a can of sweetened condensed milk. If you’d like to make this recipe using that method, I’ve included those instructions down in the “chef tips” section below the full written recipe.
FAQ’s
All it means is that no ice cream maker is needed. With traditional ice cream, you need to make an egg custard and add the mixture to an ice cream maker where it’s mechanically churned for a length of time. This recipe eliminates all of that.
Unfortunately no, not with the same creamy results. Milk or half and half just don’t have enough fat content to whip into stiff peaks. Regular whipping cream will technically work, but it won’t be as creamy.
Making peppermint ice cream ahead of time
No churn ice cream is perfect for making ahead, since it has to freeze for at least 4-6 hours after the toppings have been added.
Although, I recommend letting it freeze overnight just to be sure it’s fully frozen.
However, with this recipe, you can also make the peppermint milk mixture ahead of time, and keep it chilled (and covered) in the refrigerator for a day or so until you’re ready to make the ice cream.
Storage
Ice cream needs to be frozen in an airtight container, and will last for 2-3 months.
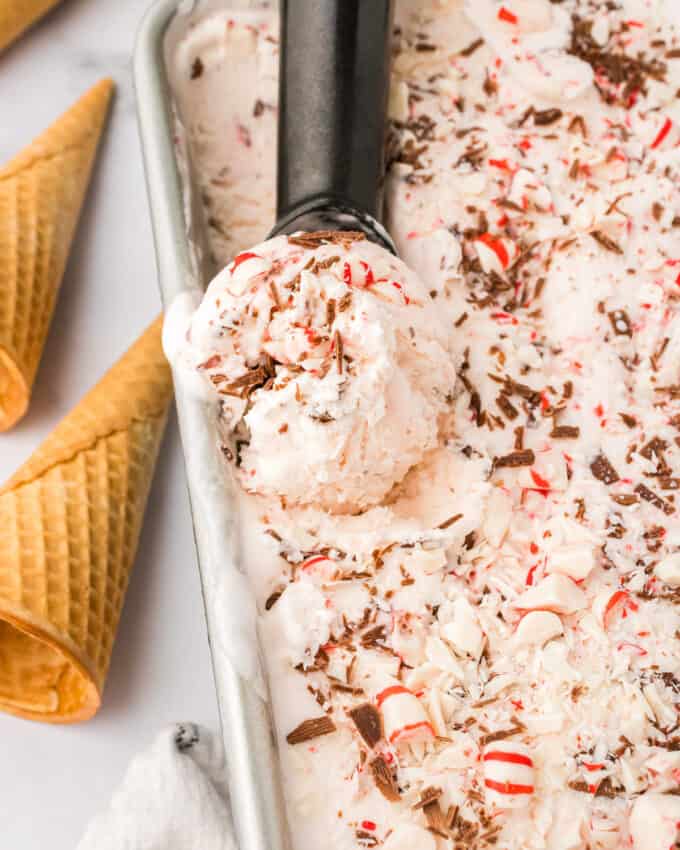
If you use a 9×5″ loaf pan (as depicted in these photos), cover it tightly with 2 layers of foil, or a lid (if it came with one).
More Ice Cream Recipes:

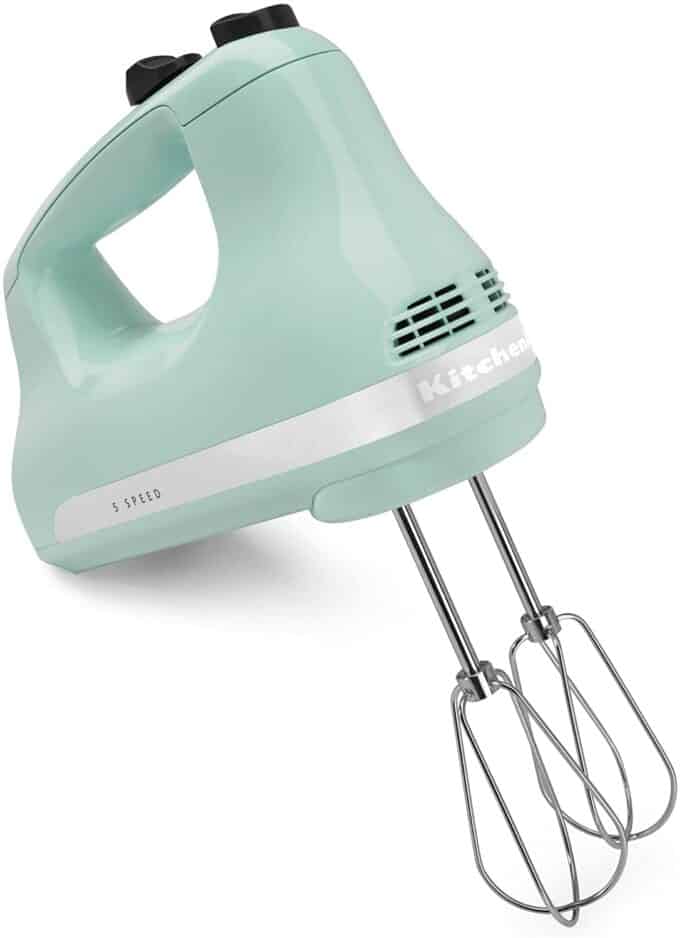
My Favorite Hand Mixer!
I’ve had this mixer for years, and it still works just as well as it did the day I got it. It’s perfect for making homemade no churn ice cream!
Did you make this? Be sure to leave a review below and tag me @the_chunky_chef on Facebook and Instagram!

Ingredients
- 1 cup whole milk 2% can be used instead, but whole milk will taste creamier
- 30 peppermint candies crushed, and divided
- 3/4 cup granulated sugar
- 2 cups heavy whipping cream
- 1/2 cup finely chopped milk chocolate dark chocolate can be used instead
Instructions
Prepare
- Add a 9×5” loaf pan to the freezer to chill. If your freezer is large enough, you can also add a large mixing bowl (for when you whip the cream). If not, just make sure it's not warm or hot.
Dissolve peppermints
- In a small saucepan, add milk, granulated sugar, and about 1/4 cup of the crushed peppermint candies. Heat over LOW or MED LOW until sugar has dissolved and the mints have dissolved and turned the milk mixture a pink shade.
Cool mixture
- The milk mixture needs to chill, and you don't want to place a hot pan in the refrigerator. So here's what I like to do:
- Fill a rimmed baking sheet or a baking dish most of the way up with ice cubes. Place the saucepan with the peppermint milk mixture on top of the ice cubes and leave it there to cool. Stir it occasionally as it cools.
- Mixture needs to be room temperature, or cold. So feel free to use it once it's room temp, or add it the refrigerator to further chill it.
Whip the cream
- Add the cold heavy whipping cream to the cold large mixing bowl and beat with an electric hand mixer on MED-HIGH speed until stiff peaks form. **see Chef Tips note #3 for more information on stiff peaks**
Fold together
- Add the peppermint milk mixture, then gently fold together. This is most easily done with a rubber spatula and stirred gently in an over-under circular motion.
Add to pan and freeze
- Pour mixture into the prepared loaf pan. Cover tightly, and freeze for about 2-3 hours.
Add stir-ins and toppings
- Remove loaf pan from the freezer and stir in most of the remaining crushed peppermints, and most of the finely chopped chocolate.
- The toppings are added during this step to help keep them from sinking to the bottom of the pan.
- Sprinkle remaining peppermint and chocolate over the top, then cover tightly again, and freeze for another 4-6 hours, or overnight.
Want to save this recipe for later? Click the heart in the bottom right corner to save to your own recipe box!
Chef Tips
- I use the Star Bright variety from Brach’s.
- Recipe makes approximately 1.5 – 2 quarts, which I’ve estimated is 12 servings (1/2 cup per serving). Of course, feel free to break this up into as many (or as little) servings as you’d like.
- Stiff Peaks – When you turn the mixer upside down (with it OFF), so the beaters are facing up, the cream will stand up in a peak (like a little mountain), and not fold over onto itself. This is a great visual guide from Taste of Home.
- For the best storage, I recommend a container like this one (amazon link).
- Exact time needed for freezing will depend on how cold your freezer is.
Sweetened Condensed Milk Version:
- 16 oz heavy whipping cream, cold
- 14 oz can sweetened condensed milk
- 5-6 drops of red food coloring
- 1/2 – 3/4 tsp peppermint extract
- 2/3 cup crushed peppermint candies
- 1/2 cup finely chopped or shaved milk chocolate
-
Add a 9×5” loaf pan to the freezer to chill.
- Add the cold heavy whipping cream to a large mixing bowl and beat with an electric hand mixer on MED-HIGH speed until stiff peaks form.
-
Add the sweetened condensed milk and vanilla, then gently fold together. This is most easily done with a rubber spatula and stirred gently in an over-under circular motion.
- Stir in the food coloring and peppermint extract.
- Add to prepared loaf pan and freeze for about an hour or so.
- Remove from the freeze and stir in most of the peppermint pieces and chocolate.
- Sprinkle with top with remaining peppermints and chocolate, then cover tightly and freeze for 4-6 hours, or overnight.
Nutrition Disclaimer
The Chunky Chef is not a dietician or nutritionist, and any nutritional information shared is an estimate. If calorie count and other nutritional values are important to you, we recommend running the ingredients through whichever online nutritional calculator you prefer. Calories can vary quite a bit depending on which brands were used.
Sandra McCollum says
My kids will go crazy with this!
Juliane says
I’m totally in love with this!! SO good!
Erik says
So good! Love the minty flavor, and the creamy crunchy combo.
Beti says
Oh boy!! This sounds incredibly delicious!! A must make!!
katerina says
Oh my, this sounds amaaazing!! I am so excited to try it!! YUM!
Erin says
Looks absolutely fantastic! I’d love to make this!
Beth says
Ah-mazing! I love peppermint ice cream. I’ve even been known to have a candy cane with a glass of milk. I can’t wait to make this!