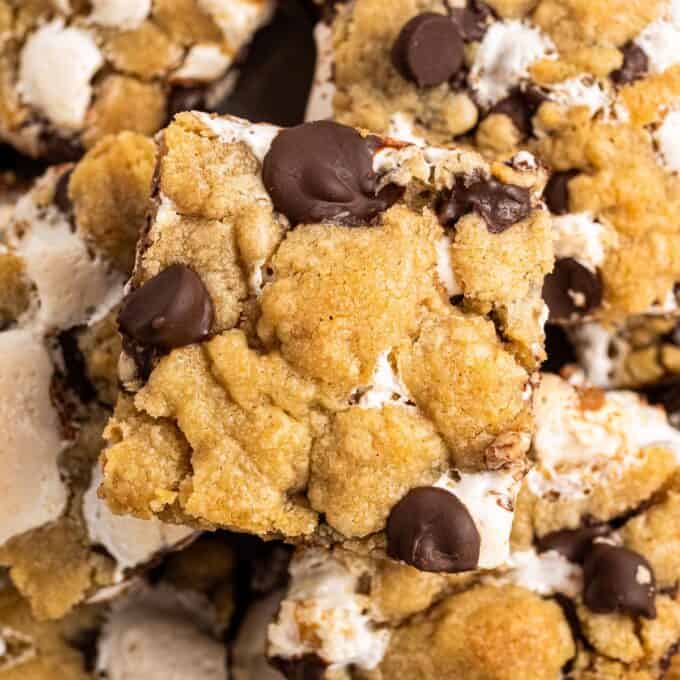
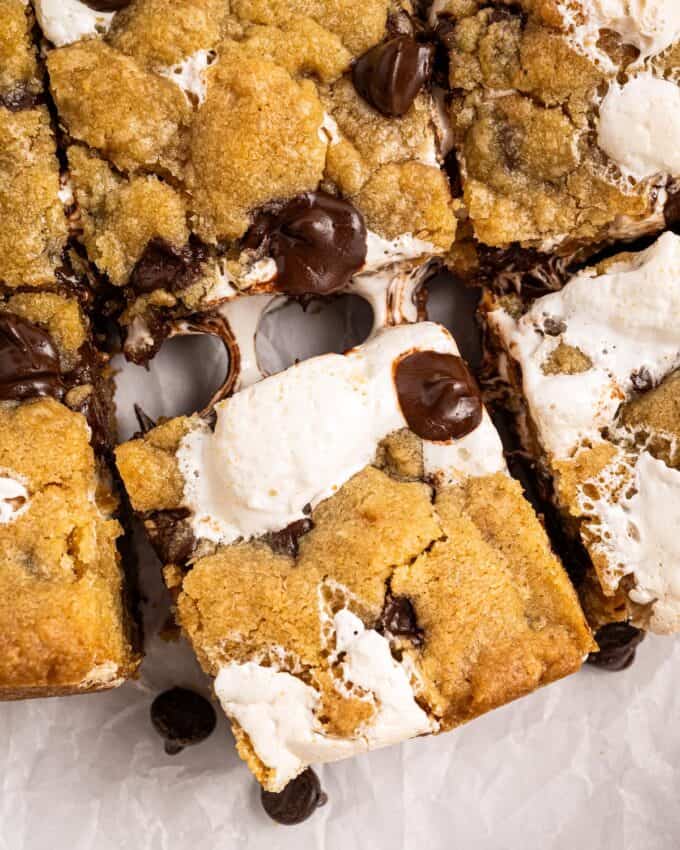
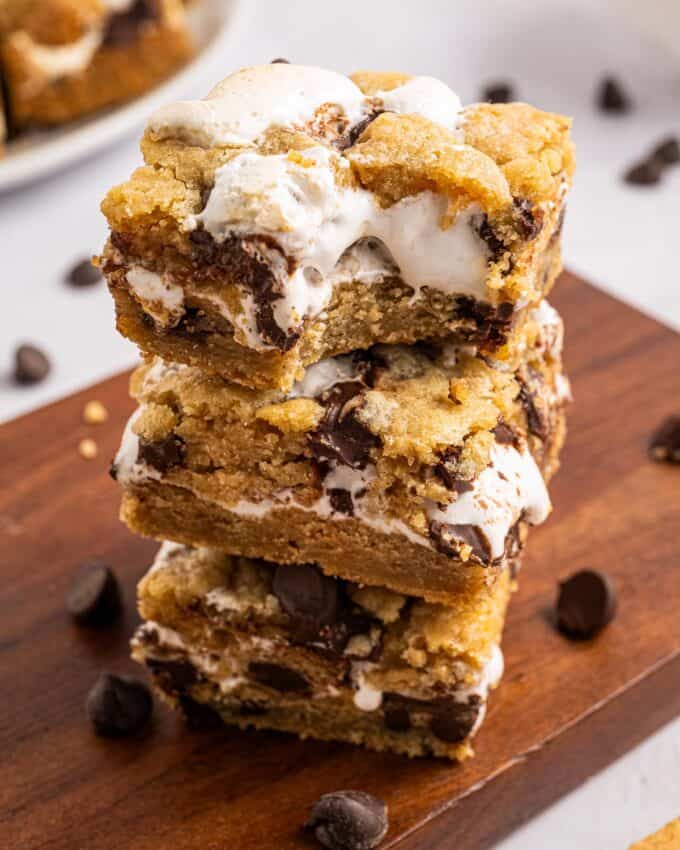
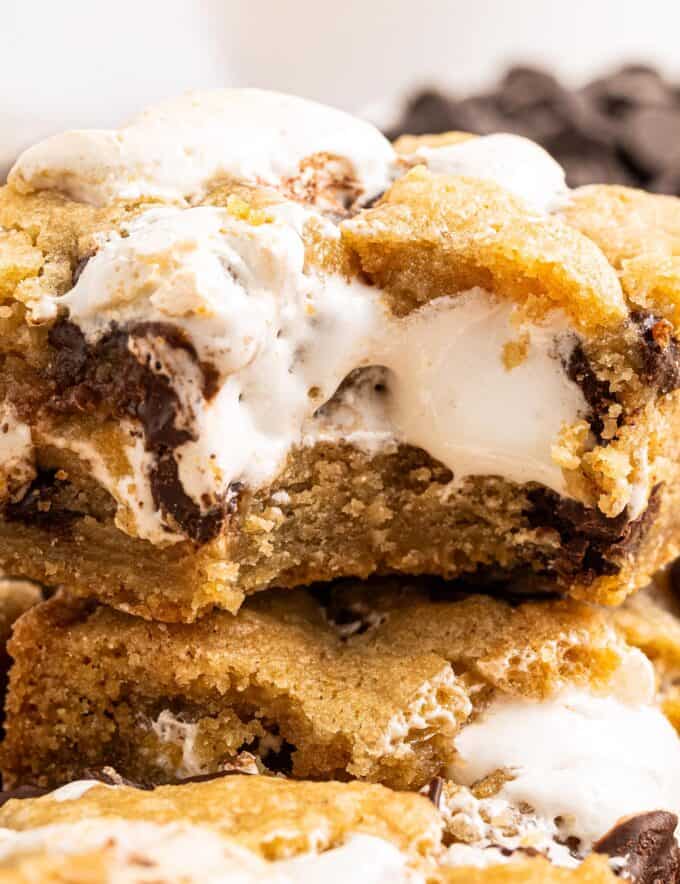
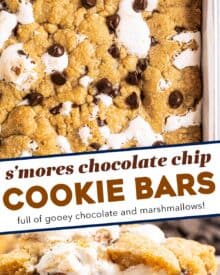
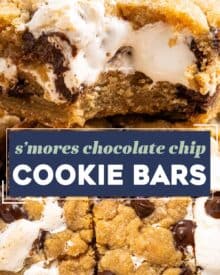
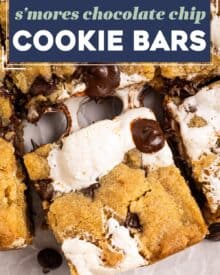
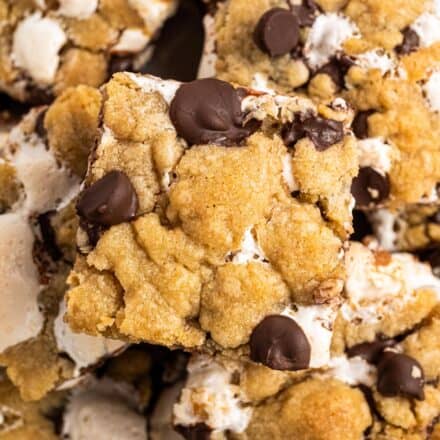
These s’mores chocolate chip cookie bars are chewy and soft, with a wonderfully ooey and gooey marshmallow layer in the middle, and crushed graham cracker crumbs in the cookie dough!
This is one of my Dessert recipes I know you’ll want to keep on hand!
Now that school is back in session here in the Midwest, I’ve set my sights on Fall. The crisp and slightly chilly air, the leaves that are starting to change, and a crackling fire.
And what goes with a fire? S’mores!
These chocolate chip cookie bars are loaded with s’mores flavor, from the graham cracker crumbs, to the melty chocolate and gooey marshmallow layer.
Plus, they’re easy to make, and sure to be a hit with your family and friends!
Why you’ll love this recipe!
- Easy – even though these bars are made from scratch, they’re still pretty simple and straightforward to make.
- Gooey – the layer of marshmallow creme adds a gloriously ooey gooey component to a simple cookie bar.
What do I need to make this recipe?
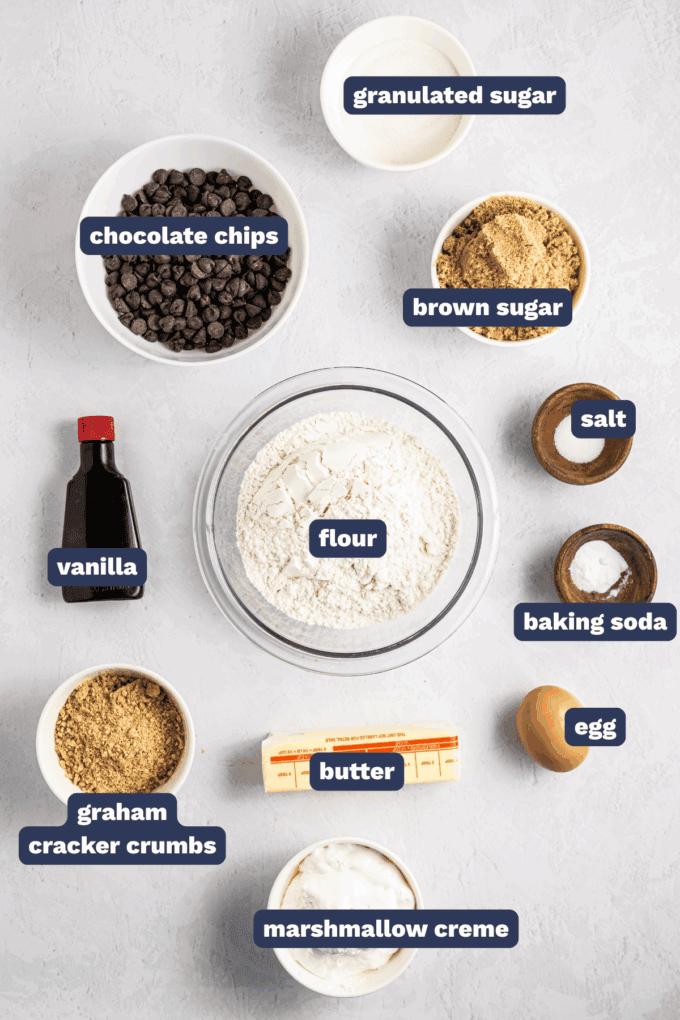
- Flour – nothing fancy here, just all-purpose flour.
- Baking soda – baking soda helps the cookie bars rise and spread a bit.
- Salt – I prefer to use kosher salt.
- Butter – I use unsalted, but if you want to use salted, just cut the salt amount in half.
- Brown sugar – I prefer to use light brown sugar, rather than dark, as it has a stronger, more molasses-y flavor.
- Granulated sugar – just for more sweetness.
- Egg – this recipe was tested with a large egg.
- Vanilla – I prefer to use real vanilla extract, not the clear imitation variety.
- Graham cracker crumbs – I usually use the store-bought crumbs, but you can make your own from graham crackers if you’d like.
- Chocolate chips – for a classic flavor, I like to use semi-sweet chips.
- Marshmallow creme – I like to use Jet-Puffed brand.
How to make s’mores chocolate chip cookie bars:
This is just an overview; the full ingredients and directions are in the recipe card toward the bottom of this post.
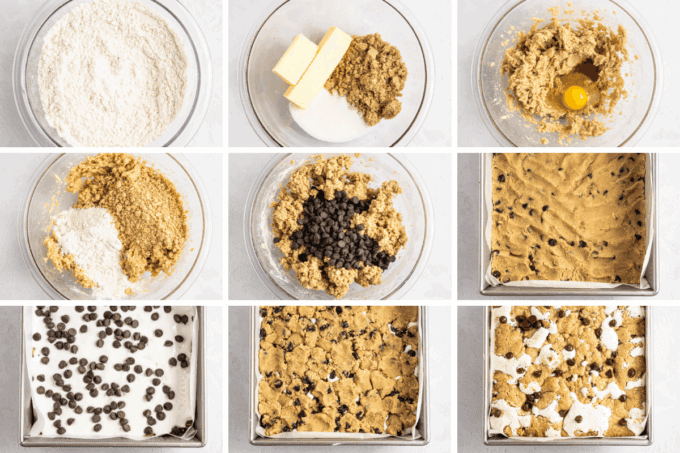
- Combine dry ingredients. This just helps them incorporate more smoothly.
- Cream butter and sugars. I find using a mixer makes this much easier.
- Beat in egg and vanilla. Just until the egg is incorporated.
- Add dry ingredients and graham crackers. I like to do this half at a time to make it easier to combine.
- Stir in chocolate chips. For this I like to use a wooden spoon or rubber spatula.
- Add layer of cookie dough. Press it into the bottom of a parchment-lined baking pan.
- Add marshmallow creme. Then top that with a little more of the chocolate chips.
- Add top layer of cookie dough. This is easiest when you use a small cookie scoop or spoon to drop little pieces over the top of the marshmallow layer, then gently press them together a bit.
- Bake. Beware, your kitchen will smell amazing!
Helpful Tip!
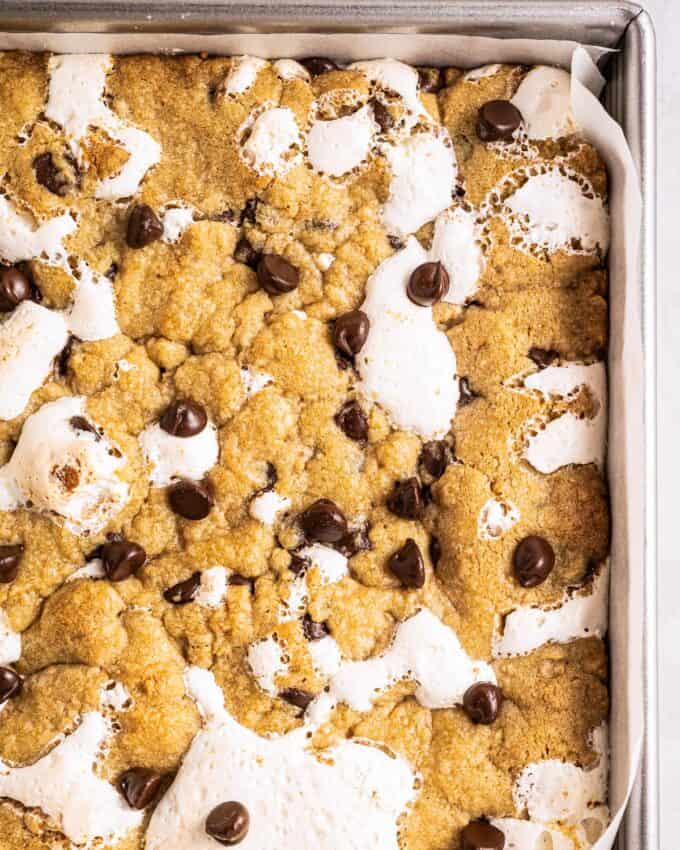
The bars may still look a bit underdone and slightly jiggly in the center when you pull them from the oven. Don’t worry, as they sit in the baking pan they’ll continue to slowly bake/set. This way they end up perfectly baked!
Variations of this recipe
- Graham cracker crumbs – I like to use the store-bought crumbs to save time, but if you’d like to make your own, you’ll probably need 6-7 graham crackers. You can use a small food processor, or add them to a bag and crush them.
- Butter – you can use unsalted or salted butter, but if you use salted, you’ll want to cut the amount of salt in the recipe in half. Also, make sure you’re using real butter, not a spread or margarine. Those won’t work in the same way in baking.
- Chocolate chips – you can use any type of chocolate chips you’d like. Semi-sweet, milk, dark, or a combination! Just make sure you have 1 total cup.
- Extra marshmallows – if you want some extra gooeyness, the last few minutes of baking, you can add some mini marshmallows to the top. Or you can wait until the bars are finished baking, add them, and use a small kitchen torch.
- Drizzle – to up the chocolate factor, you can add a drizzle of your favorite chocolate once the bars are finished baking. Or try some caramel!
FAQ’s
I find that they tend to sort of melt into the cookie batter as it bakes, so I do highly recommend using the creme. You can add some extra mini marshmallows to the top of the bars (during the last few minutes of baking – or add them afterwards and toast with a small kitchen torch).
Making cookie bars ahead of time
I find these bars, like most cookies, taste best when made fresh. However, you can make them ahead of time.
Just follow the storage instructions below, and then they can be served at room temperature, or warmed in the microwave.
Storage
Bars should be stored at room temperature in an airtight container and enjoyed within 3-4 days.
However, they can also be refrigerated (also in an airtight container) and enjoyed within a week.
Freezing
For longer storage, you can wrap each bar in plastic wrap, then add to a freezer-safe container and freeze for up to 3 months.
Thaw in the refrigerator, then warm them up in the microwave if you’d like.
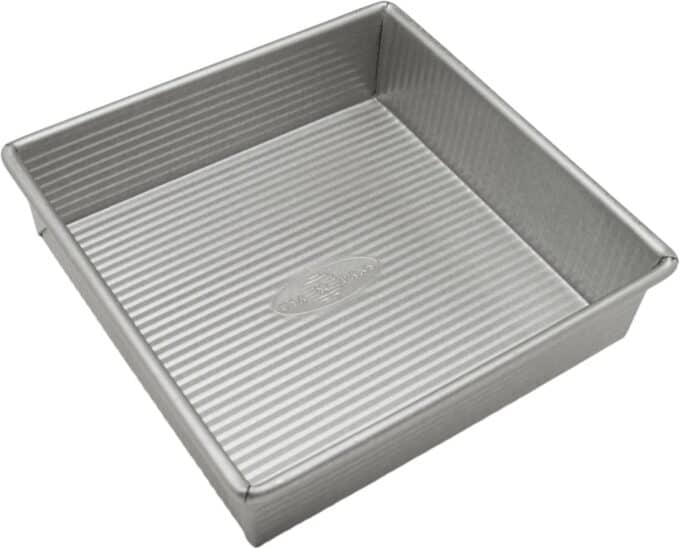
My Favorite Baking Pan!
I’ve been using this pan for years, and it gives you those nice, clean corners on your baked goods, and cleanup is a breeze!
Did you make this? Be sure to leave a review below and tag me @the_chunky_chef on Facebook and Instagram!
Ingredients
- 2 cups all purpose flour see chef tip #2 below
- 1/2 tsp baking soda
- 1/2 tsp salt
- 3/4 cup unsalted butter softened to room temperature
- 3/4 cup packed light brown sugar
- 1/4 cup granulated sugar
- 1 large egg
- 1 tsp vanilla extract
- 1 cup graham cracker crumbs
- 2/3 cup semi-sweet chocolate chips (for the dough)
- 7 oz jar marshmallow creme
- 1/3 cup semi-sweet chocolate chips (for the marshmallow layer)
Instructions
Prepare
- Preheat oven to 350°F. Line an 8×8 baking pan with two pieces of parchment paper with some overhang on the sides. This helps you remove the bars from the pan later. Set aside.
Combine dry ingredients
- To a small mixing bowl, add 2 cups all purpose flour, 1/2 tsp baking soda, and 1/2 tsp salt. Whisk or stir to combine.
Cream the butter
- In another mixing bowl, add the softened 3/4 cup unsalted butter, 3/4 cup packed light brown sugar, 1/4 cup granulated sugar.
- Beat with an electric hand mixer to combine the butter and sugars well, so there are no big lumps of butter.
Make cookie dough
- To the bowl with the butter, add 1 large egg and 1 tsp vanilla extract. Beat with mixer until the egg is just incorporated.
- Add about half of the flour mixture, plus 1 cup graham cracker crumbs. Beat until the flour is just incorporated, then add the remaining flour mixture and beat again, just until no flour streaks remain.
- The dough should be thick and a little crumbly.
- Add 2/3 cup semi-sweet chocolate chips and stir in with a wooden spoon or rubber spatula.
Assemble
- Press half of the dough into the bottom of prepared baking pan. Top with 7 oz jar marshmallow creme, spreading it in an even layer, then top with 1/3 cup semi-sweet chocolate chips.
- Drop the remaining half of the dough over the marshmallow/chocolate layer, using a small cookie scoop or spoon. Gently press the dough into a somewhat smooth layer.
Bake
- Bake in preheated oven for about 25 minutes, until the tops of the bars are golden brown.
- Remove from the oven and let the bars rest in the baking pan for about 30 minutes.
Serve
- Use the parchment paper to lift the bars out of the pan, and slice into as many bars as you'd like (I do 16).
- Serve warm or room temperature, and enjoy!
Want to save this recipe for later? Click the heart in the bottom right corner to save to your own recipe box!
Chef Tips
- This recipe makes one 8×8 pan of cookie bars, which I’ve estimated should be cut into 16 bars. However, feel free to divide the pan up into as many bars as you’d like.
- To measure the flour, I spoon it into a measuring cup, then leveled with the back of a butter knife.
Nutrition Disclaimer
The Chunky Chef is not a dietician or nutritionist, and any nutritional information shared is an estimate. If calorie count and other nutritional values are important to you, we recommend running the ingredients through whichever online nutritional calculator you prefer. Calories can vary quite a bit depending on which brands were used.
pindownload.io says
These cookie bars are excellent! I
Ayanna says
So gooey and delicious!! Made these for my family and coworkers; everyone loved it, can’t wait to make it again! 10/10
Kristi Bowman says
These cookie bars are excellent! I might even say better than regular s’mores which are one of my very favorite things! They are gooey and soft and amazing. Really good when still warm but still good even the next day! I will be making these again!