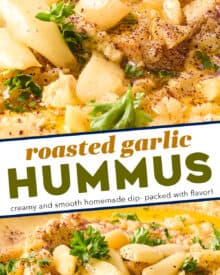


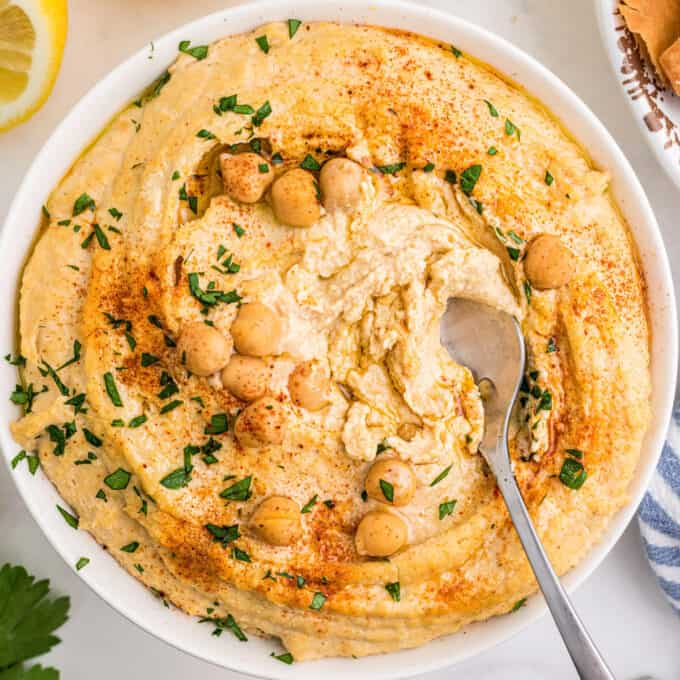
This homemade roasted garlic hummus recipe is creamy, light, and SO much better than store-bought. The sweet roasted garlic brings a bold burst of flavor, and using canned chickpeas eliminates the need for any soaking or peeling, so you can dip your pita chips or vegetables in this delicious dip in no time!
This is one of my Dip recipes I know you’ll want to keep on hand!
Do you have a go-to savory snack? For my husband and I, it’s hummus.
We love how creamy and versatile it is! Plus it’s packed with protein and other nutrients, so it really fills you up.
Making your own hummus is really easy, and I promise it tastes much better than anything you can buy from the store.
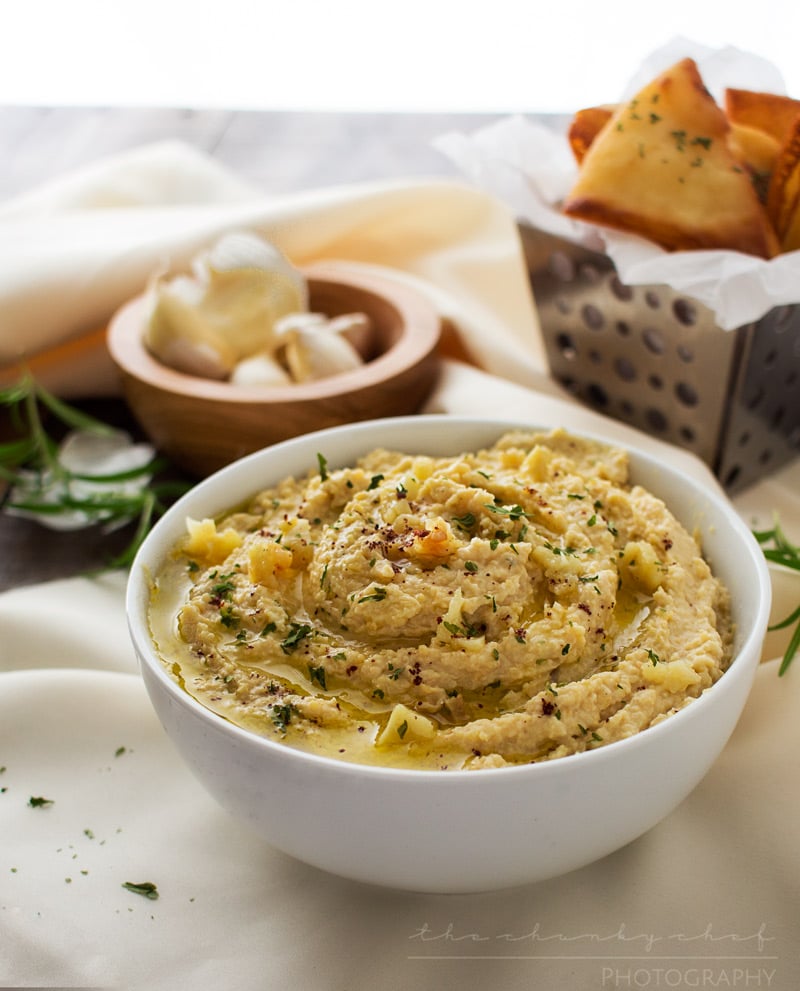
And this roasted garlic version of hummus is incredibly flavorful!
Roasting the garlic transforms the sharp pungent raw flavor into a buttery, caramelized, slightly sweet masterpiece that pairs perfectly with the silky creaminess of the hummus.
So let’s make one of my favorite snacks of all time!
How to make roasted garlic hummus?
This is just an overview; the full ingredients and directions are in the recipe card toward the bottom of this post.
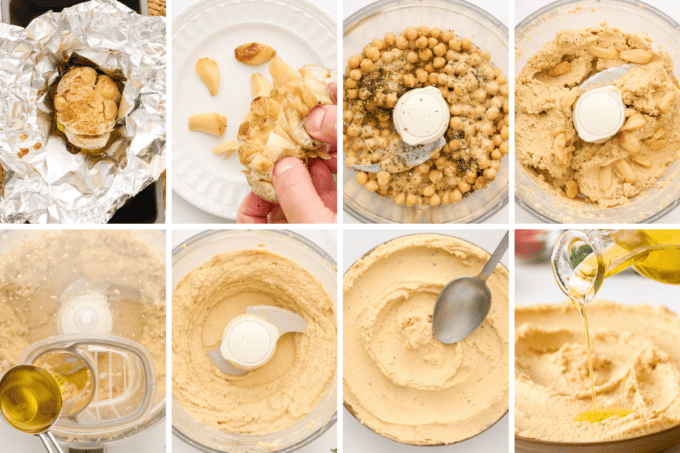
- Roast garlic. There are multiple methods for roasting garlic, so please choose your favorite one.
- Process chickpeas. Give the chickpeas, tahini, lemon juice, rosemary, salt, and cumin a good zip in the food processor.
- Process garlic. Pulse a few times until the garlic is well combined with the hummus.
- Stream. With the food processor on, stream in the olive oil and water.
- Serve. Add to serving bowl and style/garnish as desired.
Helpful Tip!
Normally I don’t like to share recipes that you can only make if you use a specific kitchen appliance, but this is an exception. To make a great hummus you really do need either a food processor, or a blender. There’s just no way to get the chickpeas as pureed as they need to be without one. Thankfully you can find relatively inexpensive versions of both of those, both in stores, and online.
Variations of this recipe
- Blender – instead of a food processor, you can use a blender to make this recipe.
- Lemon – fresh lemon juice is going to taste the best, but you can use bottled if that’s all you have on hand. You can also add some lemon zest if you want a lemony flavor to your hummus.
- Creamier – if you want the absolute smoothest and creamiest hummus, peeling the chickpeas will be the best way to achieve that. The skins come off relatively easily with canned chickpeas, but it will take a bit of time, as it’s somewhat tedious work.
- Water – the amount of water will vary from person to person, so please use the amount as a guide. More water will yield a thinner hummus, and less water will yield a thicker one. For more flavor, you can use some of the liquid from the cans of chickpeas in place of the water.
- Rosemary – if you’d like to use dried rosemary, you certainly can. You’ll just want to use about 1/8 – 1/4 tsp since dried herbs are more concentrated than fresh.
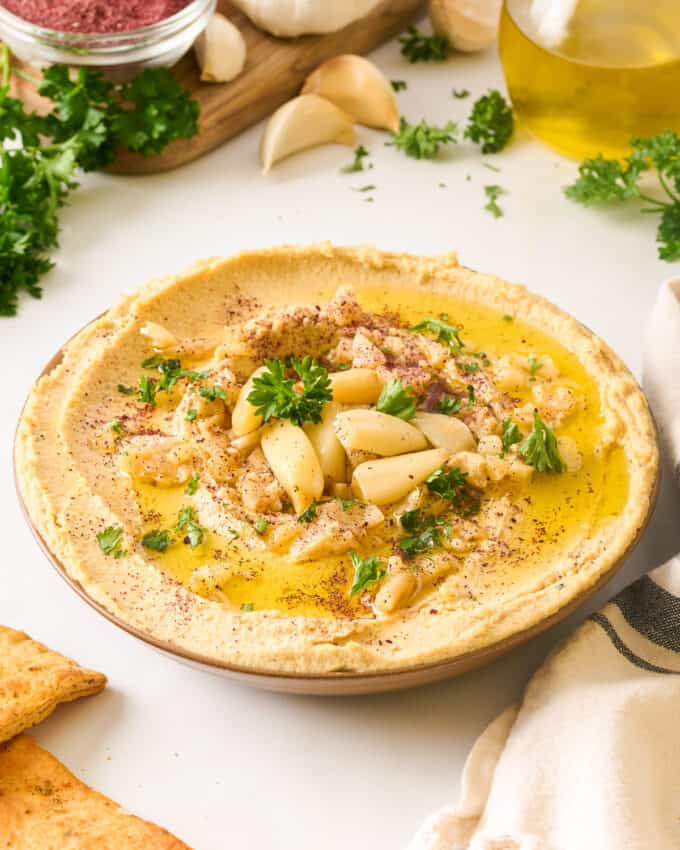
- Toppings – we love to serve this hummus topped with a drizzle of olive oil, some roasted garlic cloves (or minced roasted garlic), some fresh parsley, and a sprinkle of ground sumac. If you can’t find sumac, smoked or regular paprika, or cayenne pepper.

FAQ’s
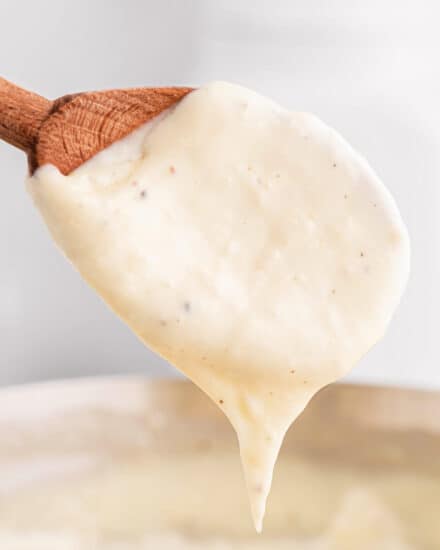
If you’ve followed the tahini, lemon juice, and olive oil amounts listed in this recipe, it’s likely that it just needs longer in the blender/food processor. Blending the mixture beyond when it’s just pureed will incorporate air into the hummus (similar to whipping buttercream frosting), and give you an incredibly creamy dip.
To be more authentic, yes. Tahini is one of the main ingredients in hummus. It’s widely available in major grocery stores, as well as online retailers, such as Amazon. You can make this recipe without it, but it will have a different texture and flavor.
Making hummus ahead of time
You can absolutely make this recipe ahead of time!
I like to make mine at least a few hours before I want to serve it. Just follow the storage instructions below.

Storage
Leftover hummus should be stored in an airtight container in the refrigerator for up to 5 days.
For the best results, lay some plastic wrap directly on the surface of the hummus, then top that with the container’s lid.


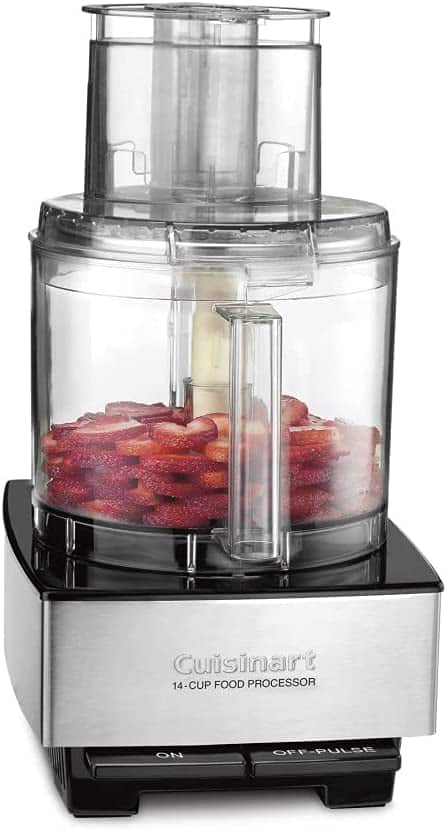
My Favorite Food Processor!
You can use any food processor or blender for this recipe, but I’ve had this model for years and really love it. It’s easy to take apart and clean, and the large capacity means I don’t have to break the recipe down into smaller batches!
This recipe was originally published in October 2015, but has been republished with additional information and new photos in September 2023. The recipe remains unchanged.
Did you make this? Be sure to leave a review below and tag me @the_chunky_chef on Facebook and Instagram!

Ingredients
Roasted garlic
- 1 large head fresh garlic
- drizzle of olive oil
- sprinkle of kosher salt and black pepper
Hummus
- 15 oz can chickpeas drained and rinsed
- 3 Tbsp fresh lemon juice
- 3 Tbsp tahini paste
- 1/2 tsp minced fresh rosemary
- 1/2 tsp kosher salt
- 1/4 tsp ground cumin
- 2 Tbsp olive oil
- 2 – 3 Tbsp water
Garnish
- drizzle of olive oil
- minced fresh parsley
- minced roasted garlic
- sprinkle of ground sumac, smoked paprika, or cayenne pepper
Instructions
Prepare
- Preheat the oven to 400°F and place the oven rack in the middle position.
- Peel the loose paper off the garlic, leaving the tight paper skins intact. Keep the whole head together; don't separate any of the cloves.
- Using a sharp knife, slice off the top 1/2" of the whole head of garlic, or enough to expose the tops of the cloves.
- Place garlic on a sheet of foil and drizzle the exposed cloves liberally with olive oil. Season with a sprinkle of salt, pepper.
Roast garlic
- Wrap the foil up around the garlic loosely, then place the garlic in a baking dish and roast in the oven for 40 – 50 minutes.
Remove the cloves
- To remove garlic from the paper cloves, just squeeze at the root end of the head, and the soft garlic should slide right out. Set aside.
Process
- To a food processor, add drained chickpeas, lemon juice, tahini paste, rosemary, salt, and cumin. Pulse the food processor off and on for about a minute or so, until very smooth.
- Scrape down the sides, then add about 3/4 of the roasted garlic (set the remainder aside to mince for a garnish). Pulse until well combined.
- While the food processor is on, stream in the 2 Tbsp of olive oil.
- Add the water, starting with about 2 Tbsp, adding more a little at a time until you get a consistency you're happy with. If your food processor has the ability to stream in liquids as it's running, definitely do that. Otherwise, you can add some water, process it, open the lid, check the consistency, and go from there. (3 Tbsp will yield a slightly thinner hummus, and 2 Tbsp will yield a slightly thicker hummus).
- Pulse until desired texture is reached.
Serve
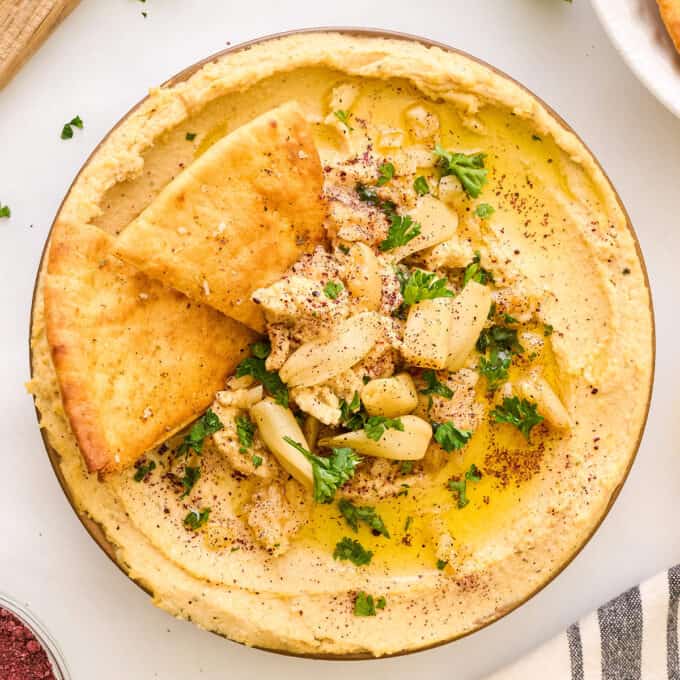
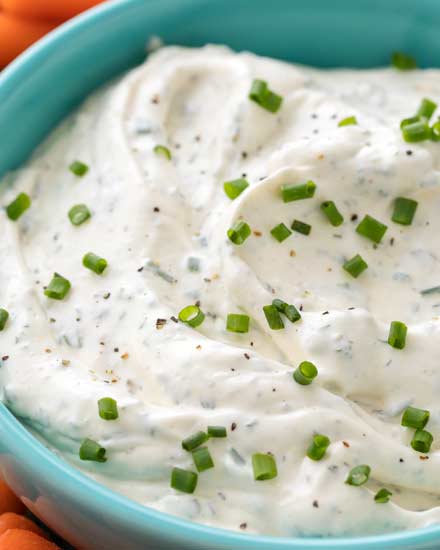
- To serve, place hummus in a dish, and use a spoon (or whatever you’re using as dippers) to make an indented swirl in the hummus, swirling towards the center. Drizzle olive oil into the swirl, then top with the remaining roasted garlic cloves (minced), and a sprinkle of ground sumac and parsley.
Want to save this recipe for later? Click the heart in the bottom right corner to save to your own recipe box!
Chef Tips
- Recipe adapted from Cooking Classy
- Recipe makes approximately 1.5 – 2 cups, but can easily be doubled if you need more.
- Garlic can be roasted ahead of time to significantly cut down on the time needed to make this hummus.
Nutrition Disclaimer
The Chunky Chef is not a dietician or nutritionist, and any nutritional information shared is an estimate. If calorie count and other nutritional values are important to you, we recommend running the ingredients through whichever online nutritional calculator you prefer. Calories can vary quite a bit depending on which brands were used.
Sandra says
This is definitely better than store-brought! I love it!
Catalina says
What a delicious appetizer! I love the flavor of this hummus!
Erin | Dinners, Dishes and Dessert says
Looks absolutely fantastic! Can’t wait to make this!
Beth says
This is some amazing hummus! I made it yesterday evening, and we haven’t been able to stop eating it!
Linda says
Amanda
I love your sight and your recipes are so good
I am always happy to see new recipes in my mail
Amanda says
Hi! I’ve had this recipe saved for a while now and wanted to let you know that I make it at least once a month! I, my husband and my 1.5 year old love it
Christine says
I made this for my chicken wraps and I absolutely love it! Thank you so much for making such a great recipe!
Kate says
Really want to make this but Im a little confused on how many cans of beans.How many cans of beans and how big of a can?
The Chunky Chef says
Hi Kate 🙂 My apologies, there was a coding error within the recipe… but it’s one 15oz can of beans
The Food Explorer says
Hello, your amazing roasted garlic hummus recipe has been featured on The Food Explorer’s “Best 39 delicious garlic hummus recipes on the net” list. Your readers can vote for it here: http://thefoodexplorer.com/appetizer/39-delicious-garlic-hummus-recipes-vote-for-your-favorite/ Good luck! 🙂