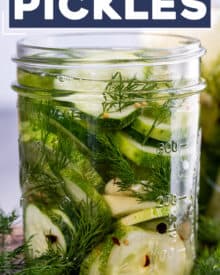
Homemade refrigerator pickles require zero canning expertise or equipment! Crisp, zesty, and packed with a punch of amazing flavor – you have to try them!
This is one of my Pantry/Basics recipes I know you’ll want to keep on hand!
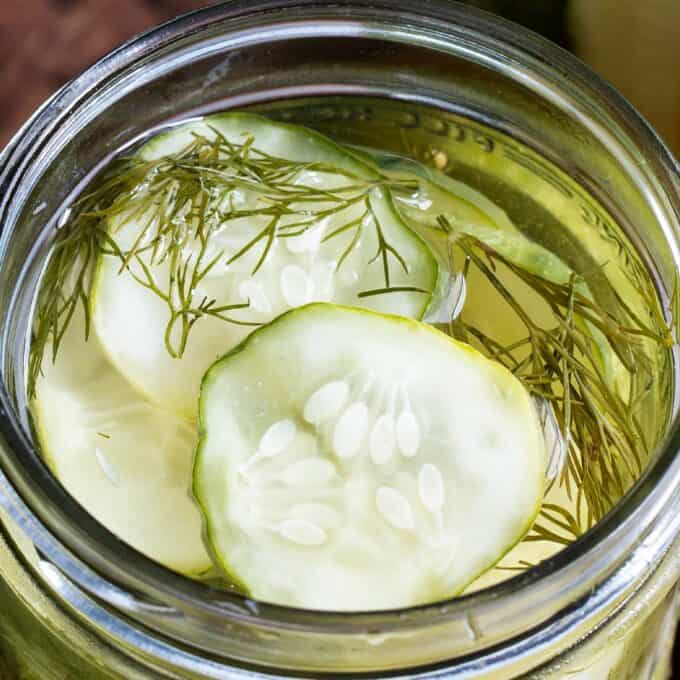
Do you ever get a craving for the perfect crisp dill pickle? We’re dill obsessed in this house, and I’ve been on a mission to make the perfect pickles.
For me, the perfect pickle is crisp, with a good snap when you bite into it. It’s bold and zesty, filled with garlic-dill flavor, and just a tiny bit of kick. It’s also made with the freshest cucumbers.
The problem is, the time of year when cucumbers are at their peak freshness, is also one of the hottest times of the year around here. Definitely not when I want to be dragging out canning equipment and boiling a bunch of water.
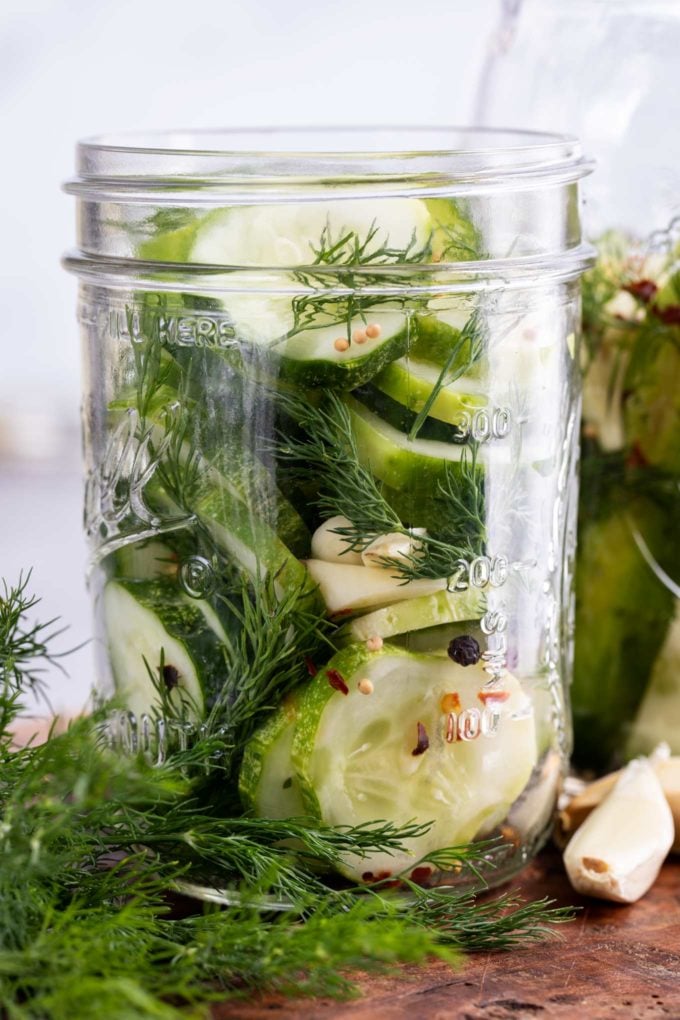
That’s the genius of these refrigerator pickles, theres’ NO canning required! Just make a quick brine, add it to the cucumbers and flavor aromatics (garlic, peppercorns, mustard seeds, etc), seal and refrigerate. Easy peasy!
Why you’ll love this recipe!
- Customize-able – these pickles are yours to tweak so that they’re just what you’re looking for.
- Homemade – with homemade pickles you don’t have to worry about what preservatives are in them, or if any food dye was added.
What do I need to make this recipe?
- Cucumbers – I find pickling cucumbers (sometimes called Kirby or salad cucumbers) worked best.
- Water – nothing fancy, just plain tap water.
- Vinegar – I prefer white or apple cider vinegar for this recipe.
- Salt – there’s a hefty amount of salt in this recipe, but they’re not salty. The salt is part of the pickling process.
- Sugar – the small amount of sugar helps balance all the savory flavors.
- Dill – I find fresh dill is best.
- Garlic – Just as with the dill, fresh garlic is best.
- Peppercorns – I use black peppercorns, but any variety would be good.
- Mustard seeds – this is standard in pickling.
- Red pepper flakes – this adds a touch of heat that rounds out the flavors.
- Celery seed – the celery seed adds a subtle yet delicious flavor.
How to make homemade pickles:
This is just an overview; the full ingredients and directions are in the recipe card toward the bottom of this post.
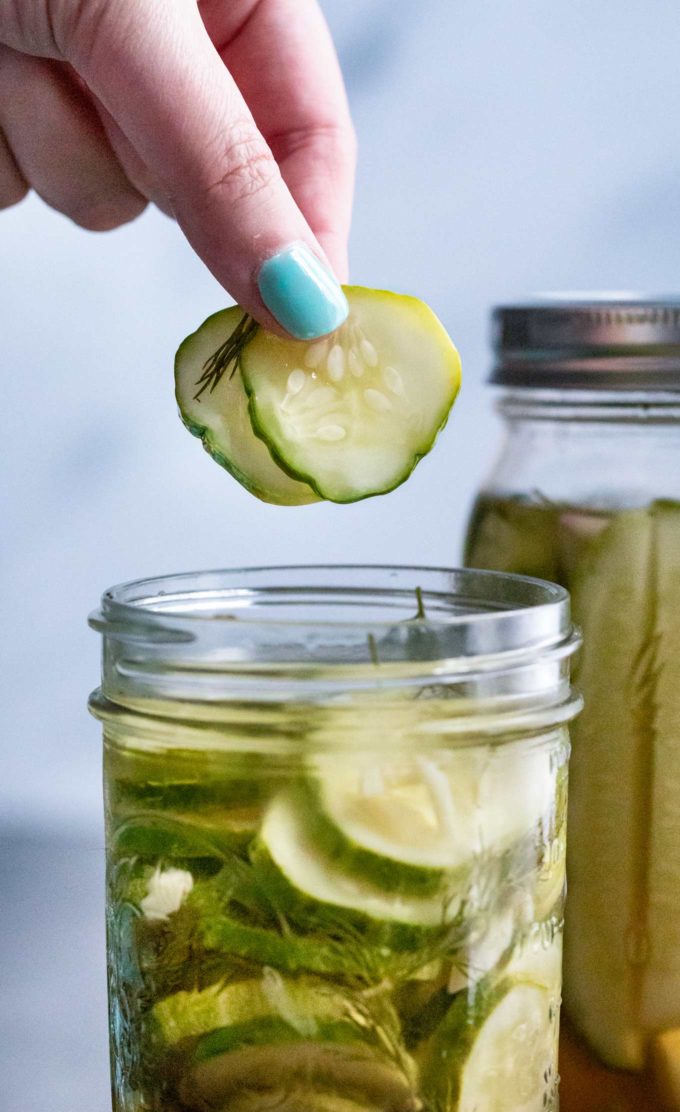
- Slice cucumbers and prepare jars. If slicing into rounds, cut the slices about 1/4″ thick. I like to use glass canning jars, but technically, since these pickles aren’t canned, you can use plastic containers, as long as they have airtight lids.
- Make brine and cool. Combine the water, vinegar, salt and sugar in a saucepan, and heat until solids are dissolved. Let cool to room temperature.
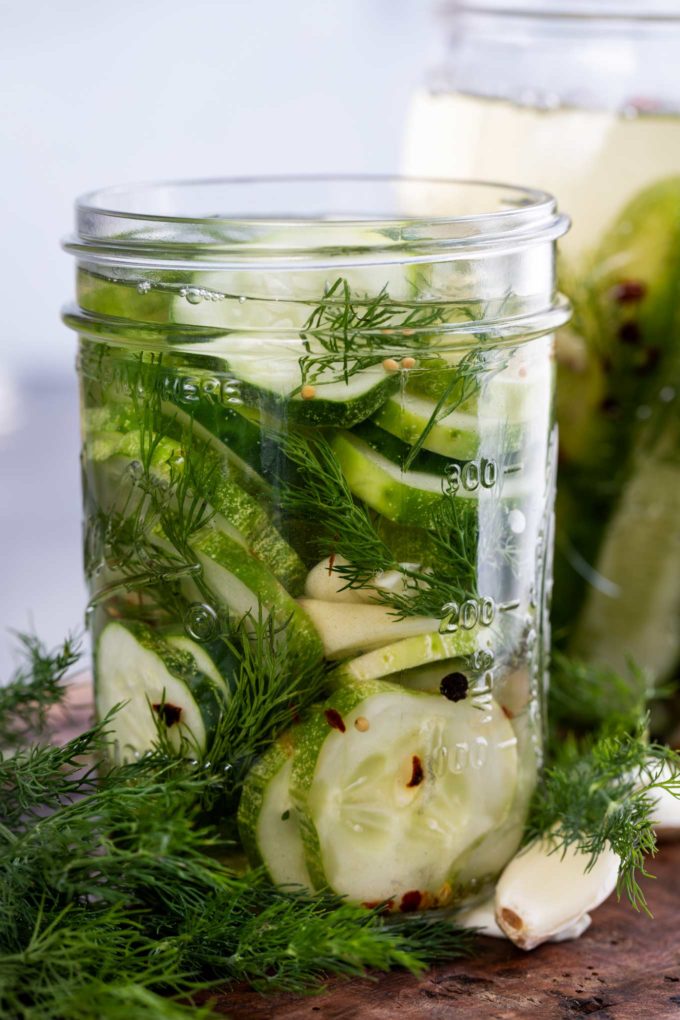
- Add cucumbers and other ingredients to jars. When adding cucumbers to jars, make sure you leave enough room for the dill, garlic, mustard seed, black peppercorns, red pepper flakes and celery seed, plus the brine.
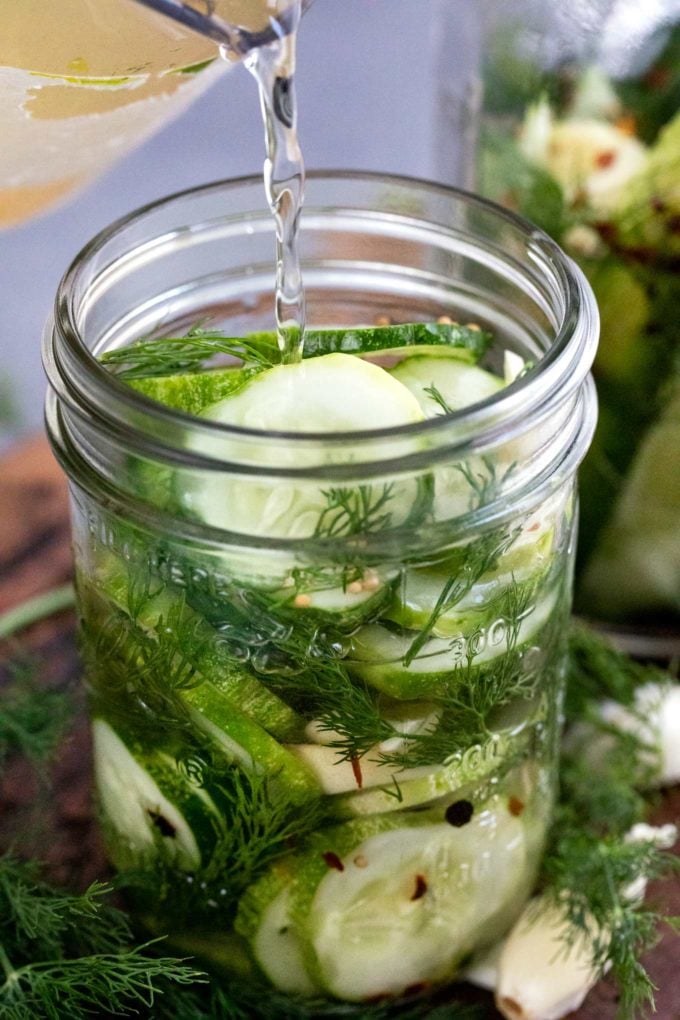
- Add brine. Pour in enough brine to cover the cucumbers, making sure to leave a 1/2″ or so at the top.
- Seal and refrigerate. Seal jars to be airtight and refrigerate for at least 5 days. Pickles will last 4-6 weeks after those 5 days.
Helpful Tip!
The best pickles are made with the freshest ingredients, especially the cucumbers. The cucumber skin should be firm, with no deep blemishes. Try to find consistently sized cucumbers, so your pickles will be uniform in size.
Variations of this recipe
- Sweet – these are definitely not sweet pickles, but if you’d like them more on the sweet side, feel free to increase the sugar amount. I’ve not experimented to come up with the perfect amount, but I’d suggest to try 1/2 cup and go from there.
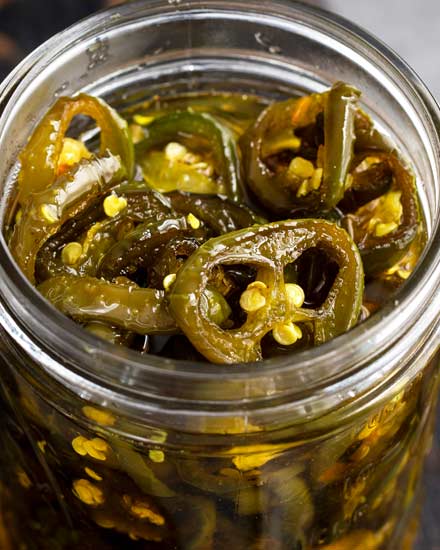
- Spicy – I made these a mild heat level to accommodate most palates, but if you want more of a kick, feel free to add as much red pepper flakes as you want. You could also add some sliced jalapenos, or Thai chiles for some extra heat.
- Cucumbers – I found the cucumbers that had the best crunch were the pickling cucumbers. They may also be labeled as Kirby, or salad cucumbers. They’re shorter than regular cucumbers, with a bumpy and sometimes lighter skin. If you can’t find them, English cucumbers will work as well. They may also be labeled as hothouse or seedless cucumbers.
- Other veggies – I haven’t specifically tested this brine with other veggies, but I think it would work well with green beans, carrots, cauliflower, etc. Whatever you normally like to pickle.
FAQ’s
These are refrigerator pickles, so they stay nice and crisp/fresh just in the refrigerator. However if you wanted to experiment with canning this recipe, you’re certainly welcome too. I just don’t have the canning expertise to advise you.
Making pickles ahead of time
Pickles are a natural make-ahead recipe, as the recipes are designed to be made a little while before you eat them. This recipe was developed so the pickles have a week to sit in the refrigerator.
As tempting as it may be to break the seal and go to town before then, they really taste best when left to sit.
Storage
Refrigerator pickles are good for 4-6 weeks, when kept refrigerated and the lids are sealed after each use.
I like to take a permanent marker and write down the date I made the pickles on the lid, so I’ll know when it’s been 4-6 weeks. Honestly, our pickles never last that long before we devour them!
This recipe was originally posted in June 2020, but has been updated in 2025 with additional information.
Did you make this? Be sure to leave a review below and tag me @the_chunky_chef on Facebook and Instagram!
Ingredients
- 6-7 pickling cucumbers
- 2 cups water
- 1 cup white vinegar (or apple cider vinegar)
- 1 Tbsp kosher salt
- 1/2-1 tsp granulated sugar
- fresh dill
- 4-6 cloves garlic peeled and smashed/roughly chopped
- 10 whole black peppercorns
- 1/2 tsp whole yellow mustard seeds
- 1/4 tsp red pepper flakes
- pinch celery seed
Instructions
Prepare
- Slice 6-7 pickling cucumbers into slices about 1/4" thick, or into spears. Gather glass jars and lids. Set aside.
Make the brine
- In a saucepan, add 2 cups water, 1 cup white vinegar, 1 Tbsp kosher salt, and 1/2-1 tsp granulated sugar (if using), and heat, stirring occasionally, over MED HIGH heat until sugar and salt have dissolved. Set aside to cool to room temperature.
Assemble jars
- While brine is cooling, add cucumbers to jars. Make sure to leave enough room for the brine and other ingredients.
- Add fresh dill, 4-6 cloves garlic, 1/2 tsp whole yellow mustard seeds, 10 whole black peppercorns, 1/4 tsp red pepper flakes, and pinch celery seed.
- Pour in enough brine to cover the cucumbers, making sure to leave a 1/2" or so at the top. Seal jars to be airtight.
Chill
- Refrigerate for at least 5 days. Pickles will last 4-6 weeks after those 5 days, but will lose some of their crispness towards the end of their "shelf" life.
Want to save this recipe for later? Click the heart in the bottom right corner to save to your own recipe box!
Chef Tips
- Recipe makes enough for 2 pint-size jars, or one quart-size jar. Can easily be doubled, tripled, etc for larger batches.
- The amount of dill is left unspecified, as this will vary from person to person.
- Whole pickles or half pickles can be made, but I would prick the skin of the cucumber a few times with a fork to allow the brine to penetrate the skin.
Video
Nutrition Disclaimer
The Chunky Chef is not a dietician or nutritionist, and any nutritional information shared is an estimate. If calorie count and other nutritional values are important to you, we recommend running the ingredients through whichever online nutritional calculator you prefer. Calories can vary quite a bit depending on which brands were used.
Joanne says
Tried your recipe today. Do you pack slices loosely? I may have stuffed too many in a jar. After being away for the weekend, I went and picked a load of cukes.
The Chunky Chef says
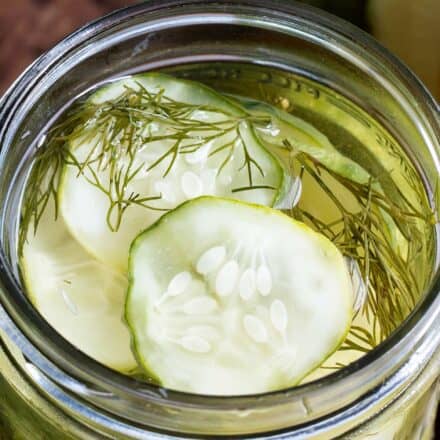
I pack them in a bit, but not a crazy amount. You can see how closely they’re packed in the photos above the recipe 🙂
Donna says
Great flavor and easy to use. I made 2 different versions, 1 just like the recipe and 1 I added chili peppers. Both delicious! I will use this again
sar says
Excellent and easy recipe! Thank you for sharing! look forward to trying some of your other recipes.
GAIL DAVIS says
AMANDA TOOK THE FREZZER PICKLES TO A PICNIC EVERYONE LOVED THEM AND SAID THEY NEED THE RECIPE.
HOPE EVERYONE IS DOING OK.
The Chunky Chef says
Hi Gail 🙂 Everyone here is doing great, hope you are as well! So happy to hear everyone loved the pickles 🙂
Lisa Smith says
Loved this recipe so much last year! Can i still use this recipe and water bath the pickles to make them shelf stable?
The Chunky Chef says
So happy to hear you loved it! I haven’t tested water bath canning this recipe, but I believe a few other readers did that last year with good results 🙂
Cindy says
These are my favorite refrigerator pickles! The only thing different I do is add a bit of tumeric.
Anna S. Billehus says
Hi! I am looking forward to making these! Just wondering if the garlic, dill, peppercorns, celery seeds and chili flakes amounts are to be divided in to both jars or are the amount for just 1 jar?
Thanks!!
Anna
The Chunky Chef says
They’re for both jars, but if you want even more flavor, feel free to add the full amount to one jar 🙂
Anna S. Billehus says
Thank you for your quick replay! Happy Holidays!!
WB says
Hi! I plan to make these but am wondering if there’s a specific process to make them airtight? Or is just a suitable mason jar with lid all I need? Thanks!
The Chunky Chef says
The mason jar with the airtight lid is all you need 🙂 These aren’t canned, so they just have to be covered and refrigerated.
Kathy Zenger says
I can’t wait to make these! Thank you so much!
AJ says
I have tried other recipes, none came close to this. I just made my third batch this season with my garden cucumbers, garlic, and dill.
So good. Thank You!
Laura D says
Can’t wait to make these! I have some beautiful pickling cucumbers from my CSA haul and a big bundle of dill. I don’t have celery seed or mustard seed. Will these still be delish without those things???
The Chunky Chef says
I’ve only tested this recipe as written. So without testing and retesting it myself, I can’t say for certain how the recipe will taste without some of the seasonings. If you try it, I’d love to know how it turns out!
Michelle Kerber says
Celery seed and mustard seed are so inexpensive to purchase…it’s worth the investment for the flavor!
Tina Dick says
Pickles were delicious!
Kelly says
Best refrigerator pickles! These get eaten almost faster than I can make them. Upgrading to gallon sized jars for next year!
Darla Strait says
Are the cucumbers supposed to be peeled?
Amanda says
I prefer not to peel them, but you can if you’d like.
Jacq says
Loved it!! Have made 3 batches this summer. Now what do I do with all of them? (Although when I put them on the table, they go fast;)
Dale Mays says
Hi Amanda! I’m 68, male, married, both retired, trying to surface our “inner-chef” now that I’m at home and we’re empty nesters. I love your Refrigerator Garlic Pickles! So easy, done twice in the last month. They’re great!
Sandra says
Made a jar 2 weeks ago. Cut the cucumbers in 1/4 lengthwise. DELISH. Added extra fresh chili peppers from garden. Making more today. Thank you for the recipe❤️
Melanie Johnson says
Refridgerator pickles are not safe from Listeria growth.
nchfp.uga.edu › papers › 04ift-picklesabstract
Amanda says
That applies to food kept at a certain ph level, but thanks for your concern. If you’re not comfortable making them, then don’t 🙂
Sandra says
Exactly right AND just make sure you eat them which is very easy with this recipe:) my mom was one of 9 kids… during the war… perhaps many would be horrified how her mom stored food. She passed when she was 96. Still 2 uncles alive and her other siblings past well into old age SO find a new recipe if this one doesn’t suit you❤️
Nicole says
If you read the abstract they are referring to fermented pickles that are kept at room temperature for a week and then refrigerated – A very different pickle. The chunky chef recipe refrigerates the entire time. See the quote below from the study.
” Note: This research study analyzed one particular pickling procedure that started with partially fermenting cucumbers at room temperature and then storing them in the refrigerator with no further treatment or processing. It does not represent findings or advice for any other type of refrigerator pickles.”
Adrienne says
I have tried several pickle recipes and this is by far my favorite! Biggest difference is the amount of salt and sugar used which was perfect! I omitted the red pepper flakes since me and my kids are wimps when it comes to spicy stuff. I went heavy on the garlic which I will probably reduce next time to one big clove per jar. They are still awesome though and getting eaten quick! Thanks for the great recipe!
Betty G says
Made 2 pint jars. I also added fresh sweet red pepper.
I had enough brine left over. So I made fresh pickled cauliflower with fresh red pepper.
In 2 weeks I will have fresh red cherry bomb hot peppers. So will make more pickles and cauliflower. So I will keep you posted.
Steve Goulet says
I have tried countless refrigerator (non-canned) vinegar-based pickle recipes and this is the best one so far. I have found that the important thing is to get the vinegar to water to salt ratio correct. After that, do you use white distilled or apple cider vinegar and do you add sugar. After that, dill, mustard seed, pepper corns, garlic and red pepper flakes are added to taste. This recipe nails it! I used white vinegar and followed the recipe and pickles are exactly what I was looking for. Plan to use this as a base and experiment a little more, but I appreciate your putting this recipe out here for us to try!