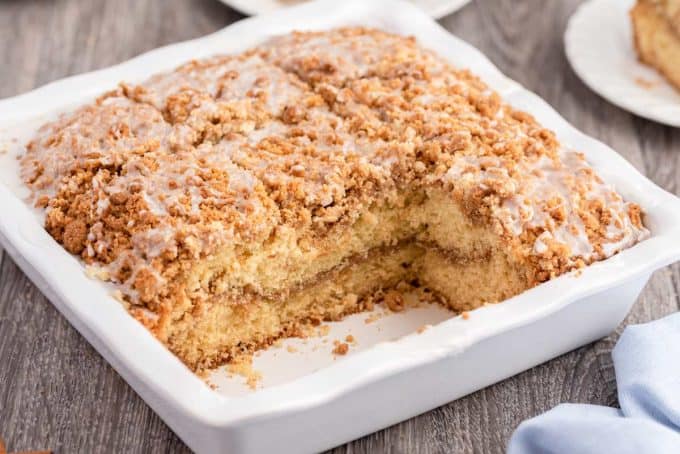
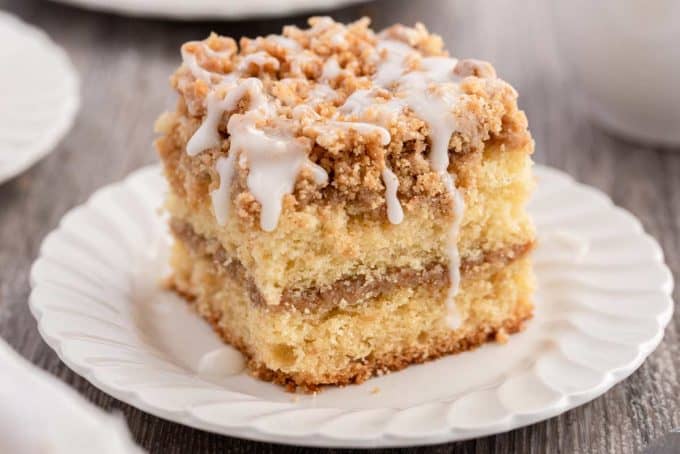
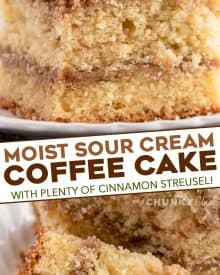
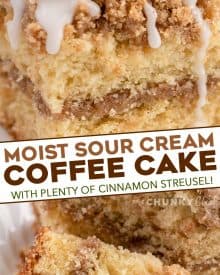
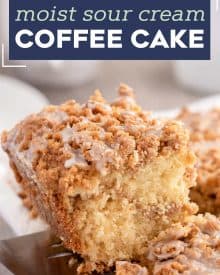
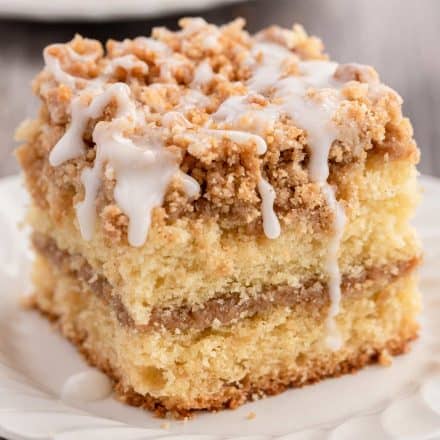
My favorite Sour Cream Coffee Cake is so moist and buttery, with a cinnamon streusel layer in the middle and on top, and drizzled with a sweet glaze! Perfect for breakfast, brunch, or dessert… grab a fork and enjoy!
We love tasty breakfast recipes like this Sour Cream Coffee Cake! It’s perfect for holidays or a fun weekend with family. Other family favorites are my Loaded Overnight Breakfast Casserole and Homemade Breakfast Sausage Patties. This is one of my Breakfast recipes you’ll want to hold on to!
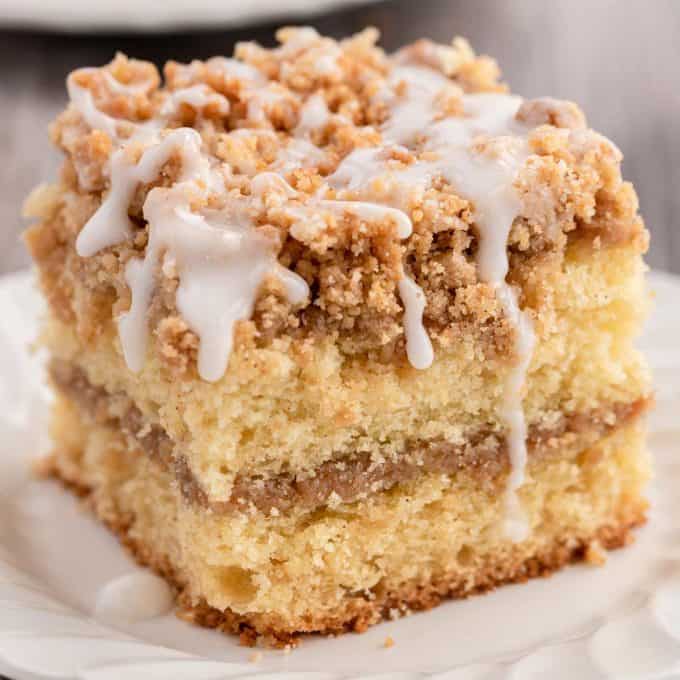
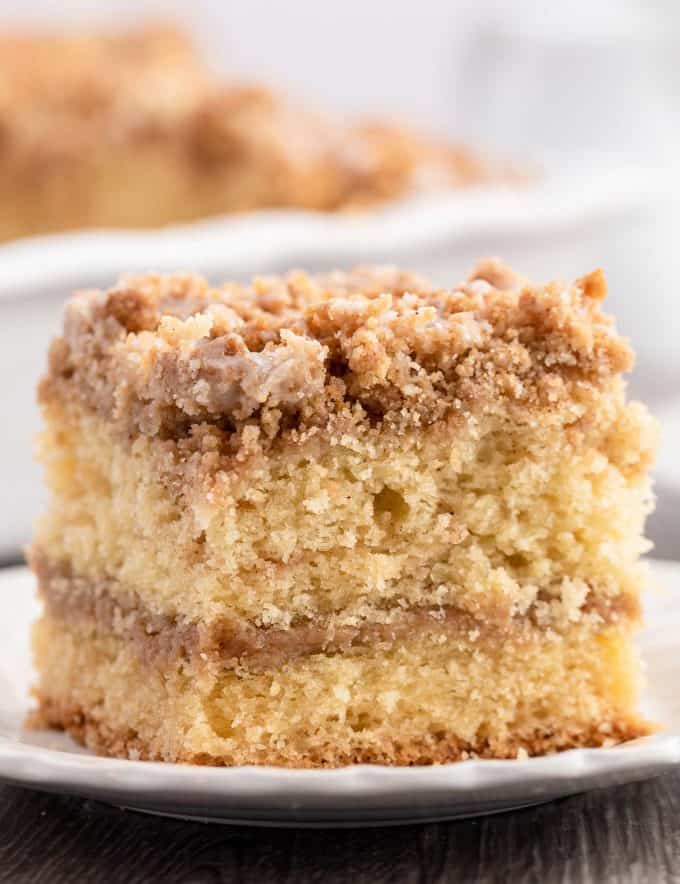
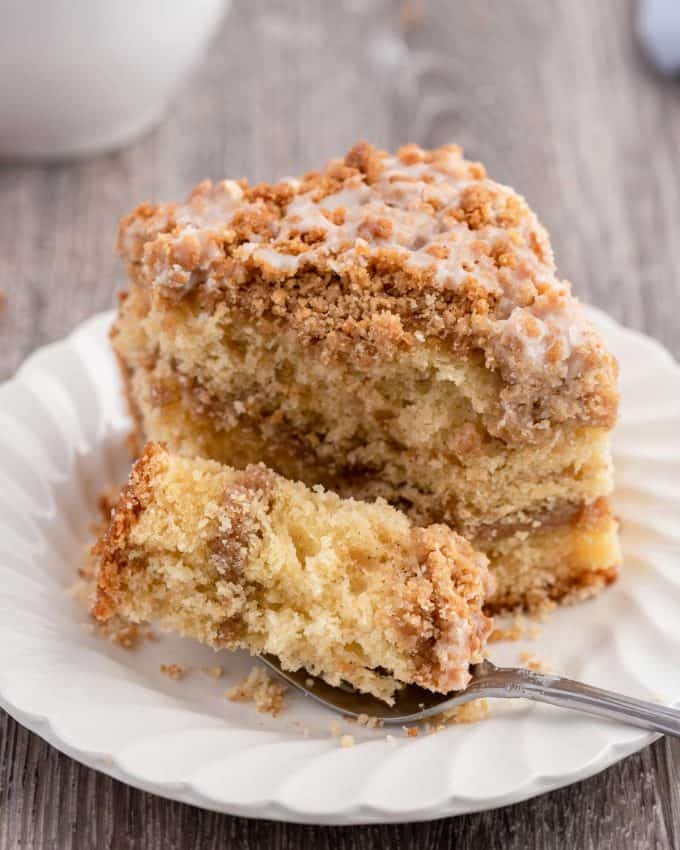
If there’s a quintessential breakfast/brunch recipe, it’s the humble coffee cake. A cake with a rich and tender crumb, layered with layers of cinnamon streusel.
Made to be served alongside a fabulous cup of coffee or glass of cold milk, it’s a great way to start off your day!
However, a great coffee cake is part breakfast/brunch, and part dessert, this recipe is perfect for any time of day.
We like to make this coffee cake to have for special occasions, as it’s every bit as decadent as it is delicious!
If you’ve never had coffee cake before, you may be looking through the ingredients and wondering where the coffee is. Contrary to it’s name, coffee cake doesn’t traditionally have coffee in it! It gets it’s name because it’s delicious served alongside a cup of coffee.
How to make homemade coffee cake?
This is just an overview; the full ingredients and directions are in the recipe card toward the bottom of this post.
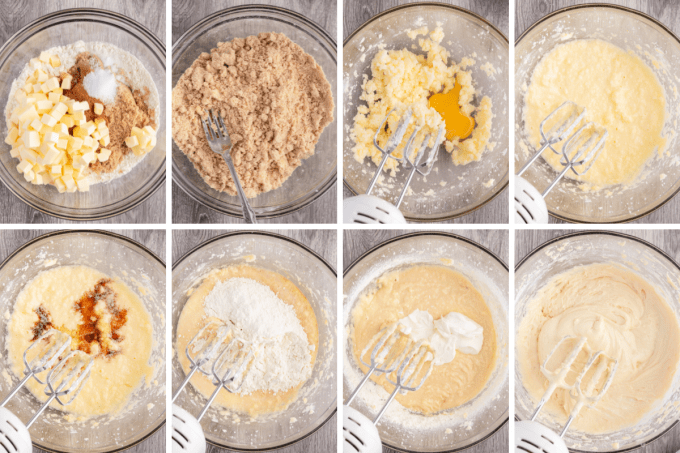
- Preheat oven and prepare baking pan. I like to use butter, but you can use nonstick spray if you like.
- Make the streusel. Add flour, sugar, cinnamon, salt and butter to a small mixing bowl and use either a pastry cutter or your hands to mix until the butter is worked into the other ingredients, resulting in pea-sized clumps. Refrigerate for now.
- Mix dry ingredients. Add the flour, baking powder, baking soda and salt to a small bowl and whisk. Set aside.
- Start the cake batter by creaming the butter. Beat the butter and sugar until light and fluffy. Then beat in eggs, one at a time, then beat in vanilla.
- Alternate dry ingredients and sour cream. Add 1/3 of the flour mixture. Beat together. Add in 1/3 of the sour cream. Beat together. Continue these steps two more times until everything is incorporated and blended well.
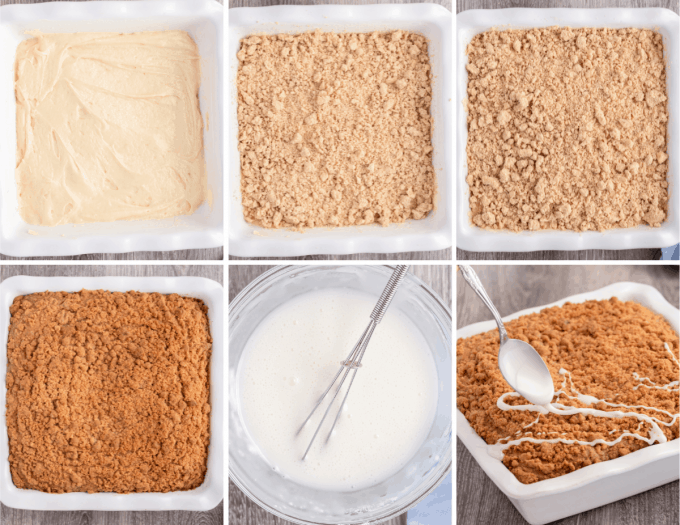
- Layer. Add half the cake batter, topped with half the prepared streusel. Top with remaining cake batter and remaining streusel on top.
- Bake. Bake for 55 minutes, then cool.
- Make glaze. Whisk together powdered sugar and milk, then drizzle onto cake. Serve.
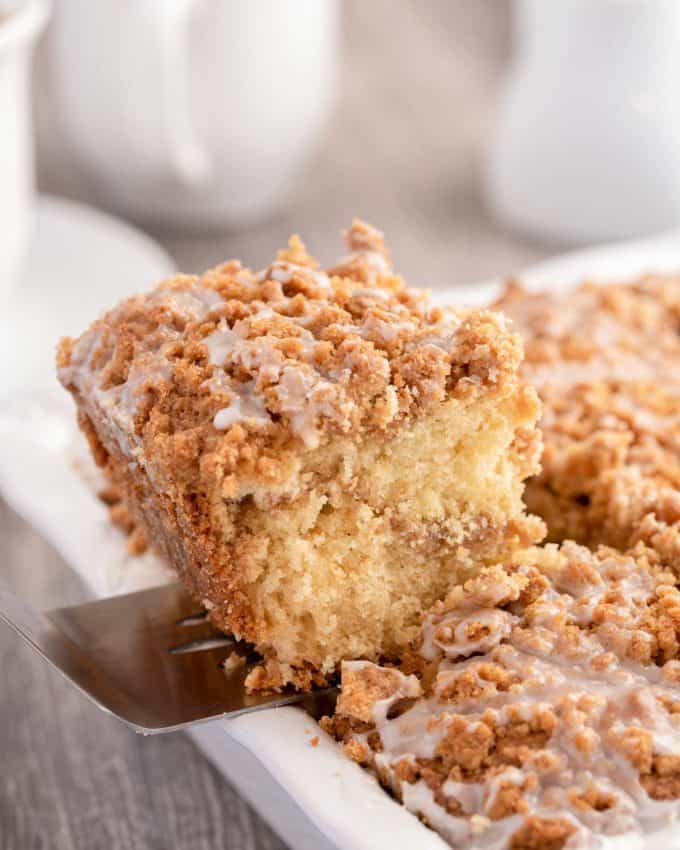
Variations of this recipe
- Nuts – for a fun, and delicious crunch, try adding 1 1/4 cups of chopped pecans or walnuts to the streusel layers!
- Fruit – this cake is amazing with some diced apples in it as well! I prefer using granny smith apples.
- Swirl – instead of layering the cake and streusel, you could try swirling it. Still add half your cake batter and half the streusel to the pan, but then take a butter knife or toothpick and swirl it around. Top with remaining cake batter and a layer of streusel and bake as directed.
- More streusel – this recipe uses a moderate amount of streusel, but if you’re like me, you’ll want as much of that deliciousness that you can get! Feel free to make extra and add more to either, or both, streusel layers.
- Larger pan – if you’re making this coffee cake for a crowd and would like more than 9 slices, my advice would be to use 2 separate 9×9 pans, rather than trying to fit it all into a 9×13 pan. I’ve not tested using a 9×13 with a doubled recipe, and I wouldn’t want your pan to overflow.
Top Baking Tips for Coffee Cake
- Room temperature ingredients. For the best results when baking this coffee cake, your cold ingredients (like butter and eggs) should be at room temperature so they can incorporate fully into the batter. Except for the butter for the streusel, that should be COLD.
- Use real butter. This isn’t the time to use shortening or margarine. Those perform differently in baking recipes, and this recipe was only tested using real butter.
- Use fresh ingredients. Some of these are obvious, like using non-expired eggs, but did you know using older baking soda/baking powder can affect the way your cakes bake? Over time, leavening agents (which is what baking soda and powder are) lose their efficacy, and won’t give your cakes that beautifully soft texture.
- To test your baking powder, add a bit to hot water. If it bubbles and fizzes, you’re good to go! However, if your baking powder is older than 6 months, it’s best to just get a new can. The older one can still be used for cleaning purposes!
Making coffee cake ahead of time
Personally, I think this coffee cake tastes best when made right before serving. Even though it’s fine to make it a day ahead of time, I just prefer it fresh.
However, you can make your streusel up ahead of time, and measure your dry ingredients ahead of time, cutting down on your prep time considerably.
Freezing
If you’re wondering if you can freeze coffee cake, the answer is yes!
To freeze, wrap tightly with plastic wrap and add to a freezer bag or container. Freeze for up to 3 months.
Thaw in the refrigerator. You can even freeze individual slices, so when you want a little taste of decadence you don’t have to thaw out a whole cake. When freezing individual slices, I like to double wrap them in plastic wrap before adding to the freezer bag. With a slice, the sides of the cake are exposed, so you want to take extra care that it doesn’t get dried out.
Storage
Leftovers should be covered tightly and stored at room temperature for 1-2 days, or refrigerated for up to 1 week. If storing in the refrigerator, be sure to make sure the cake is covered well, otherwise it could dry out.
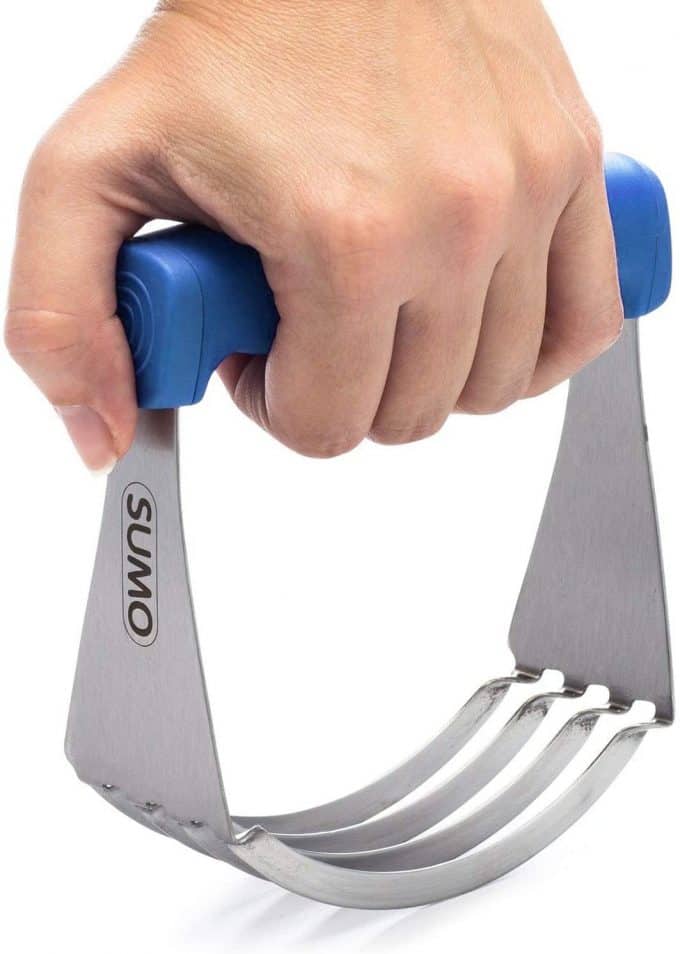
My Favorite Pastry Cutter!
You can make streusel with just two forks, but the easiest way is to use a pastry cutter/pastry blender. This version is great because the blades don’t bend nearly as easily as some other brands I’ve tried.
Did you make this? Be sure to leave a review below and tag me @the_chunky_chef on Facebook and Instagram!
Ingredients
STREUSEL
- 1 3/4 cups all purpose flour
- 1 cup packed light brown sugar
- 1 1/4 tsp ground cinnamon
- 1/4 tsp kosher salt
- 3/4 cup (1 1/2 sticks) unsalted butter (COLD) cut into small pieces
CAKE
- 1/2 cup unsalted butter softened to room temperature
- 2 cups all purpose flour
- 1 1/4 tsp baking powder
- 1/2 tsp baking soda
- 1/2 tsp kosher salt
- 1 cup granulated sugar
- 2 large eggs
- 1 1/2 tsp vanilla extract
- 1 cup sour cream
GLAZE
- 1 cup powdered sugar
- 2 Tbsp whole milk
Instructions
- Preheat the oven to 350°F. Butter a 9×9 baking pan and set aside.
STREUSEL
- To a small mixing bowl, add the flour, sugar, cinnamon, salt and butter. Using a pastry cutter, fork, or your hands, mix until it forms pea-sized clumps. Refrigerate.
CAKE
- To a small mixing bowl, add dry ingredients (flour, baking powder, baking soda and salt), and whisk to combine. Set aside for now.
- In large bowl, beat together the butter and sugar until fluffy. Beat in one egg at a time. Beat in vanilla extract.
- Add 1/3 of the flour mixture. Beat together. Add in 1/3 of the sour cream. Beat together. Continue these steps two more times until everything is incorporated and blended well.
- Add half the cake batter to prepared pan, spreading evenly. Add half the refrigerated streusel, spreading in an even layer.
- Top with remaining cake batter, then last half of the streusel on top.
- Bake for about 55 minutes. The top should be golden brown and when a toothpick is inserted into the center, it should come out clean or with a few moist crumbs.
- Remove from oven and let cool on wire rack.
GLAZE
- While your cake cools, make your glaze by whisking together the milk and sugar.
- Drizzle with desired amount of glaze and enjoy.
Want to save this recipe for later? Click the heart in the bottom right corner to save to your own recipe box!
Chef Tips
- Recipe has only been tested using full-fat dairy products.
- When spreading cake batter over the streusel, I find it easiest to drop by the spoonful, then use an offset spatula to gently spread.
Nutrition Disclaimer
The Chunky Chef is not a dietician or nutritionist, and any nutritional information shared is an estimate. If calorie count and other nutritional values are important to you, we recommend running the ingredients through whichever online nutritional calculator you prefer. Calories can vary quite a bit depending on which brands were used.
Any nutritional information shared is an estimate, and is automatically calculated through a program. If calorie count is important to you, we recommend running the ingredients through whichever online nutritional calculator you prefer. Calories can vary quite a bit depending on which brands were used.
The Chunky Chef is not a nutritionist and doesn’t provide full nutritional information for recipes as there is a potential for error and we wouldn’t want to potentially and/or unknowingly pass along incorrect information.
Trisha says
I made this coffee cake this morning and it was a hit! Moist,good texture and delicious.I will be making this for my family often.Thanks for sharing your recipe.
Thomson says
Where is the coffee and how much???
The Chunky Chef says
As mentioned in the post above the recipe, coffee cake doesn’t have coffee in it. It gets it’s name (which I didn’t make up), from being served alongside a cup of coffee.
Camille says
Giving the recipe 5 stars, because it was easy and tasty, I just need to make some adjustments next time. The streusel factor is on point for me. Love it! I did half the glaze, because I didn’t want to take the chance of the streusel losing crunchiness and I didn’t want the entire top to be covered. Echoing what others have said about it coming out dry and having to cook it longer. Might be my substandard apartment oven or the dish I used or both. After 65 min, it was still a little jiggly in the middle. I put foil over the top to keep it from burning, but there was nothing I could do about the edges at that point. Absolutely nothing wrong with the recipe; just need to make adjustments for the tools I have.
Cooper says
I used dairy free versions of some ingredients due to allergies. Country crock plant butter, country crock plant cream, and coconut yogurt. It baked really well! I did also add a bit of vegan protein powder instead of full flour amount(only a few scoops). I used a glass pan and the bottom burnt just a little bit but the rest was moist, soft, and delectable! Kids loved it! Next time I’ll probably reduce the heat and just cook longer to hopefully not burn the bottom. (Protein powder always seems to burn so it’s probably not the recipes fault, plus my oven is aggressive with its heat) thanks for sharing!
Peg says
This is a good recipe, but I would lower the temp to 325* and cook it a little longer. By the time it got done it the middle, the bottom was almost burnt.
The Chunky Chef says
Sounds like your oven cooks a bit different than mine, but glad you found a way to tweak the recipe to work for you 🙂
Barbara Harper Aldea says
Very easy to follow instructions , turned out well!
Amy Pletcher says
I made this beautiful coffee cake for my son’s 24th Birthday treat. Just took it out of the oven and drizzled the frosting on it. I lined the pan with parchment paper so I can wrap it in foil after we cuts into it because it is going home with him. Lol, I don’t want to give him my only 9 x 9 pan and not get it back. Lol I will have to repost how he liked it after he eats it.
Rebecca says
Curious if you tried making it the night before and keep in the refrigerator and bake in the morning? Wondering if it bakes off the same?
The Chunky Chef says
I haven’t tested this, as the leavening agents (baking soda and baking powder) can start to react immediately, which means when you bake it, the cake may not rise as it should. If you do some experimenting though, I’d love to know how it goes 🙂
Aznasimage says
SUCCESS! I met my husband in 1996, and neither of us had much of a sweet tooth back then. Fast forward to 2025, and after making your coffee cake today I have learned that he loves coffee cake.
He never mentioned it before because he did not know the level of complexity, and did not want to ask lest he push me past my ability.
Long story longer, this was his favorite coffee cake of all time. Tender and tasty if I say so myself. I will be making it again.
Thank you!
Amy Pletcher says
Wonderful, my husband and I got married in 1998. It smells so good and looks moist. Making for my son’s 24th birthday.
Linda says
Do you know what adjustments need to be made if making at high altitude?
The Chunky Chef says
Unfortunately I live at a much lower elevation, so I don’t have any experience with high altitude baking. This is a great resource on the subject though https://www.kingarthurbaking.com/learn/resources/high-altitude-baking
Aznasimage says
Hi Linda,
The Food Network, Wiltons, and Reddit all have excellent recommendations for high altitude baking. Adjustments are made for ingredients, time and temperatures.
We loved this recipe. I made sweet potatoe bread on Thursday that was so horrible, I threw the whole thing away. My witnesses never tried to stop me, if that tells you anÿthing!
Brenda Gonzalez says
Always turns out perfect
Mike Federighi says
I am NOT an experienced or seasoned baker. BUT, I was able to figure out how to shake the pan to make the batter be level throughout the pan. Sorry, I just had to poke some fun at the two negative reviews that ticked me off with their ridiculousness. Great recipe. My coffee cake was delicious.
Thank you so much for posting!!! Also, just a reminder your oven may heat differently, baking times may need slight adjustments, and you are always encouraged to do the toothpick knife test in the middle of a bake good before removing it completely from an oven. Gosh, maybe in comparison I am an experienced and seasoned baker.
Amy says
I would like to make in a 9×13 pan. Will it work?
The Chunky Chef says
As mentioned in the post above the recipe card, my advice would be to use 2 separate 9×9 pans, rather than trying to fit it all into a 9×13 pan. I haven’t tested using a 9×13 with a doubled recipe, and I wouldn’t want your pan to overflow.
Jennifer Adams says
Could I make it a Bundt pan.
The Chunky Chef says
While I’m sure you could, I haven’t tested it and can’t speak to the specifics (oven temp, baking time, etc). If you experiment, I’d love to know how it goes 🙂