Pasta lovers unite!! I love pasta, probably too much lol… so I’m always trying to come up with new pasta dishes with different ingredients that are common and delicious. This one is a keeper! To start, I should talk about the breadsticks though… because let’s face it, once you saw the title, you were already salivating over Olive Garden’s breadsticks. And who could blame you? They’re so yummy!!! These take some prep, since they’re from scratch, but other than a little bit of time, they’re pretty simple. Here’s the link to the recipe:
http://tastesbetterfromscratch.com/2014/09/homemade-olive-garden-breadsticks.html
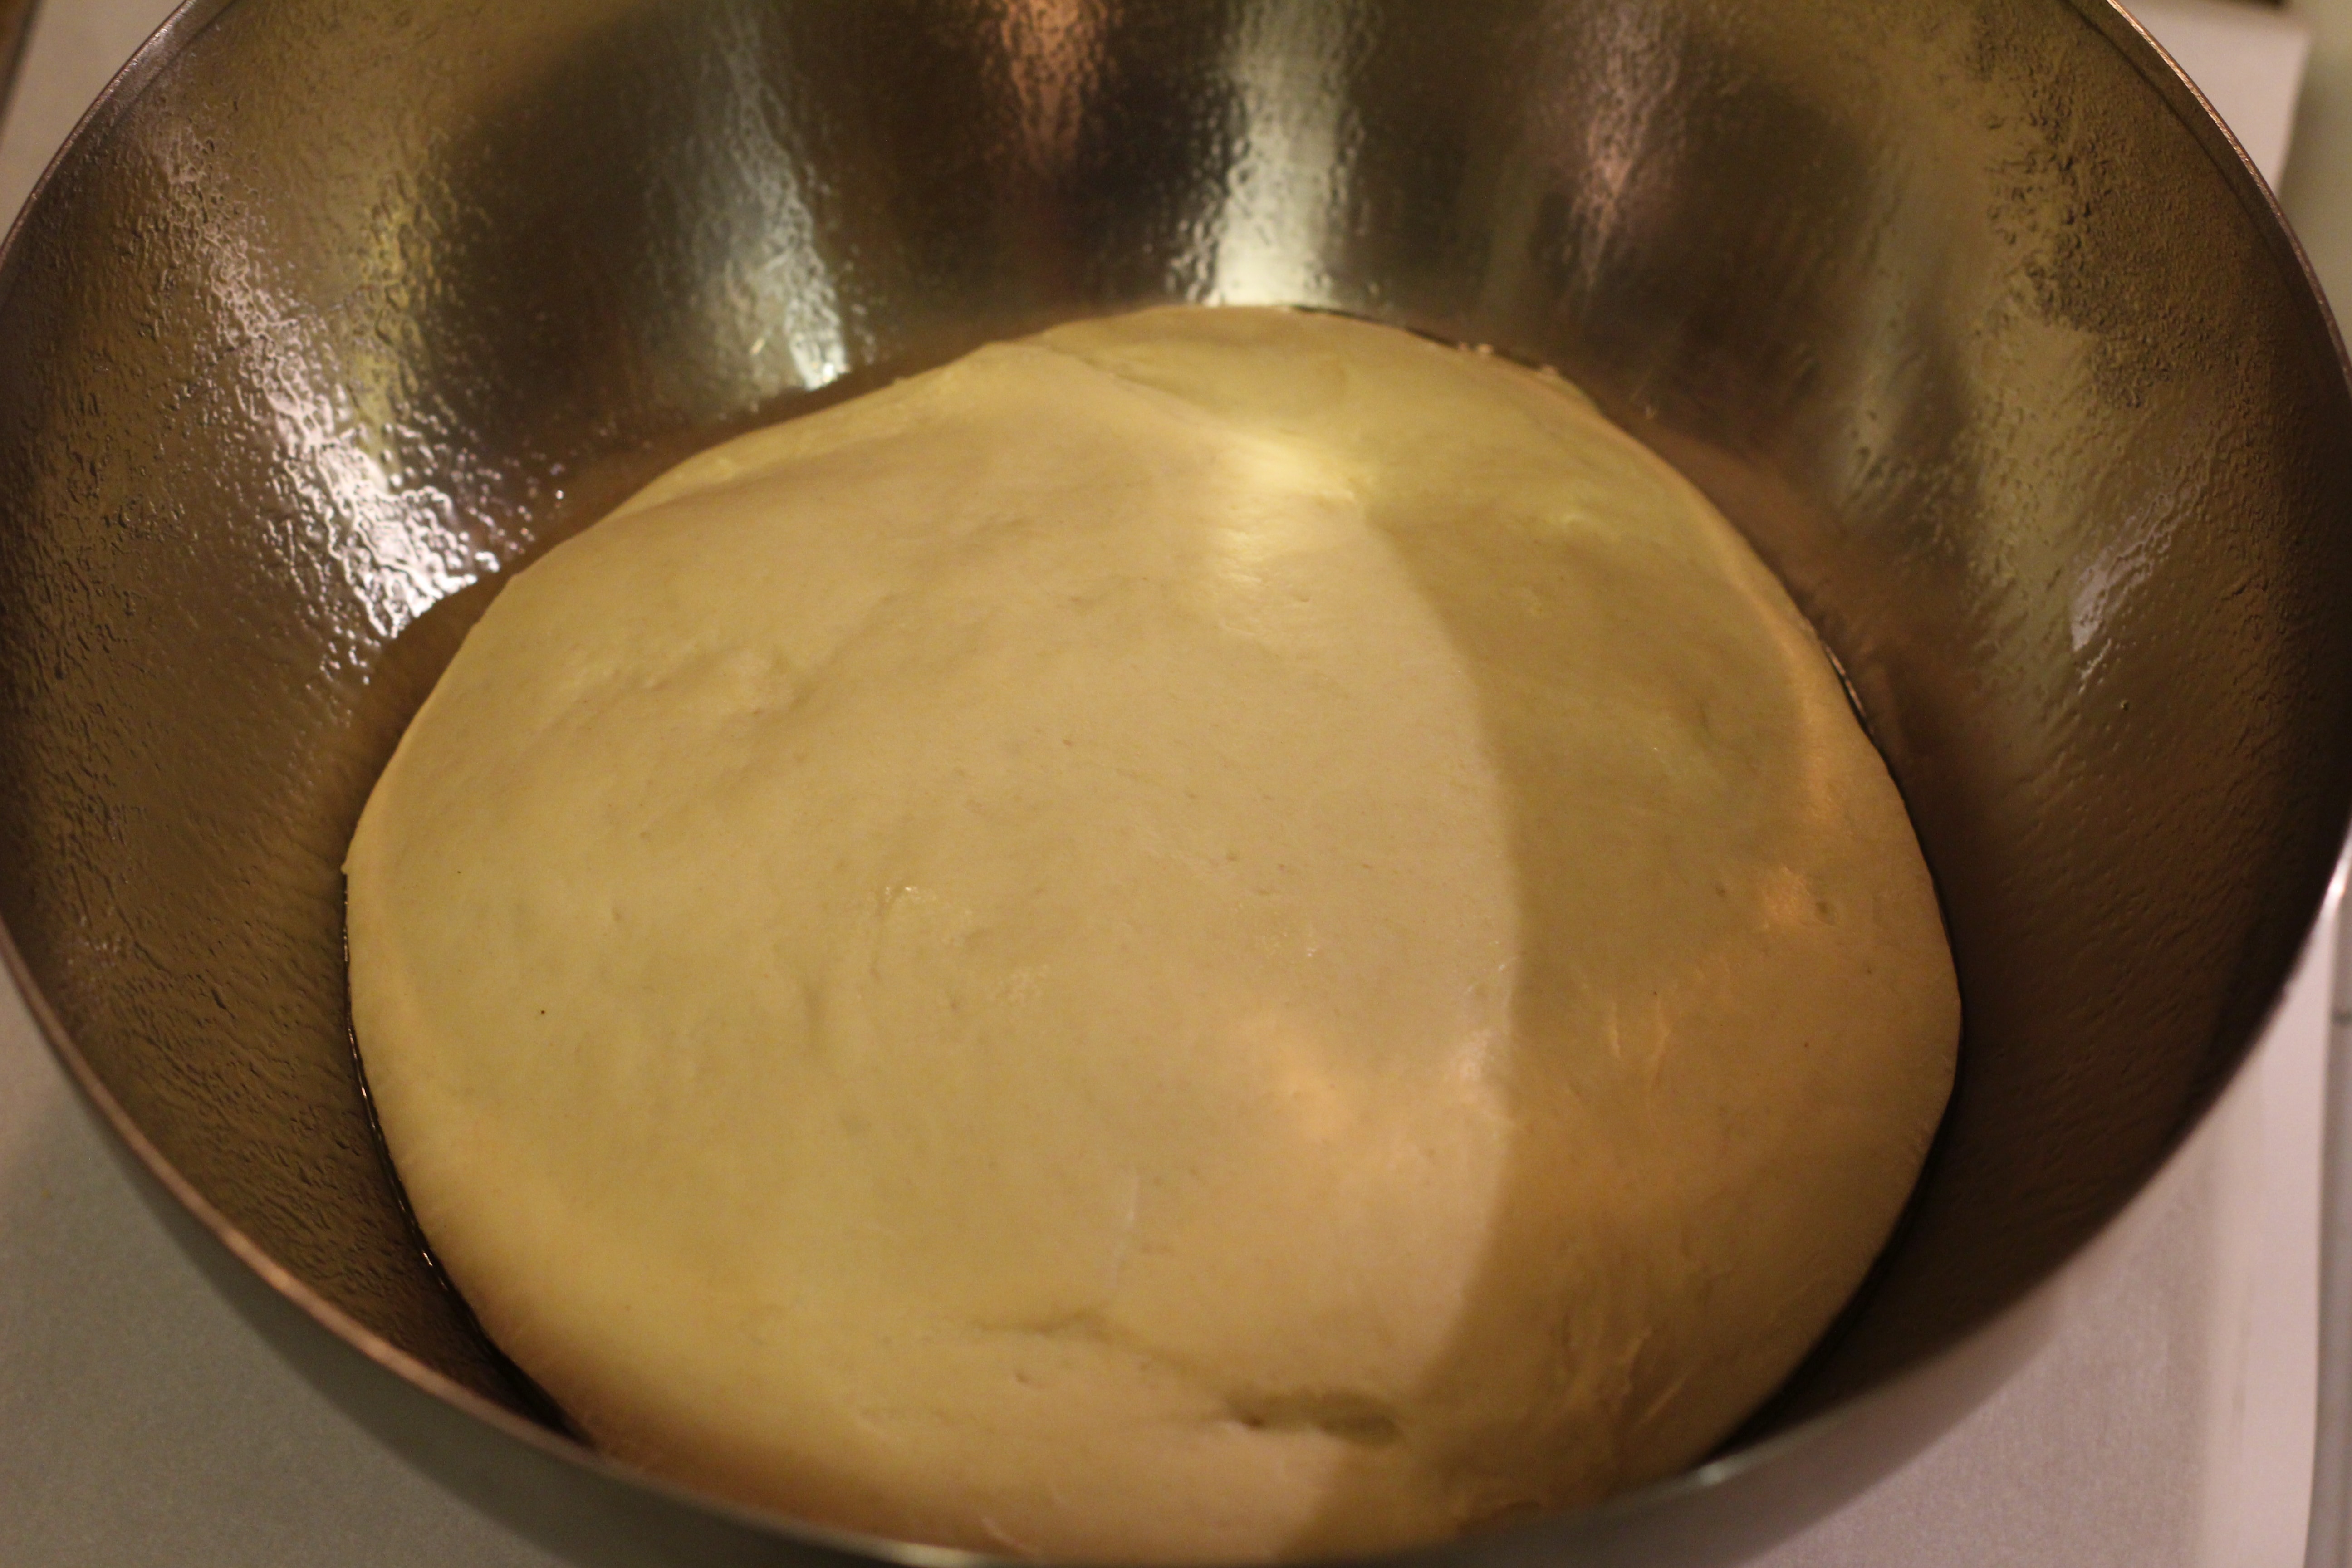
This blob is the dough before it’s risen at all, so place it in a greased bowl, cover with a towel and place it in a warm spot to rise for an hour or hour and a half. Gives you plenty of time to catch up on some Netflix 😉
Now technically, I should have let this rise a little more, but we were pressed for time so I just threw out the rules and said it looks fine to me lol. You can see it has risen and becomes smooth and even more elastic. The color didn’t change, just my lighting did. Roll the dough out into 12 breasticks, place on a greased cookie sheet (I used parchment paper and had to put them on 2 cookie sheets), and let them rise for another hour. Watch a little more Netflix, play with the kiddos, do some laundry etc 🙂 I forgot to take a picture of the breadsticks after the second rise, but just picture fluffy doughy breadsticks. I sprayed them with a little cooking spray and baked them at 425 for about 10 minutes or so. As soon as they came out of the oven I brushed them with melted butter, salt and garlic powder. Ta-da… olive garden breadsticks!!!
The pasta dish is ridiculously simple, and I simplified it even more by cooking my pasta earlier in the day. I just drained the pasta (reserving about 1/2 cup of the pasta water), tossed with a little olive oil and put into a big ziploc bag in the fridge. That way it’s one less thing to have to time, just pull it out of the fridge right when you start cooking the pasta sauce and it’ll warm right up.
http://juliasalbum.com/2014/10/chicken-mozzarella-pasta-with-sun-dried-tomatoes/
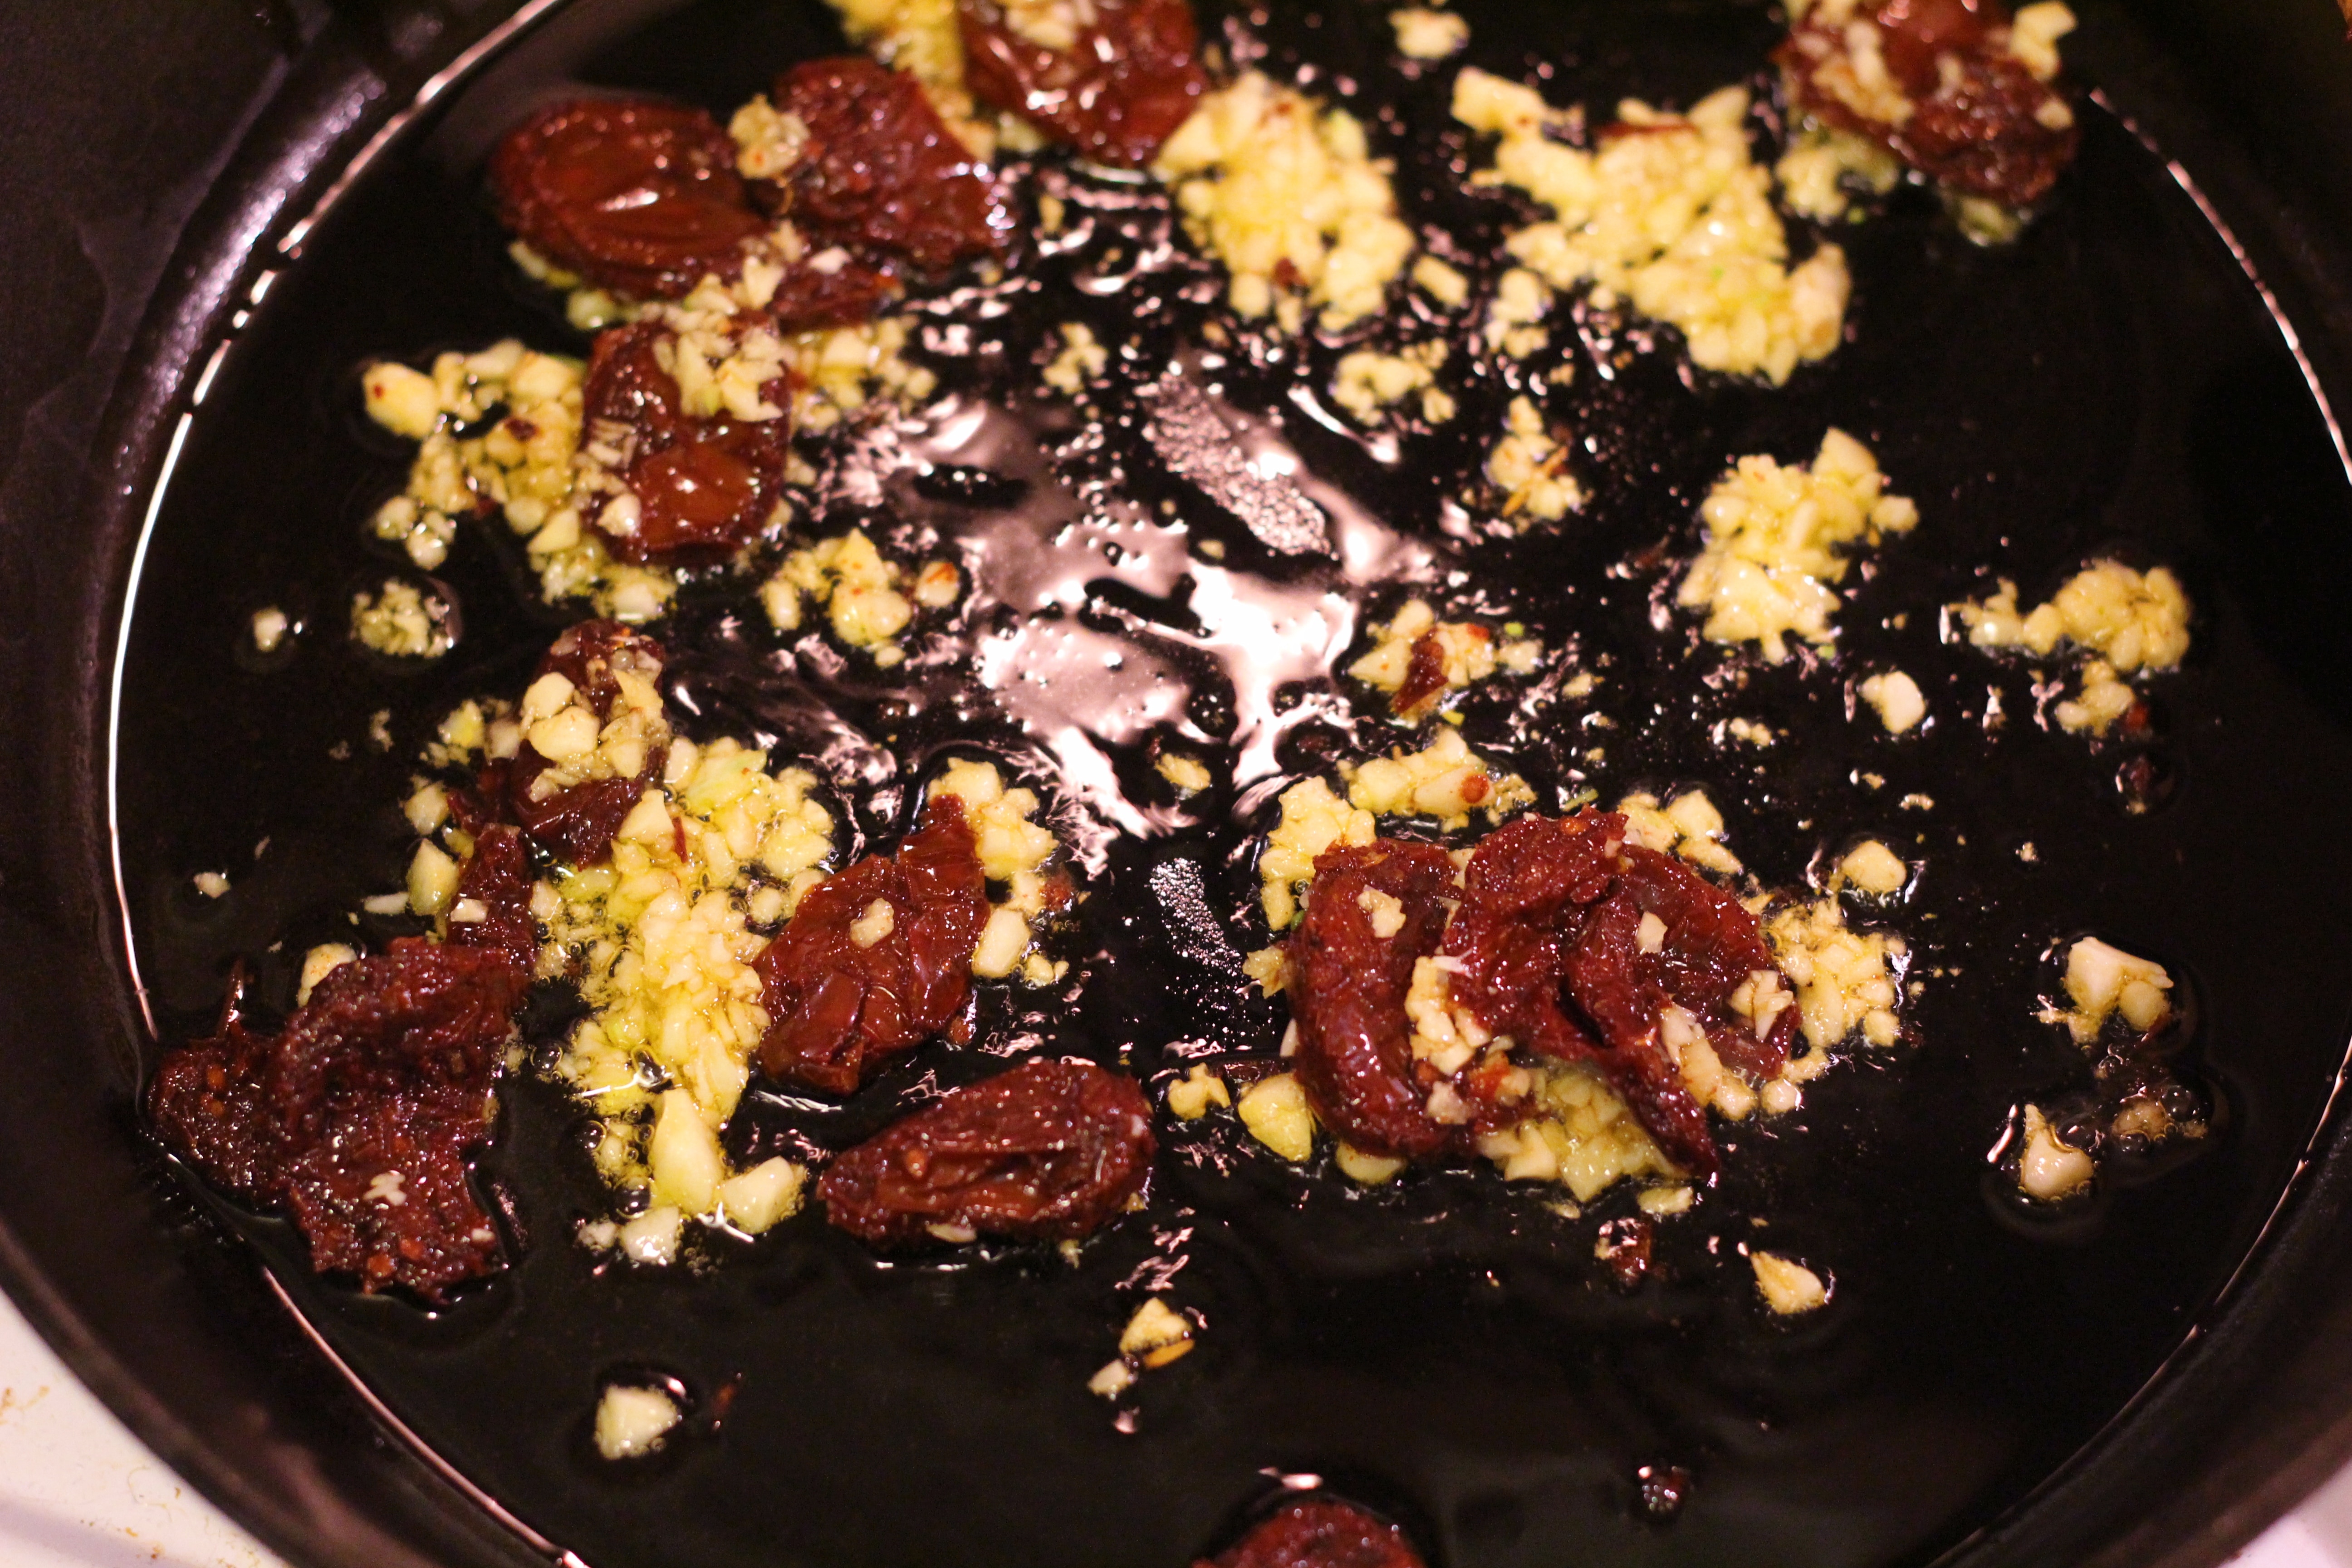
So the pasta starts off with sun dried tomatoes and garlic (can we all just say YUMMM?) sauteing in oil for a few minutes to get fragrant.
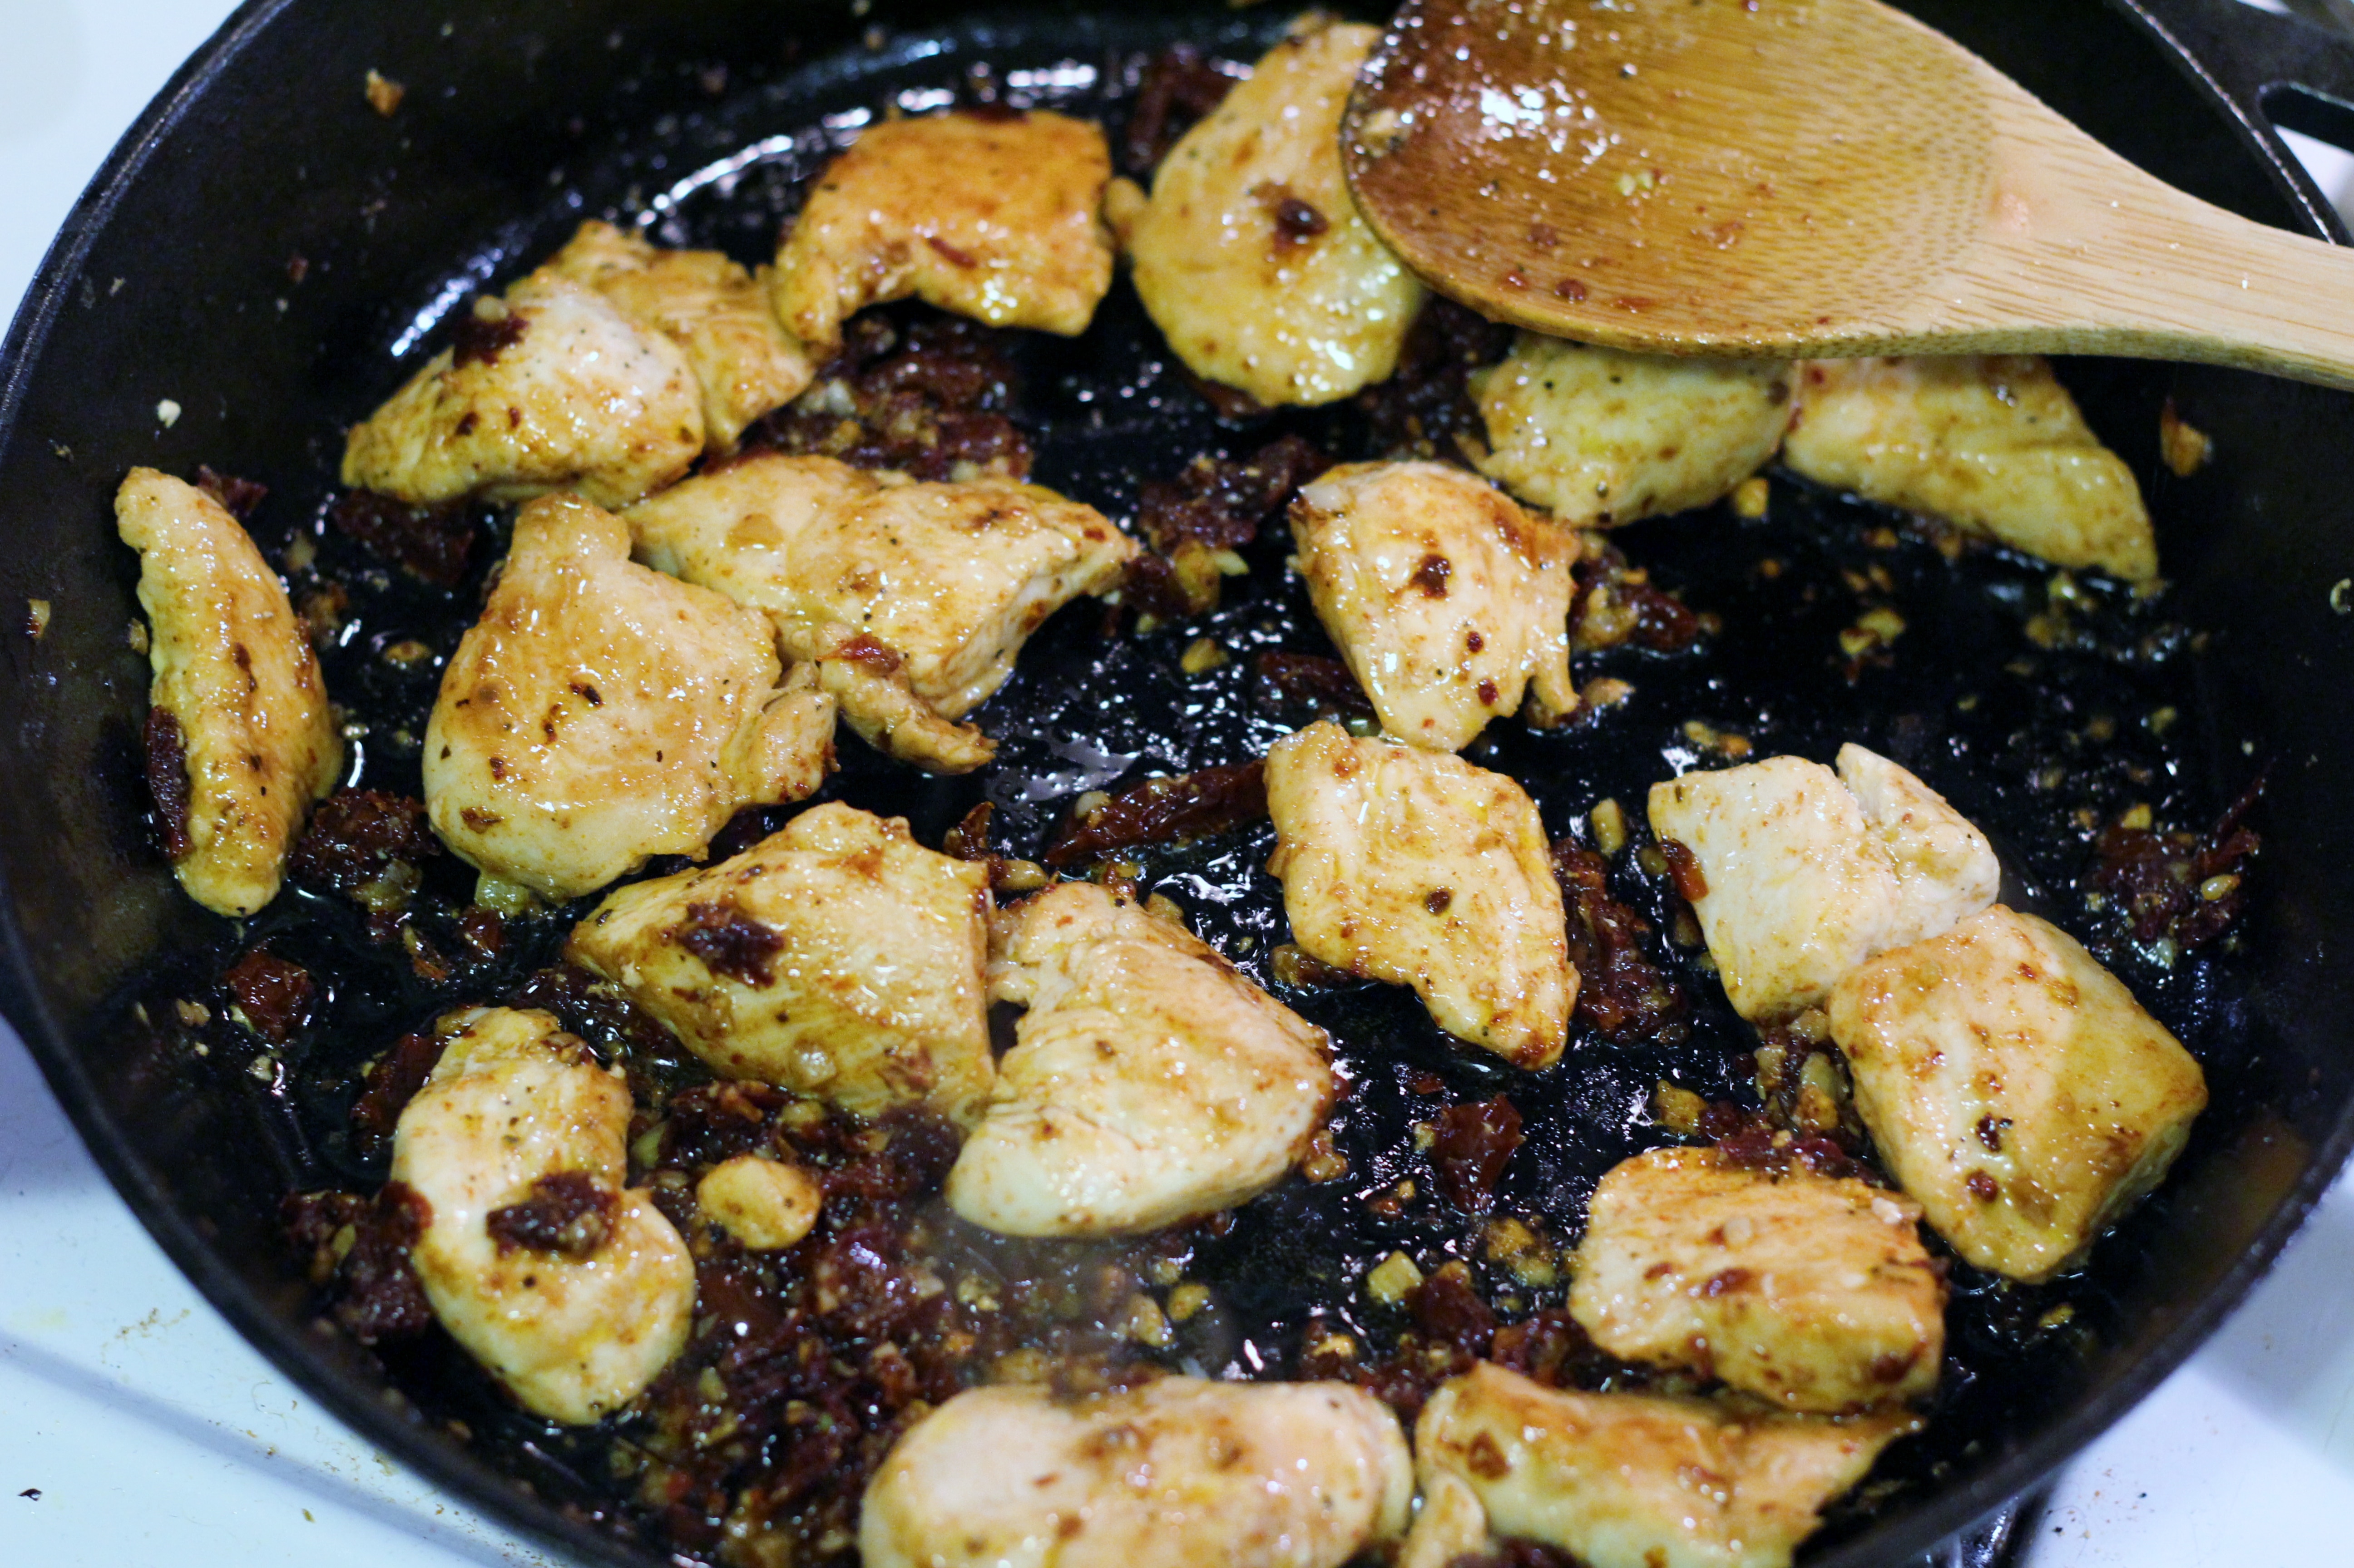
You can just imagine how good that smelled while it was cooking… whew, love it! Once they’ve become fragrant, remove them from the pan and slice. Toss in your chicken and cook for about 2 minutes per side or until cooked through, and then add in the sliced sun dried tomato and garlic mixture.
I just wanted to reach in and eat the chicken right there, but I resisted lol. Add in the half and half and mozzarella cheese and simmer until the sauce becomes thick and cheesy. If it looks too thick, that’s okay, we’ll thin it out soon anyway with the reserved pasta water.
Now chop your fresh basil… my favorite part of the dish!!
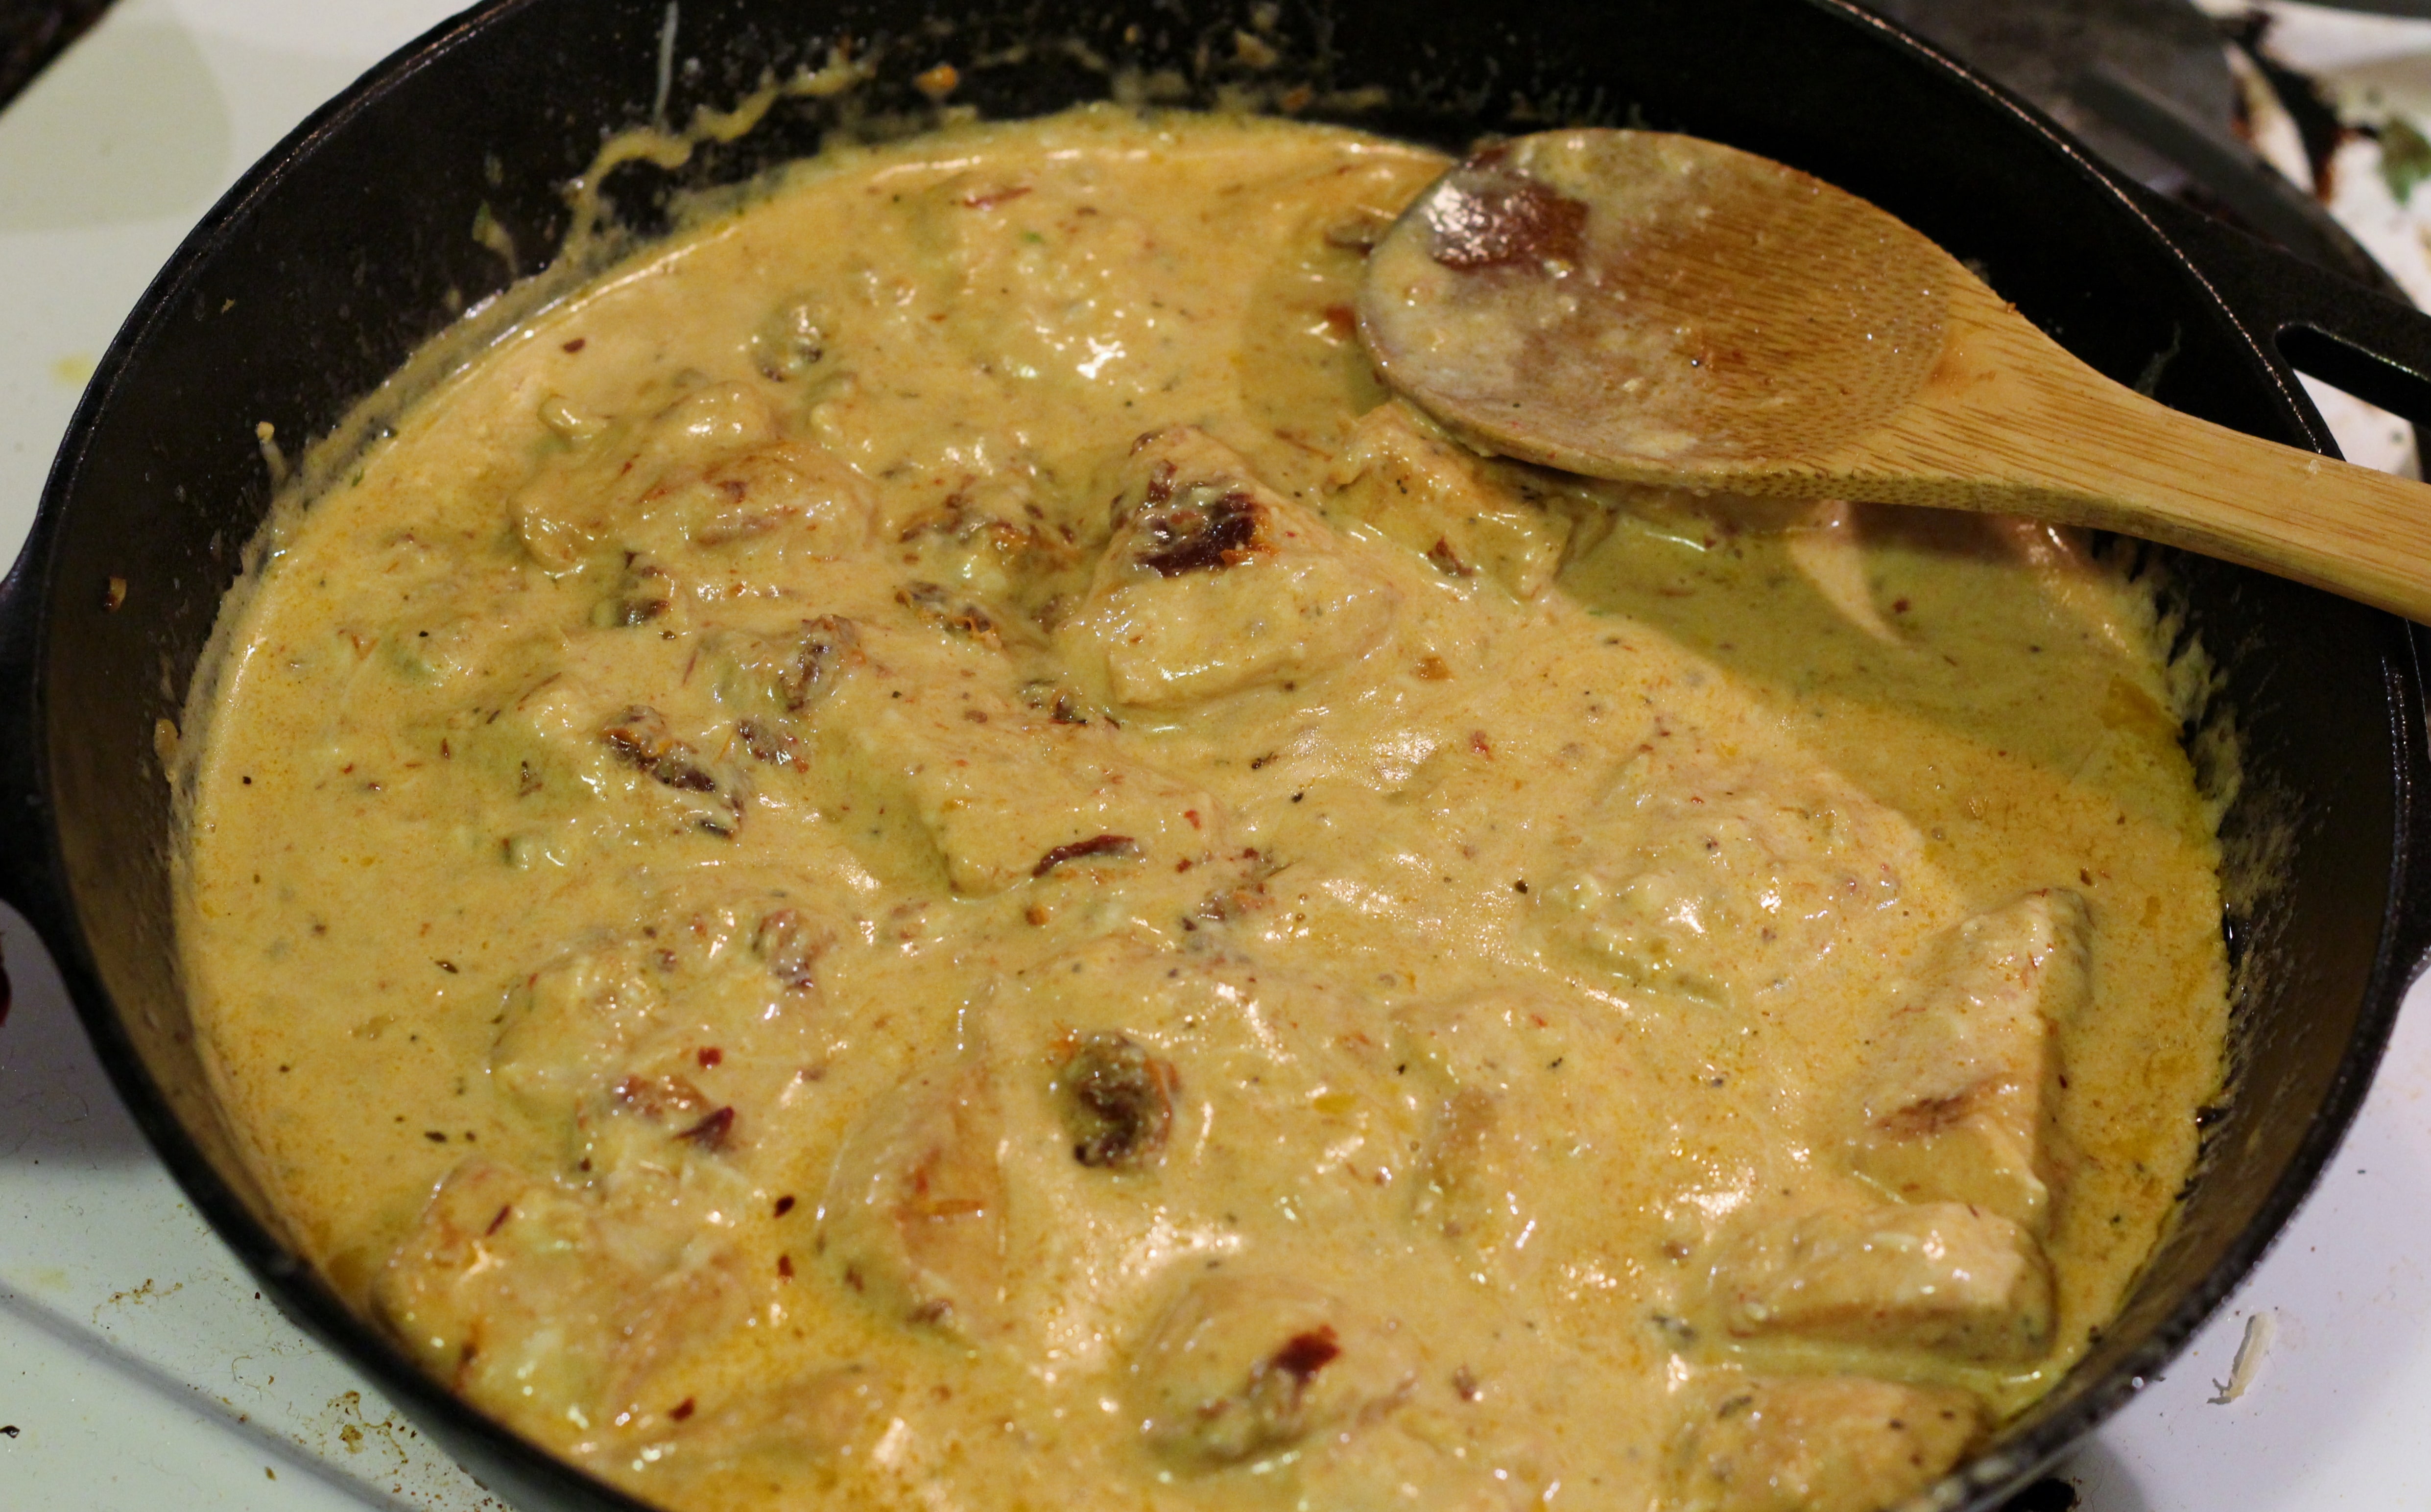
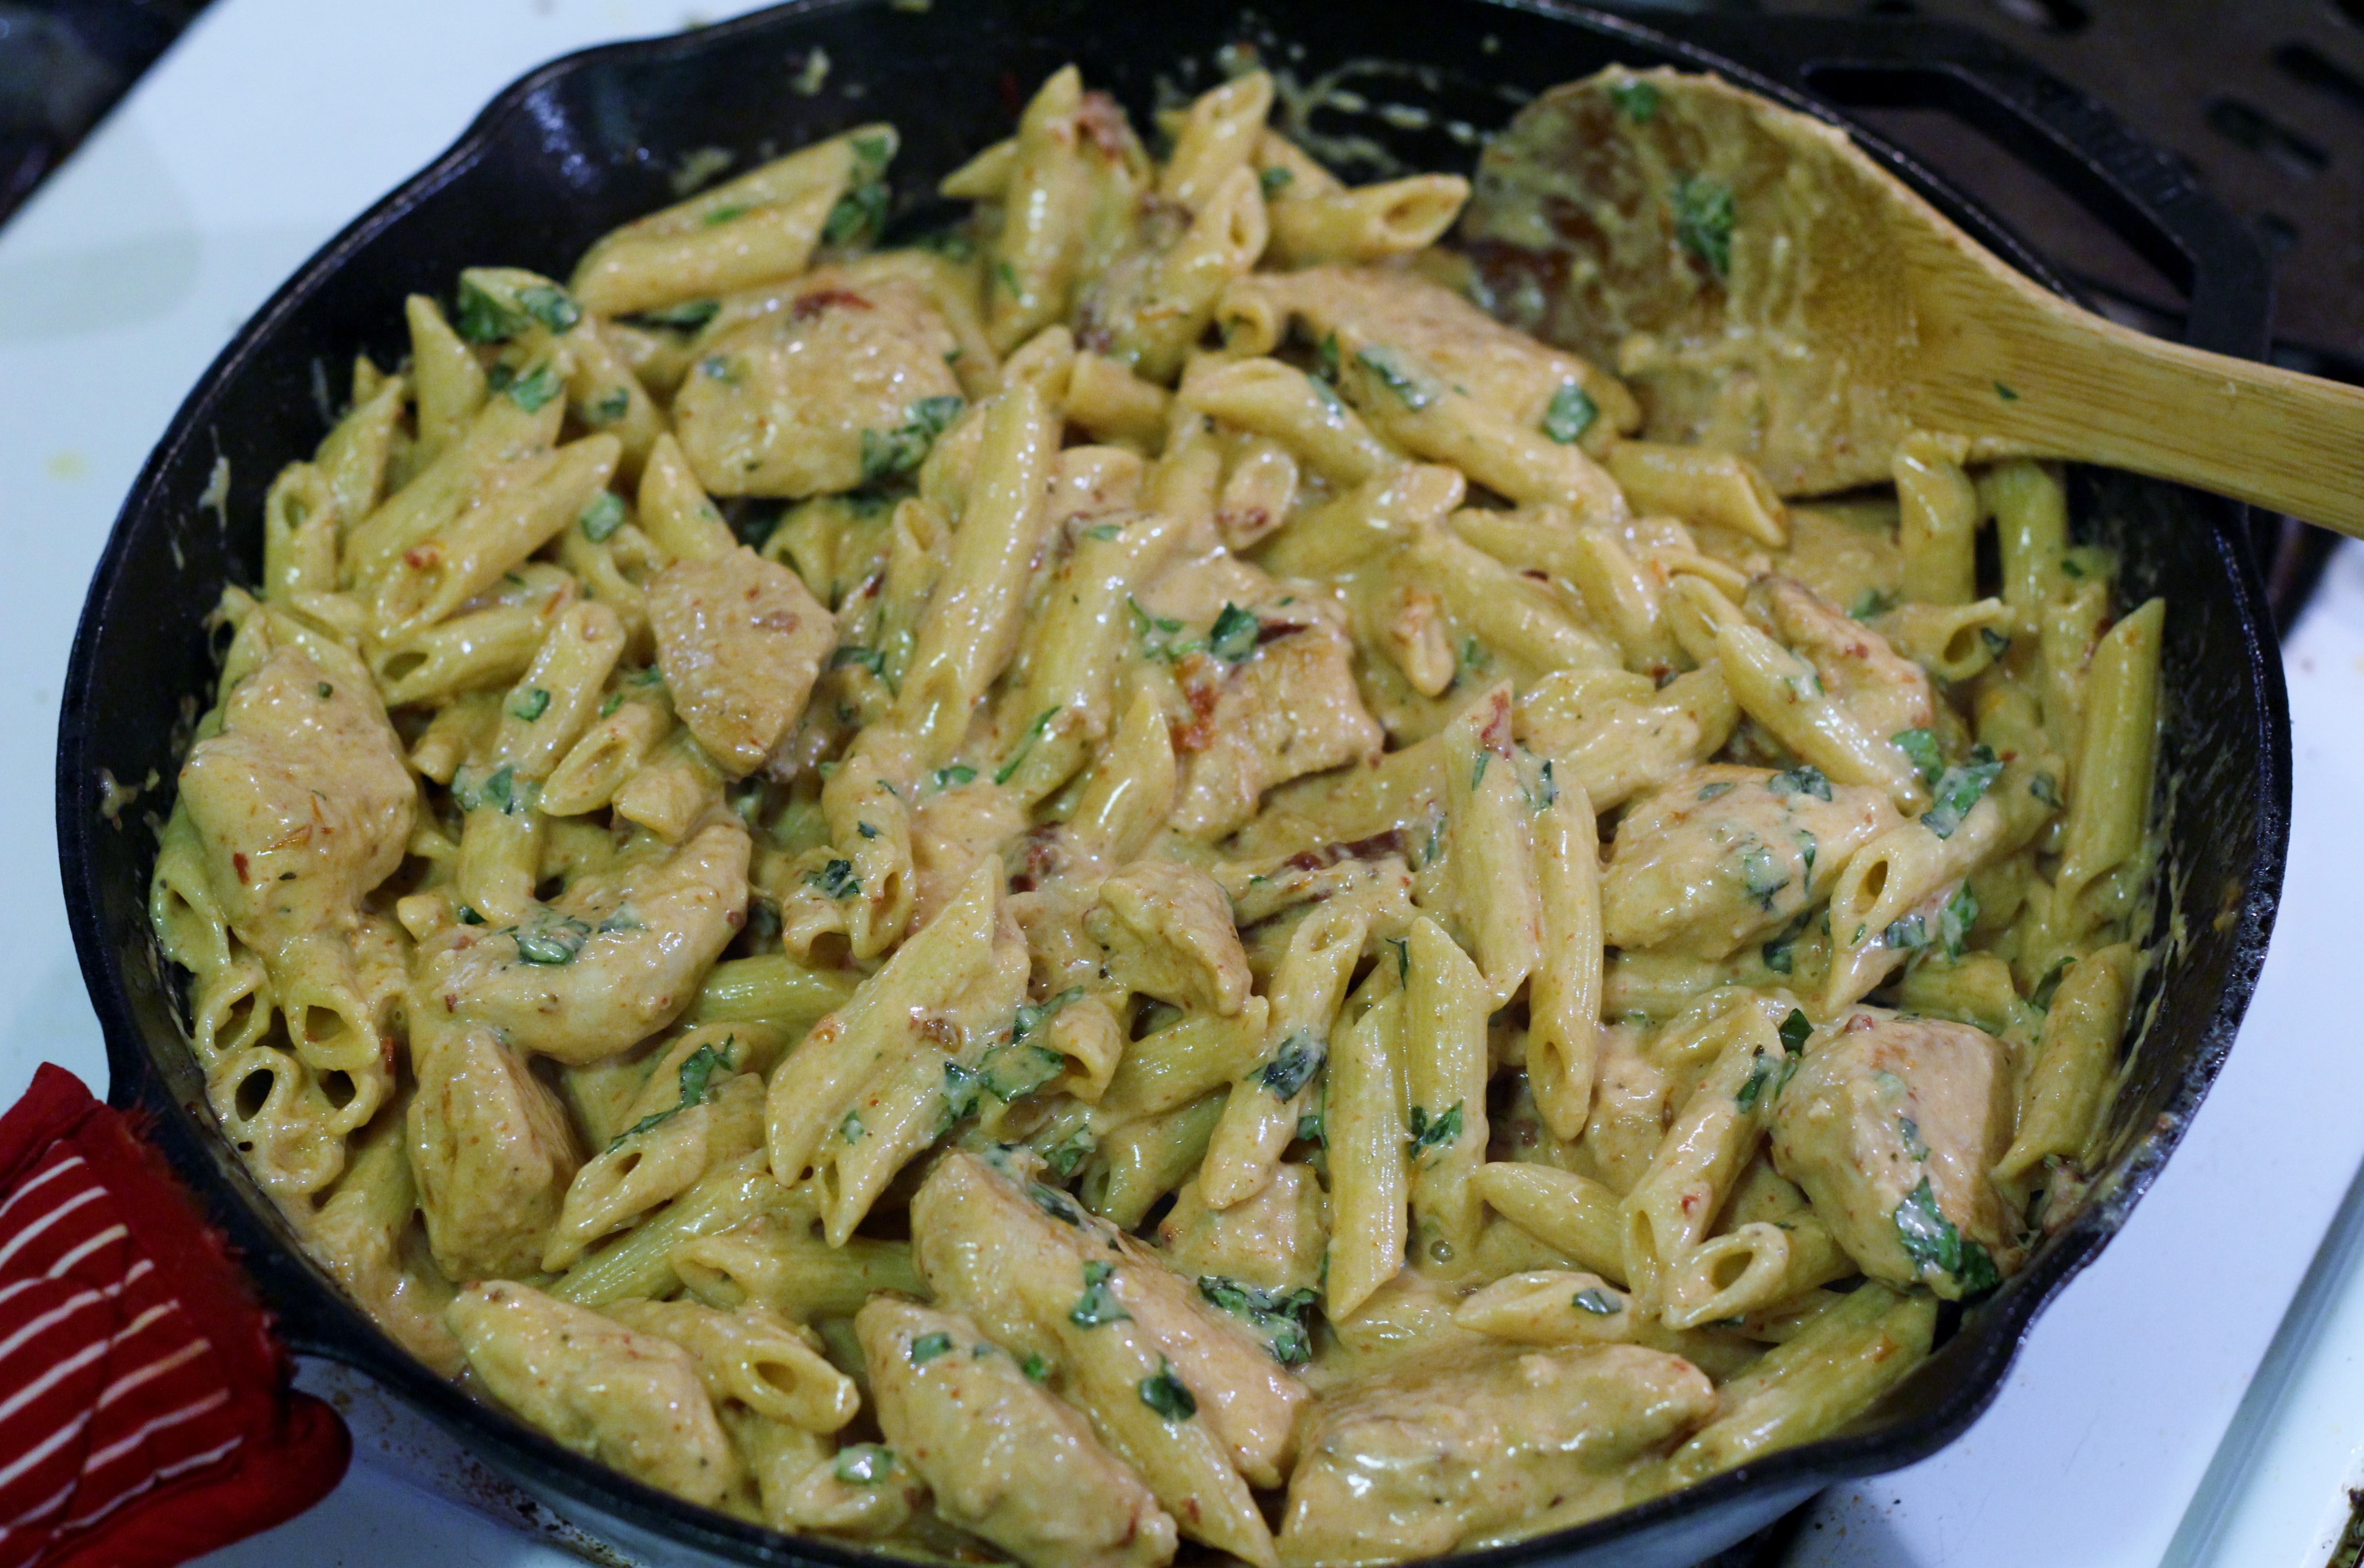
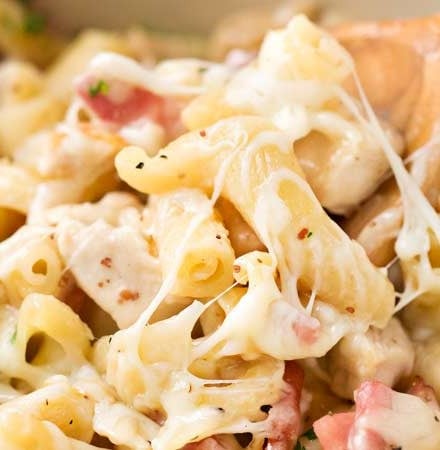
*sigh* doesn’t that just look divine? Ah I love fresh herbs! Okay, okay, back to the recipe lol… toss in your basil and the reserved pasta water (a little at a time) until your sauce has thinned a little. Then add your cooked pasta and stir to combine everything. Let it warm for a few minutes and it’ll look like this
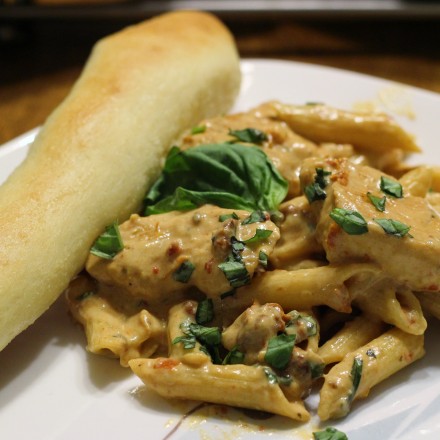
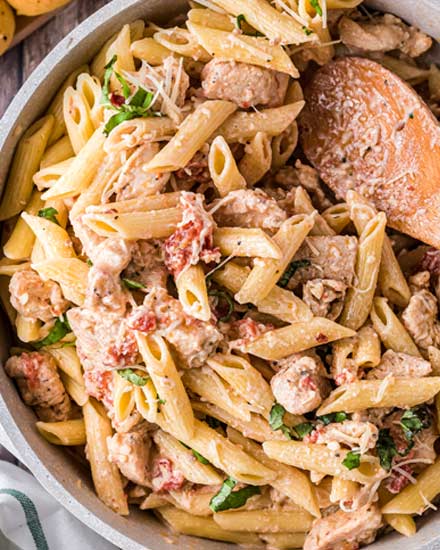
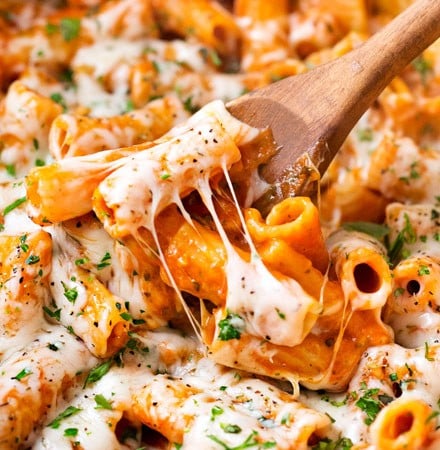
Creamy, fresh, fragrant and delicious! Serve with your breadsticks and you’ve got yourself a great Italian meal that tastes better than the ones you’d pay for at Olive Garden or a similar restaurant 🙂
Beware though… those breadsticks are very addicting!
Did you make this? Be sure to leave a review below and tag me @the_chunky_chef on Facebook and Instagram!
Ingredients
- 1 cup warm water think warm bath water temp
- 2 Tbsp warm water same temp as above ingredient
- 1 1/4 tsp dry active yeast
- 2 Tbsp sugar divided
- 3 - 3 1/4 cups flour all-purpose
- 1 1/2 tsp salt
- 3 Tbsp vegetable oil
- Garlic Butter Topping
- 2 Tbsp butter or margarine
- 1/2 tsp salt
- 1/2 tsp garlic powder
- 1/4 tsp Italian seasoning
Instructions
- In the bowl of a stand mixer, combine yeast, warm water, and 1 tsp of the sugar. Stir until the yeast dissolves and allow to rest/proof for 10 minutes.
- After the yeast has rested and proofed, add the remaining sugar, 1 1/2 cups of flour, vegetable oil and salt. Mix to combine.
- Add the remaining 1 1/2 cups of flour and, using the dough hook attachment, knead mixture for 7 minutes until the dough is smooth and elastic. It should pull away from the sides of the bowl. It will be slightly sticky. If it's too sticky, add the remaining 1/4 cup of flour.
- Place dough in a large, well greased bowl. Cover with a kitchen towel or plastic wrap. Let it rest in a warm place (I use the microwave) for 1 - 1 1/2 hours or until it has doubled. If it's a cool day, place a bowl of water on the bottom rack of your oven and preheat the oven to 200. Once it's preheated, turn it off and place your bowl with the dough in it inside to rise.
- Once dough has risen, punch it down and separate into 12 parts. Roll each part into a 9" rope. Place ropes on a parchment paper lined baking sheet. Cover and let rise again, for 1 hour.
- Spray breadsticks with cooking spray and bake at 425 degrees for 10-12 minutes.
- While the breadsticks are baking, melt your butter and add garlic topping ingredients, mixing well. When the breadsticks are fresh from the oven, brush with the garlic mixture. Serve warm!
Want to save this recipe for later? Click the heart in the bottom right corner to save to your own recipe box!
Chef Tips
Nutrition Disclaimer
The Chunky Chef is not a dietician or nutritionist, and any nutritional information shared is an estimate. If calorie count and other nutritional values are important to you, we recommend running the ingredients through whichever online nutritional calculator you prefer. Calories can vary quite a bit depending on which brands were used.
Did you make this? Be sure to leave a review below and tag me @the_chunky_chef on Facebook and Instagram!
Ingredients
- 5 cloves garlic minced
- 3/4 oz jar sun-dried tomatoes in oil 3-4
- 1 lb chicken tenders
- salt to taste
- 1/4 tsp paprika
- 1 cup half and half
- 1 cup mozzarella cheese shredded
- 8 oz penne pasta 1/2 a box
- 1 1/2 - 2 Tbsp fresh basil minced
- 1/4 tsp red pepper flakes add more to taste
- 1/2 - 1 cup pasta water reserved
Instructions
- Bring large pot of water to a boil. Add a generous pinch of salt and boil pasta until al dente.
- Drain pasta (reserving about a cup of pasta water), rinse with cold water to stop the cooking
- process, and toss lightly with olive oil.
- Drain sun-dried tomatoes, reserving the oil they were packed in (TONS of flavor there!). Heat
- a large pan over high heat, saute garlic and sun-dried tomatoes in the oil from the sun-dried
- tomato jar for 1 minute. Garlic should be fragrant.
- Remove tomatoes from the pan, leaving the oil and garlic. Sprinkle chicken tenders with salt
- and paprika. Add chicken to the pan and cook for 1-2 minutes on each side. Remove pan
- from heat.
- Slice sun-dried tomatoes into small strips and add back to the pan with the chicken and garlic.
- Add in half and half and mozzarella, bring to a boil. Reduce heat to low and simmer, stirring
- frequently, until cheese has melted into a creamy sauce.
- The sauce will be super thick - that's okay, we have our reserved pasta water to thin it out.
- Add pasta to the pan, gently tossing it all together. Add red pepper flakes and basil, stir.
- Add pasta water, a little at a time, until the sauce thins out a little and reaches your desired
- consistency. Season pasta with a little salt and more red pepper if desired. Simmer for 2
- minutes. Serve!
Want to save this recipe for later? Click the heart in the bottom right corner to save to your own recipe box!
Chef Tips
Nutrition Disclaimer
The Chunky Chef is not a dietician or nutritionist, and any nutritional information shared is an estimate. If calorie count and other nutritional values are important to you, we recommend running the ingredients through whichever online nutritional calculator you prefer. Calories can vary quite a bit depending on which brands were used.




Kate says
A fantastic post, Amanda. The pasta was creamy and delicious and the breadsticks were so divine! I like my Penne pasta to have a thick sauce so I used just a little bit of pasta water.
TheLifeJolie says
I’m not normally a sun dried tomato lover, but this looks delicious!
MyAdventuresInDinnerTime says
Thank you!! I find they can be strong most of the time as well
TheLifeJolie says
I grew up with lighter eating habits and they can be quite rich…maybe it’s time for me to give them another shot 🙂
MyAdventuresInDinnerTime says
I’d suggest using maybe a little less as the recipe was fairly tomato heavy… but tasty for sure 🙂
TheLifeJolie says
Thank you for the suggestions 🙂
MyAdventuresInDinnerTime says
You’re welcome, I hope you like it! 🙂
Steve says
WOW that looks good!
Amanda says
It was definitely tasty!!