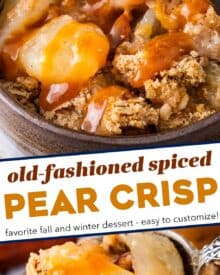
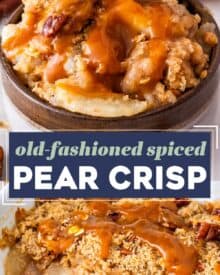

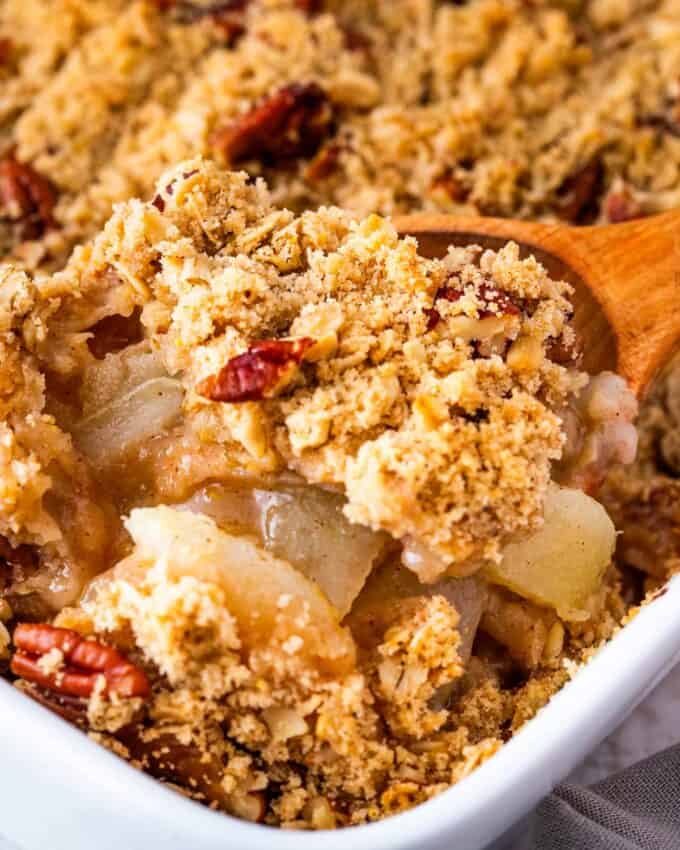
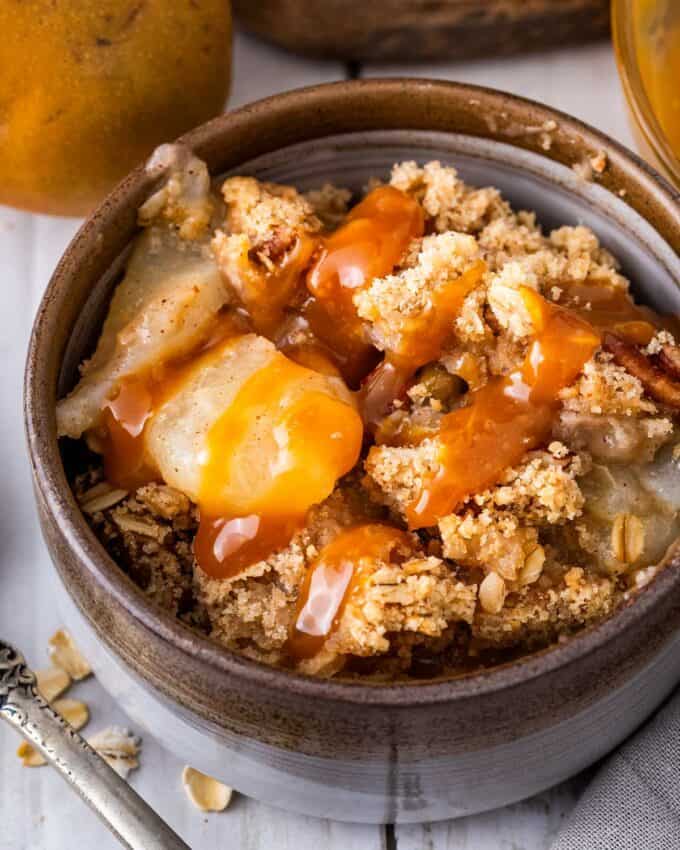
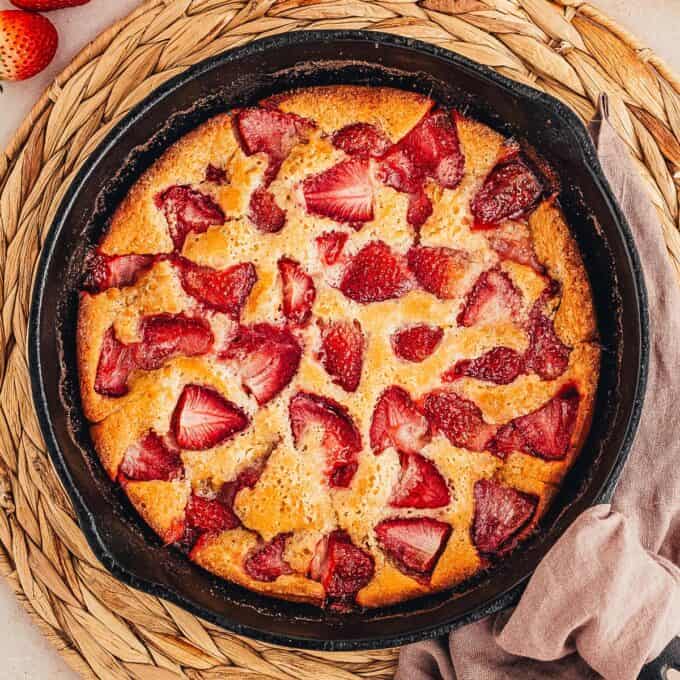
Take a bite out of Fall with this spiced pear crisp! This easy dessert is made the old-fashioned way like Grandma used to make, and is perfect with a scoop of vanilla ice cream and salted caramel sauce drizzled over the top!
This is one of my Crisp/Cobbler/Crumble recipes I know you’ll want to keep on hand!

Do you have a classic Fall dessert that you just LOVE? I have several, but one of them is definitely a classic fruit crisp!
Growing up, my Mom had two signature desserts that she made; one was her famous Carrot Cake, and the other was a mouthwatering apple crisp!
While an apple crisp recipe has been on the website for about 8 years, and lately many readers have been asking about making a pear crisp… so this is that amazing recipe.
I’ve tweaked things so that you end up with a non-watery filling, and added citrus zest to really bring out all the other amazing flavors!
Why you’ll love this recipe!
- Fresh – using fresh pears mean this dessert tastes extra fresh and sweet.
- Customize-able – the spices can be customized to your tastes.
What do I need to make this recipe?
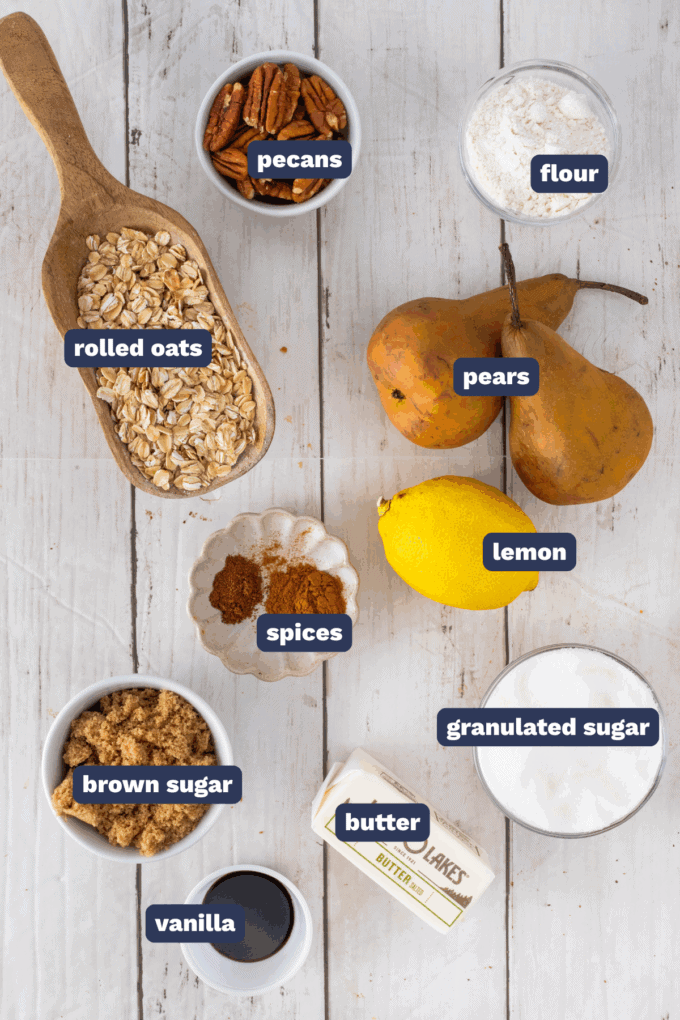
- Pears – you can use any variety of pears that you like, but I prefer to use Anjou or Bosc.
- Lemons – this recipe uses both the zest and the juice of a lemon.
- Granulated sugar – this is added to the pear mixture.
- Flour – this is used in both the pear mixture and the crisp topping. No fancy variety is needed though, just all purpose.
- Vanilla – I prefer to use real vanilla extract, as opposed to the clear imitation vanilla.
- Spices – the base spices are cinnamon and nutmeg.
- Oats – you want to pick up old-fashioned rolled oats, not quick or instant, as they’ll have a softer texture.
- Brown sugar – I prefer to use light brown sugar, but dark will also work.
- Butter – I like to use salted butter in the topping, but if you only have unsalted, just add a pinch of salt to the topping mixture.
- Pecans – these add a great crunch, but walnuts or almonds can be used instead.
How to make spiced pear crisp:
This is just an overview; the full ingredients and directions are in the recipe card toward the bottom of this post.
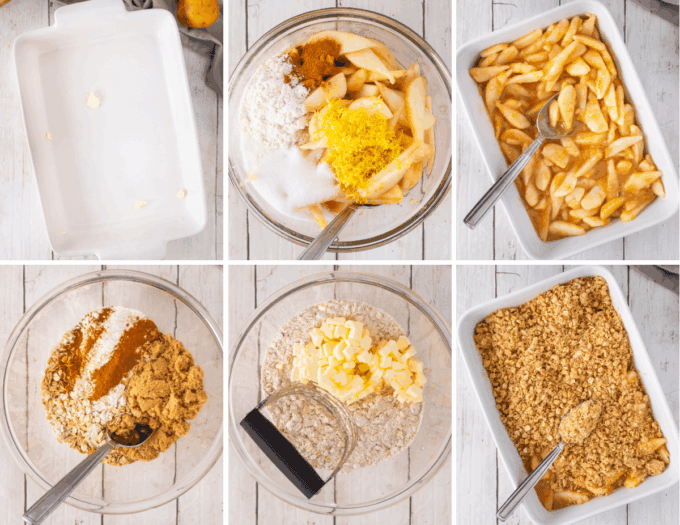
- Prepare baking dish. You could use cooking spray, but I prefer to lightly butter the dish.
- Mix filling. Give all the pear filling ingredients a good stir.
- Start to assemble. Transfer the filling to prepared baking dish.
- Mix dry ingredients for topping.
- Cut in butter. Having little cold butter pieces in the topping as it bakes is what makes that glorious streusel-like crisp topping.
- Assemble and bake. Sprinkle topping over the pear filling, and bake.
Helpful Tip!
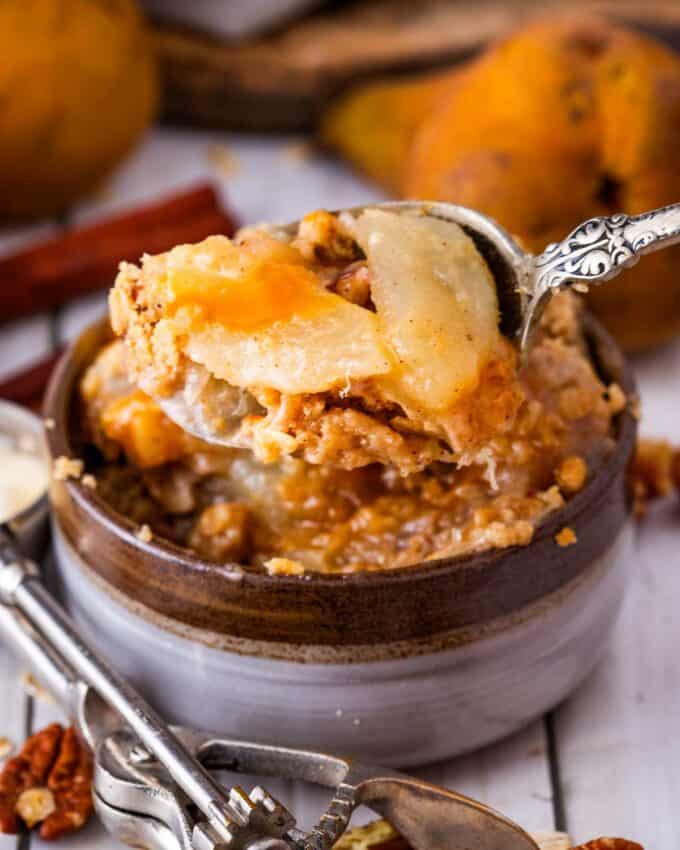
When choosing fresh pears, I like to pick up some Bosc or Anjou pears, since they hold up better to the baking process. Be careful not to pick up any over-ripe pears, as they’ll turn into mush. You want ripe, but firm pears.
Variations of this recipe
- Citrus – instead of lemon, you could try using orange zest and juice.
- Spices – in the crisp topping, instead of nutmeg, try using cardamom. Or if you really enjoy the warm spices, you can use both nutmeg and cardamom.
- Nuts – walnuts and almonds are some other great nut options. If you’d prefer to be nut-free, you can simply omit them.
- Unpeeled – if you’d rather not fuss with peeling the pears, you can use them unpeeled in this recipe. I don’t find that the texture bothers me, but my kids don’t enjoy it, so I typically peel them.
FAQ’s
The main difference is that the topping on a crumble typically doesn’t contain oats, while the topping of a crisp does have oats.
I don’t recommend it, as the filling ends up entirely too mushy for my tastes. In a pinch you could try using canned pears, but you’ll likely want to adjust the baking time down a bit since they won’t need to bake as long to be tender.
Making pear crisp ahead of time
I find this recipe tastes best when made fresh before serving, but it can technically be made entirely ahead of time. Follow the storage and reheating tips below.
Storage
Leftover crisp should be covered and refrigerated, and enjoyed within 5 days.
I find it’s best reheated in a 350°F oven for about 20-30 minutes, or until the filling is hot and the top is crispy.
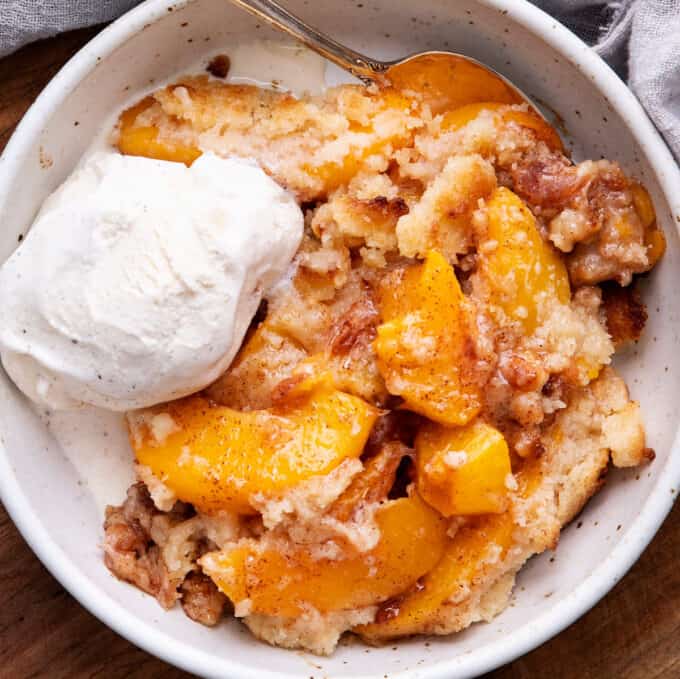
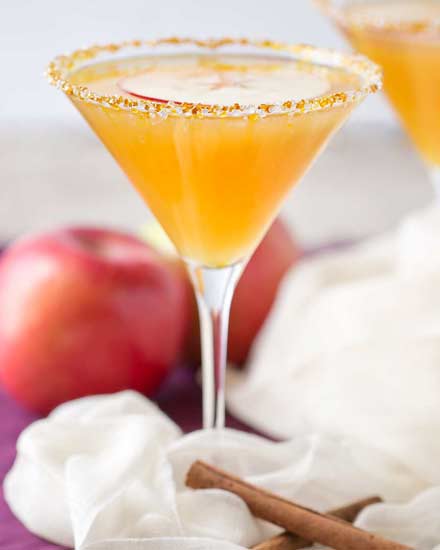
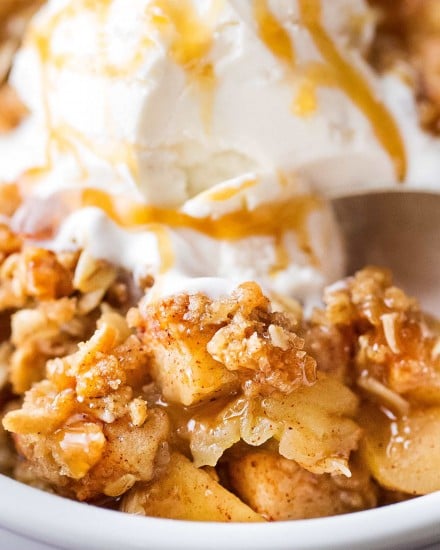
More Fruit Dessert Recipes:


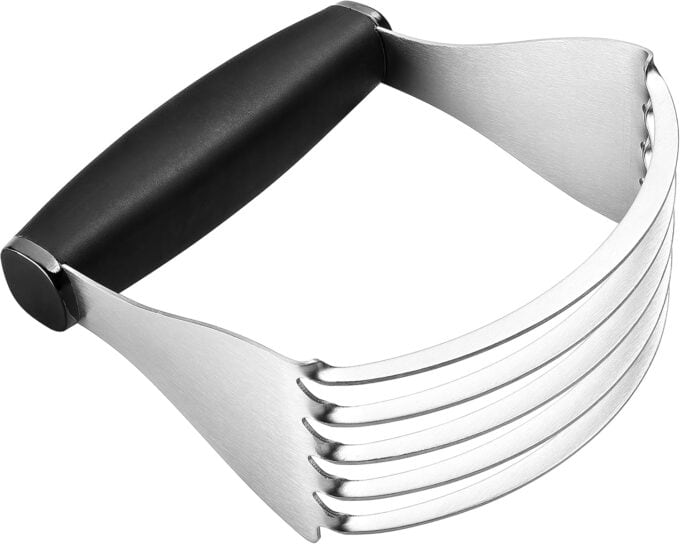
My Favorite Pastry Cutter!
You can make this dessert recipe without one, but making a buttery topping is even easier when you have a pastry cutter/blender! I love that this one sturdy and the blades don’t bend nearly as easily as some other brands.
Did you make this? Be sure to leave a review below and tag me @the_chunky_chef on Facebook and Instagram!

Ingredients
Pear filling
- 8 ripe but firm pears peeled, cored, and sliced
- 1 Tbsp lemon zest
- 1 – 2 Tbsp lemon juice fresh is best
- 3/4 cup granulated sugar
- 3 Tbsp all purpose flour
- 1 tsp vanilla extract
- 1 tsp ground cinnamon
Crisp topping
- 1 1/2 cups all purpose flour
- 3/4 cup old-fashioned rolled oats not instant
- 3/4 cup packed light brown sugar
- 1/2 tsp ground cinnamon
- 1/4 tsp ground nutmeg
- 1/2 cup salted butter cold and cut into small cubes
- 3/4 cup chopped pecans optional but recommended
Instructions
Prepare
- Preheat oven to 350°F. Lightly butter a 9×13" baking dish and set aside.
Make pear filling
- To a large mixing bowl, add the sliced 8 ripe but firm pears, 1 Tbsp lemon zest, 1 – 2 Tbsp lemon juice, 3/4 cup granulated sugar, 3 Tbsp all purpose flour, 1 tsp vanilla extract, and 1 tsp ground cinnamon. Stir to combine.
- Transfer mixture to prepared baking dish.
Make crisp topping
- To another mixing bowl, add 1 1/2 cups all purpose flour, 3/4 cup old-fashioned rolled oats, 3/4 cup packed light brown sugar, 1/2 tsp ground cinnamon, 1/4 tsp ground nutmeg, and 1/2 cup salted butter (cut into small cubes).
- Use a pastry cutter to work the butter pieces into the dry ingredients, until pea-sized crumbs form. If you don't have a pastry cutter, you can use two forks (working in a criss cross motion), or your fingers.
- Stir in 3/4 cup chopped pecans, and sprinkle evenly over the pear filling.
Bake
- Bake in preheated oven for 40-45 minutes, or until the topping is golden brown, the filling is bubbling at the edges, and the pears are fork tender.
Cool and serve
- This dessert can be served warm or at room temperature, but even if serving it warm, you want to let it cool for 10 minutes or so, otherwise you may burn yourself.
- We prefer to serve it warm, topped with some vanilla bean ice cream, caramel sauce, or whipped cream!
Want to save this recipe for later? Click the heart in the bottom right corner to save to your own recipe box!
Chef Tips
- I’ve estimated this recipe serves about 8, but feel free to divide it into as many servings as you’d like.
- If you’d like to divide this recipe in half, you can bake it in an 8×8″ baking pan, keeping the baking time about the same.
Nutrition Disclaimer
The Chunky Chef is not a dietician or nutritionist, and any nutritional information shared is an estimate. If calorie count and other nutritional values are important to you, we recommend running the ingredients through whichever online nutritional calculator you prefer. Calories can vary quite a bit depending on which brands were used.

Mary says
So good and so easy. My family’s only complaint was that I didn’t make a second batch. This one is a keeper.