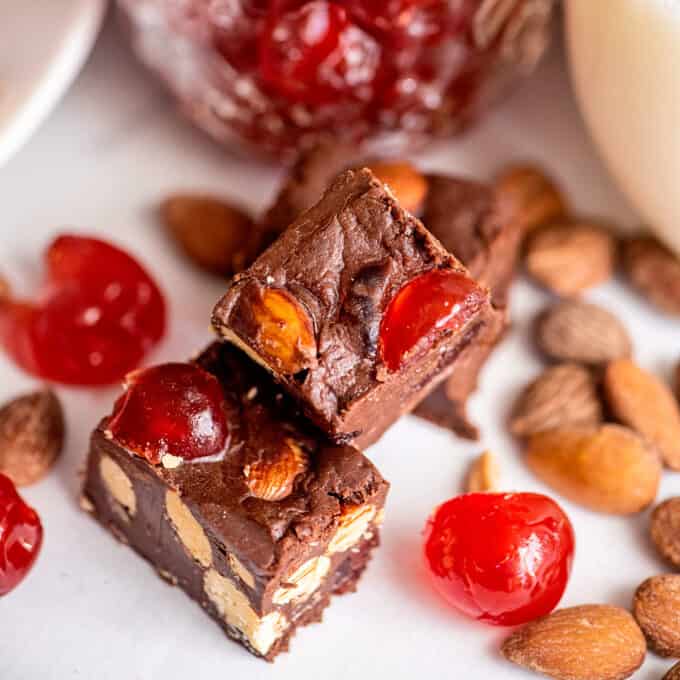
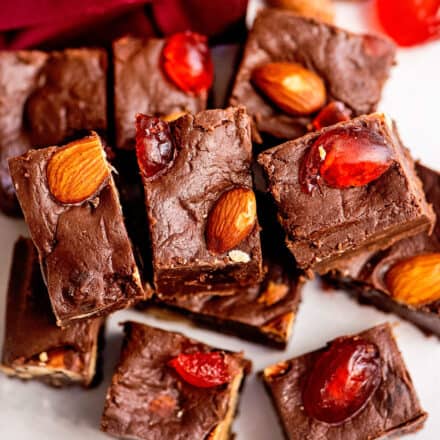
This Cherry Almond Chocolate Fudge is thick, smooth, and oh so chocolate-y, and studded with salted almonds and sweet candied cherries. Made easily with NO candy thermometer, this fool-proof fudge recipe is perfect for any holiday!
This is one of my Holiday Dessert recipes I know you’ll want to keep on hand!
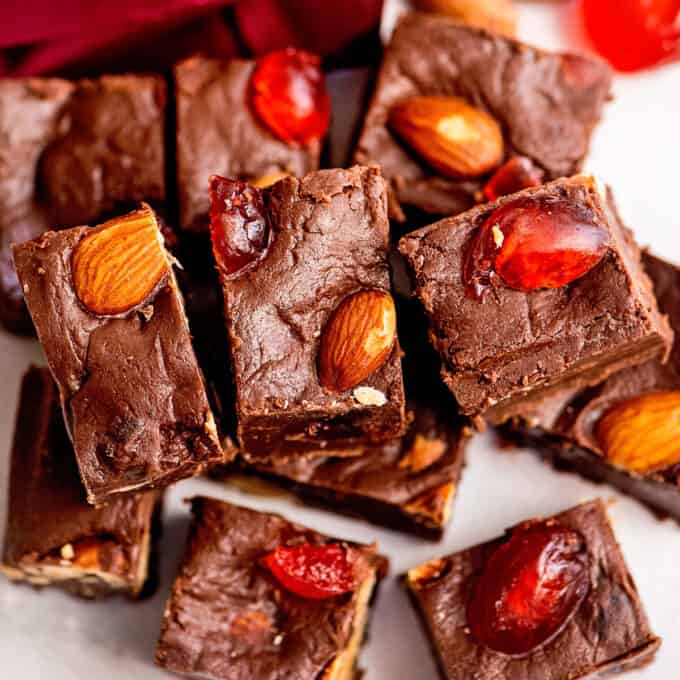
Holiday baking is in full swing, and I don’t know about you, but I could use some more no bake treats. My oven has been working overtime and no bake desserts are generally quicker and easier.
And this year, I’m all about the easy treats. It’s been a rough year for all of us, so why not take it easy on yourself?
Usually, fudge recipes require a mixture to be brought to a specific temperature, then beaten until it loses its gloss.
It’s not particularly complicated, but you will need a candy thermometer, and some time. And you know what, I don’t even own a candy thermometer, and I’m betting a lot of you don’t either.
So that’s the motivation behind this easy fudge recipe. Make it easy, make it accessible, and make it with simple ingredients. Check, check, and check!
Plus chocolate, almond and cherry flavors are just plain made for each other.
How to make cherry almond chocolate fudge?
This is just an overview; the full ingredients and directions are in the recipe card toward the bottom of this post.
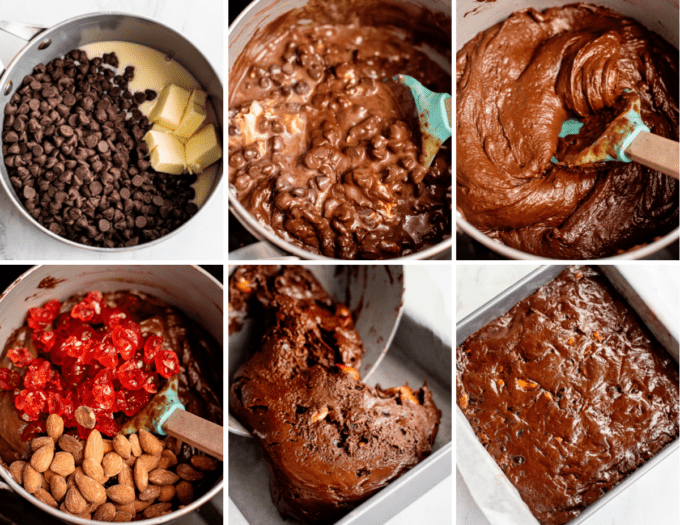
- Prepare pan. The baking pan must be greased well, or removing the fudge will be very difficult.
- Melt chocolate. Heat the chocolate chips, sweetened condensed milk and butter over low heat.
- Stir in cherries and nuts.
- Transfer fudge to prepared baking pan. If you want, you can sprinkle some extra almonds and cherries over the top.
- Cover and chill. This needs to be at least 4 hours, or overnight if possible.
- Slice and serve.
Helpful Tip!
whenever I’m making fudge, or any kind of bars, I like to line my baking pan with parchment paper, with long enough ends that some overhangs, or at least comes up an inch or more up from the fudge. This is so I can grab those sides and easily lift the fudge right out of the pan, without having to try and use a spatula to mangle get out a square.
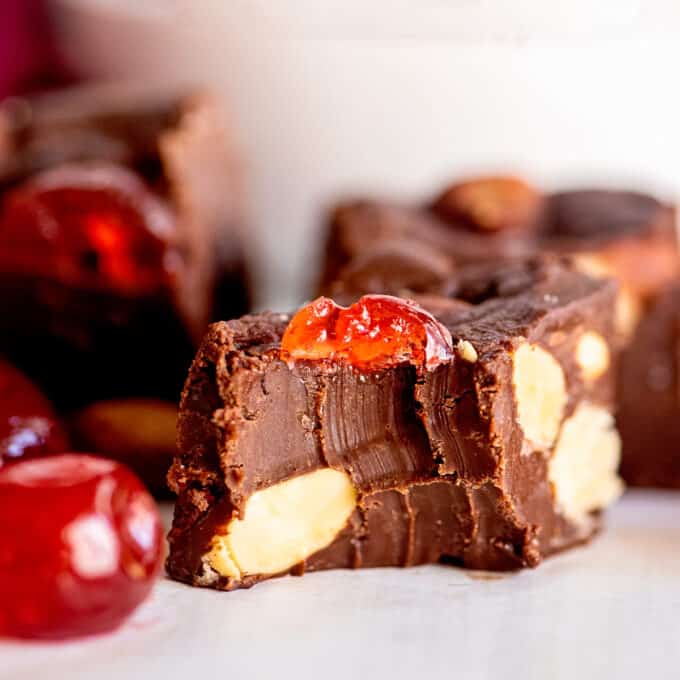
Variations of this recipe
- Doubled – this recipe is very easily doubled, just make sure to double all ingredients and use a 9×13″ pan.
- Other mix-ins – if cherry and almond aren’t your thing, you can use other mix-ins if you’d like. Just make sure you have 1 total cup of mix-ins.
- Toppings – also, if you wanted to add some toppings to the fudge before it sets, be my guest! Sometimes I like to add a drizzle of white chocolate, but feel free to add your favorites.
- Different chocolate – we like the semi-sweet, but you can use dark or milk chocolate instead. Just make sure you’re using high quality chocolate.
- Maraschino cherries – this recipe tastes the best when using candied cherries, which I was able to find at my small local grocery store. Maraschino cherries would probably be the next best thing, but they don’t taste as good, and you’d have to dry them extremely well.
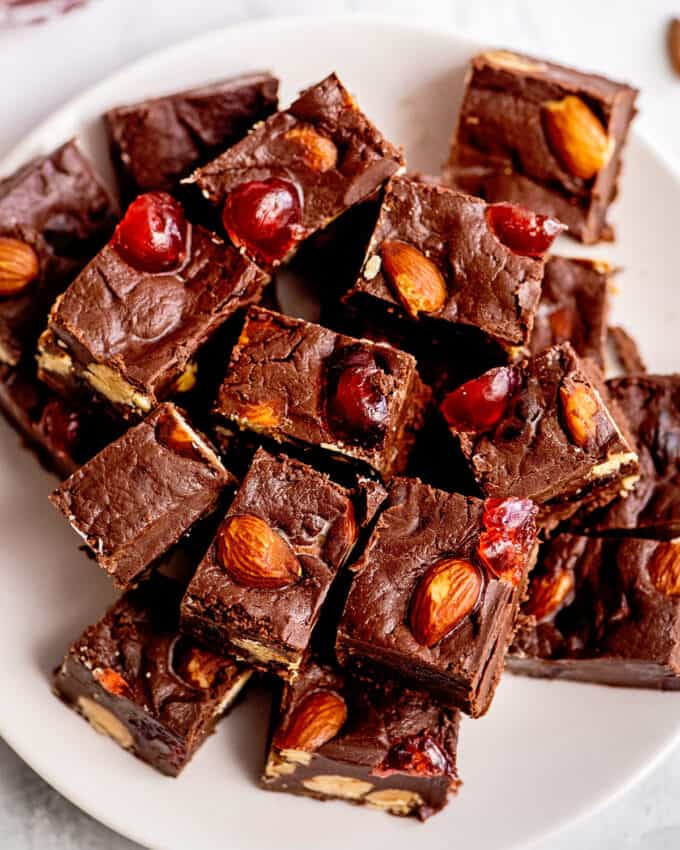
FAQ’s
The number one reason why fudge made with sweetened condensed milk doesn’t set up well is that sweetened condensed milk wasn’t actually used. Evaporated milk is commonly mistaken for condensed milk, and will not work in this recipe. They may be sold close to each other in the grocery store, but they’re not the same thing and won’t work the same in baking recipes.
You really have to grease the pan for this recipe, or you’ll have a difficult time removing the fudge. My advice is to lightly spray the baking pan with cooking spray, line the pan with parchment paper, then spray again lightly with cooking spray. Make sure the parchment paper has long enough ends that some overhangs the sides, or at least comes up an inch or more up from the fudge. This will make it easy to grab those sides and easily lift the fudge right out of the pan.
Making chocolate fudge ahead of time
At its core, homemade fudge is a dessert that NEEDS to be made ahead of time.
The fudge needs time to set up properly, which will take about 4 hours. That makes this a great holiday dessert since you can make it from a few hours, up to several weeks ahead of time.
Storage
Fudge should be refrigerated in an airtight container for about 3 weeks. It can also be kept in an airtight container at room temperature for about 1 week.
Fudge kept at room temperature will definitely be softer.
Freezing
For longer storage, fudge can be frozen for up to 3 months. I prefer to wrap each piece individually in plastic wrap, then add the pieces to an airtight freezer container.
Thaw overnight in the refrigerator before eating.
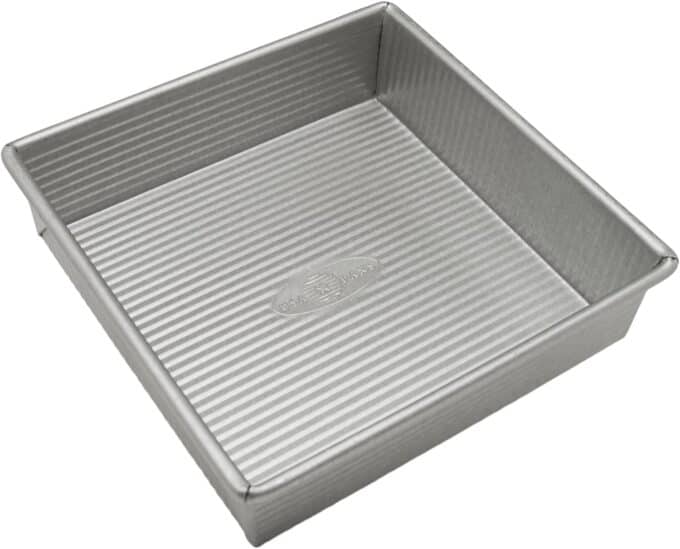
My Favorite Baking Pan!
I use this exact pan for nearly all my fudge-making, and so many other baking recipes. It’s relatively inexpensive, cleans super easily, and has lasted for years and years in my kitchen.
Did you make this? Be sure to leave a review below and tag me @the_chunky_chef on Facebook and Instagram!
Ingredients
- 3 cups semi-sweet chocolate chips I highly recommend Ghirardelli or Guittard brands
- 14 oz can sweetened condensed milk
- 4 Tbsp unsalted butter
- 1/2 cup lightly salted almonds
- 1/2 cup candied cherries
Instructions
- Prepare an 8×8" baking pan by spraying it lightly with cooking spray, lining it with parchment paper (leaving overhang on the sides for easy fudge removal), then spraying lightly again with cooking spray. Set aside.
- Add chocolate chips, sweetened condensed milk and butter to a medium sized saucepan and heat over LOW heat.
- Continuously stir until completely melted, then remove from heat.
- Stir in almonds and cherries, then pour fudge mixture into prepared baking pan from step 1.
- If desired, you can sprinkle the top of the fudge with a little extra of the almonds and cherries.
- Cover tightly, then refrigerate for at least 4 hours, or overnight if you can.
- Slice into small pieces and enjoy immediately, or store covered in an airtight container at room temperature for 1 week, or refrigerated for up to 3 weeks.
Want to save this recipe for later? Click the heart in the bottom right corner to save to your own recipe box!
Chef Tips
- Recipe makes an 8×8″ baking pan worth of fudge, and you can cut the fudge into any size pieces you’d like, so the serving amount and size are up to you.
- Recipe can easily be doubled, just use a 9×13″ baking pan.
- Chocolate can also be melted using a double boiler method
- Double Boiler Method – A double boiler is an actual type of pot, but most people don’t have one on hand, so I make my own makeshift one. It’s easy, I promise! Add a bit of water to a sauce pan and place a heat-resistant bowl on top (I use a glass bowl) so it just rests on the sides of the pan, but doesn’t touch the water. Heat the water on LOW heat and add chocolate to the bowl on top. Stir often and you’ll see the chocolate start to melt. Keep stirring, and once you see just tiny lumps of chocolate, remove the bowl from the top of the pan. Stir, and the residual heat will melt those last little lumps and you’ll have perfect melted chocolate.
Freezing
For longer storage, fudge can be frozen for up to 3 months. I prefer to wrap each piece individually in plastic wrap, then add the pieces to an airtight freezer container. Thaw overnight in the refrigerator before eating.Nutrition Disclaimer
The Chunky Chef is not a dietician or nutritionist, and any nutritional information shared is an estimate. If calorie count and other nutritional values are important to you, we recommend running the ingredients through whichever online nutritional calculator you prefer. Calories can vary quite a bit depending on which brands were used.




Ann C. says
I love you!
Erin | Dinners,Dishes and Dessert says
This looks really delicious! A perfect holiday dessert!
Beth says
Oh wow. I’ve never seen fudge quite like this before. I love the addition of the fruit!
Erik says
Yes! Love this flavor combo!