

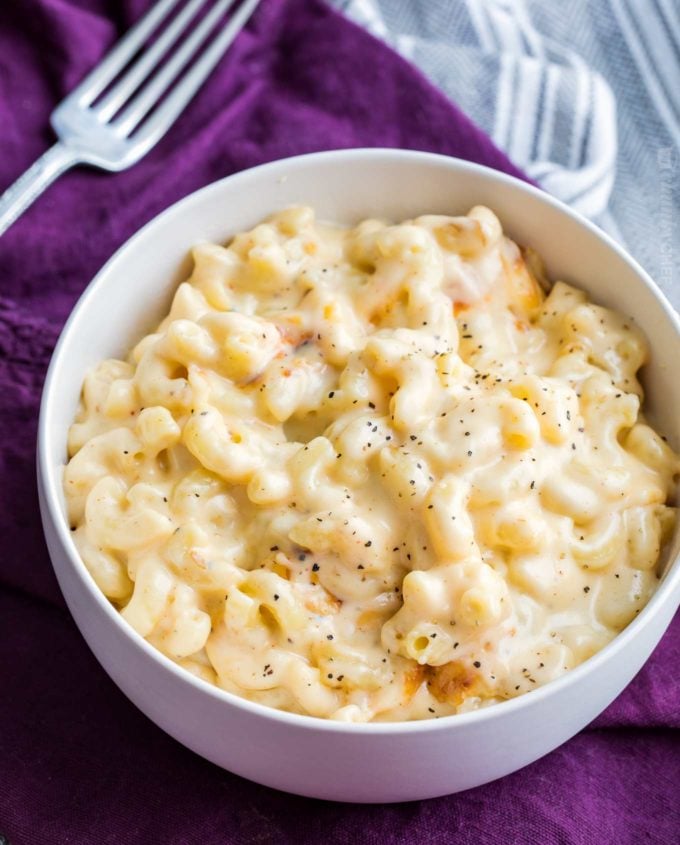
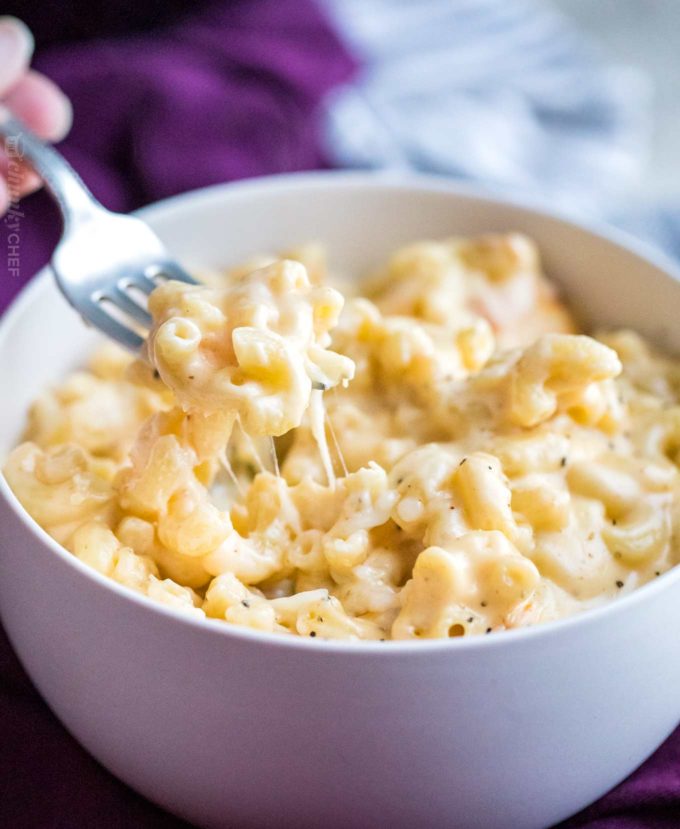
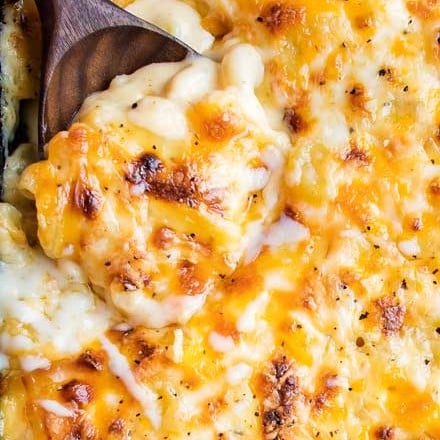
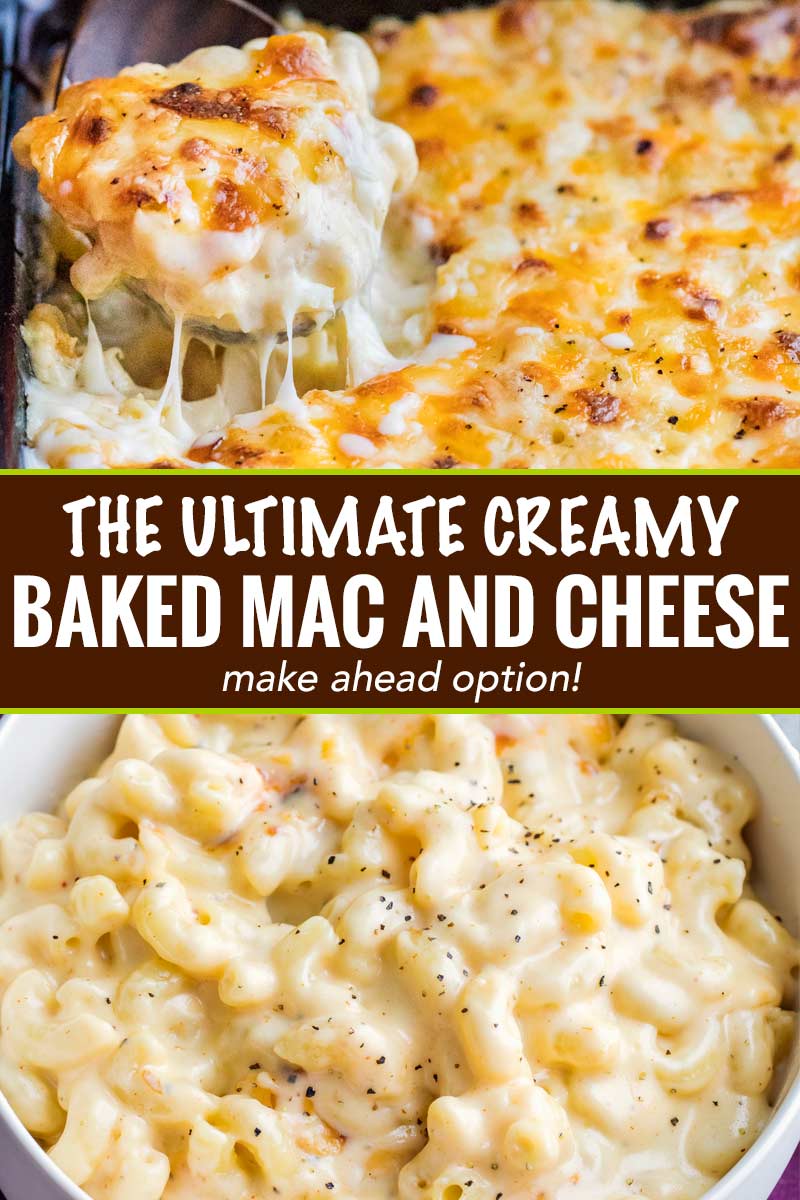
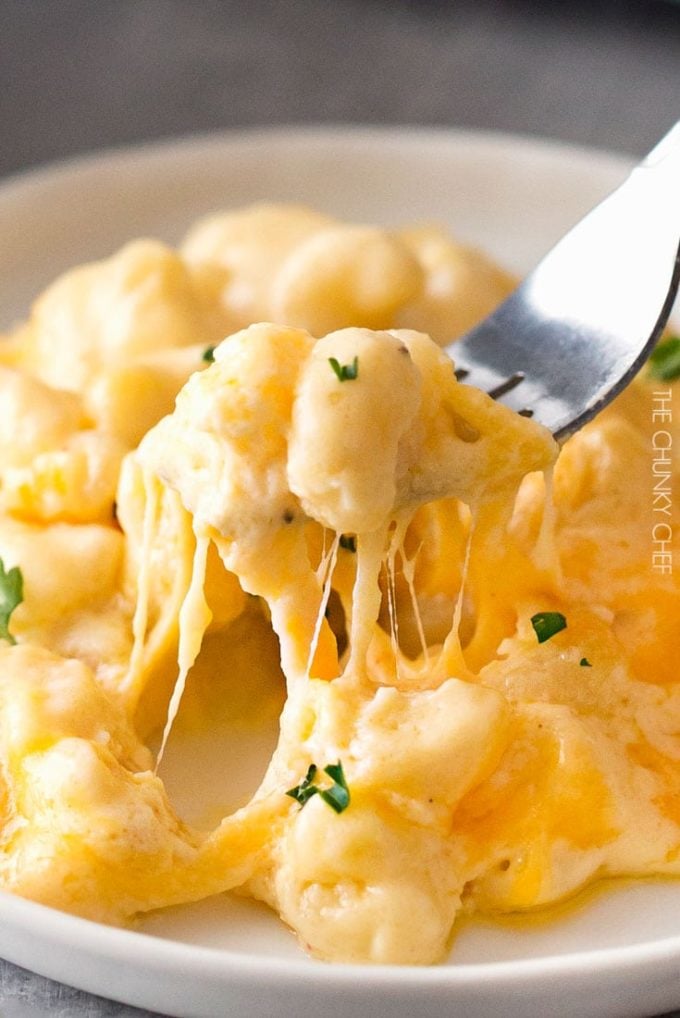
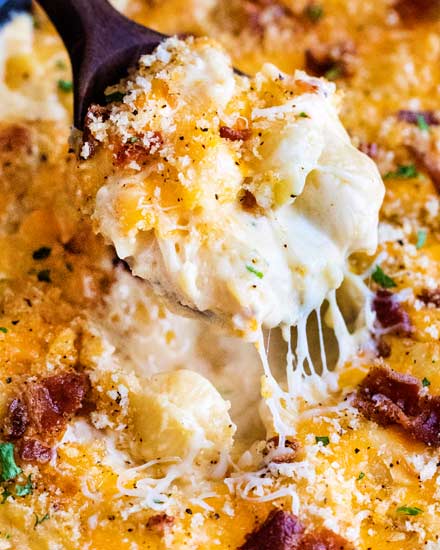
This baked mac and cheese is a family favorite recipe, loved by both children and adults. It uses a combination of cheeses, layered in the dish as well as melted into a rich and creamy cheese sauce, for the ultimate in cheesy deliciousness! Perfect for a comforting dinner or as a holiday side dish!
Looking for other comfort food dishes? Check out my Homemade Sloppy Joes, Creamy Broccoli Cheddar Soup, Crockpot Meatloaf, and Homestyle No-Boil Mashed Potatoes!
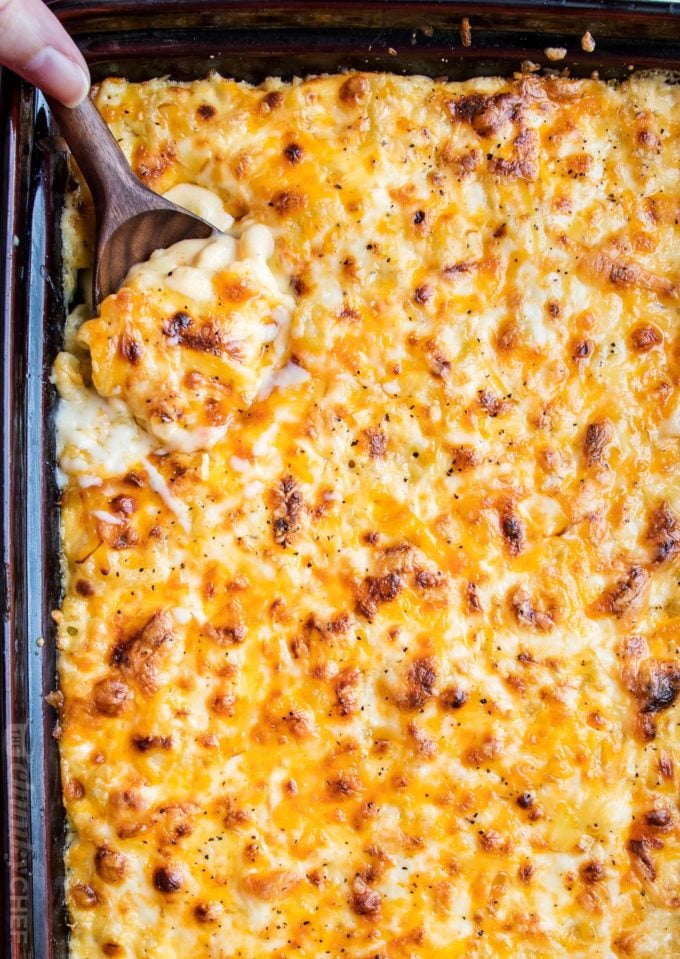
BAKED MAC AND CHEESE
Baked mac and cheese. It’s nearly the universal comfort food, and there are SO many variations! In fact, I almost didn’t post this recipe, as there are SOOOO many mac and cheese recipes available, and most people already have their favorite way of making it.
Of course, there’s no “right” way or “wrong” way, so I’m here sharing the way I like to make my mac and cheese (the way my family loves it too).

HOW TO MAKE MAC AND CHEESE
If you’ve never made homemade mac and cheese before, it can seem a bit daunting. But don’t worry, we’ll break it down and take it step by step!
- Boil the pasta, drain.
- Make the cheese sauce by combining a fat (butter), and starch (flour), then whisking in the milk products.
- Cook the sauce until it’s nice and thick.
- Add in shredded cheeses, stir well.
- Combine cheese sauce with cooked pasta.
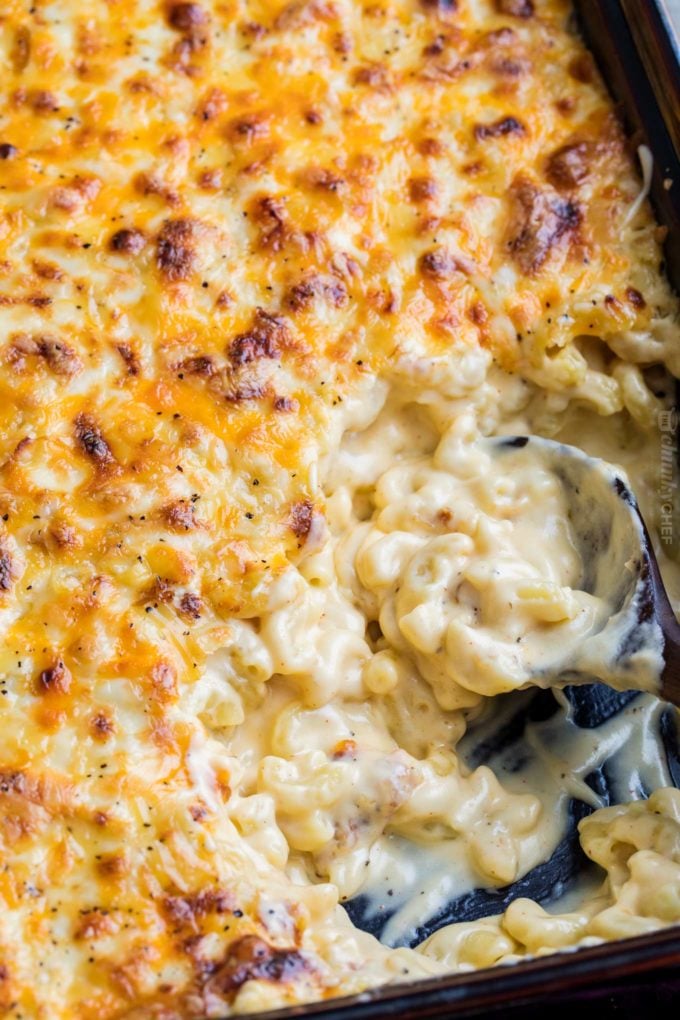
- Transfer half of the mac and cheese to a baking dish, sprinkle with more shredded cheese.
- Top with the rest of the mac and cheese, top with more shredded cheese.
- Bake and prepare to thoroughly enjoy!
COOKING TIPS FOR BAKED MAC AND CHEESE
- Boiling the pasta – cook the pasta less than you normally would. I like to boil my elbow pasta for between 4 and 5 minutes. The pasta will continue to cook in the oven, and you don’t want it to get mushy.
- Use room temp liquids – if you can… cold liquids generally take longer to thicken than warmer ones. I usually set my milk and half and half out while the water for the pasta is coming up to a boil.
- The cheeses – use your favorites! Our personal favorites are the cheddar and gruyere used in this recipe, but you can be very creative with the cheese selection here. Mozzarella, gouda, smoked gouda, swiss, monterey jack, colby jack, colby. There are plenty of reader comments down below the recipe that talk about the cheeses they used!
- Shred your own – I know it’s a pain, and it’s SO tempting to use the pre-shredded cheese in the bags. But those bags of cheese contain a starchy substance that keeps the cheese from clumping… which also prohibits it from melting as well as it should.
VARIATIONS OF MAC AND CHEESE
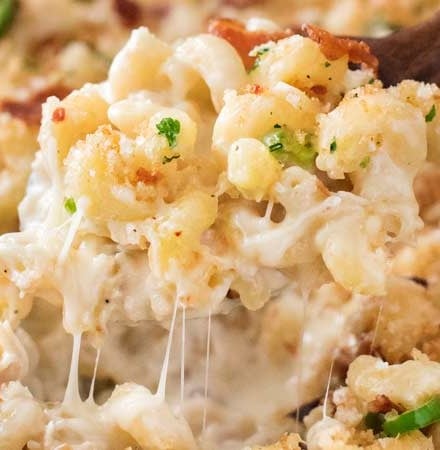
- Bacon – if you love bacon, feel free to add some crispy, crumbled bacon to the topping, or even inside the mac and cheese as well!
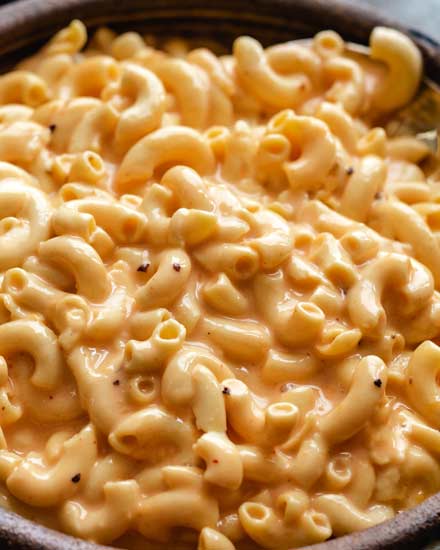
- Stovetop – if you’d prefer not to bake this mac and cheese, you don’t have to! Make sure you boil your pasta until al dente (check the packaging for correct times), and you’ll only need about 3 – 3 1/2 cups of cheese total. No need to layer the pasta and cheese, just add all the cheese to the sauce, then combine with the pasta.
- Different Toppings – I’m a huge fan of the cheese layer on top, since it gets nice and crispy, but we also love tossing 1 cup of panko with 2 Tbsp of melted butter and using that as a topping. 1 cup of crushed Ritz crackers with 2 Tbsp of butter work amazingly well too!
- Different Baking Times – the recipe calls for a lower baking temperature and time, but most of the time I find myself adjusting that based on my family’s tastes. I like to bake this mac and cheese at 350 F degrees for 30 minutes, then broil for 2-3 minutes to get that glorious cheesy “crust”.
MAKING MAC AND CHEESE AHEAD OF TIME
- Make as directed (but do not bake), transfer to baking dish and cool completely. Cover tightly with foil and refrigerate 1-2 days ahead.
- Before baking, let dish sit on counter for 30 minutes.
- Bake at recipe temperature for 25-35 minutes, until hot and bubbly.
As a caveat, this recipe, as with most mac and cheese recipes, loses some of it’s creaminess when made ahead. This dish has been tested when made right away, which yields the best results.
I would increase the amount of sauce slightly if you need to make this recipe ahead of time.
STORING MAC AND CHEESE
Any leftovers need to be refrigerated and covered tightly. Mac and cheese can be stored this way for 3-4 days.
To reheat, stir in a little bit of milk or cream and microwave partially covered with plastic wrap. Stir often as it reheats.
SPECIAL EQUIPMENT USED IN THIS RECIPE
- Box Grater – remember, the best mac starts with freshly shredded cheese!

BE SURE TO SCROLL DOWN TO CHECK OUT OTHER READERS’ COMMENTS!
AND DON’T FORGET, IF YOU’VE MADE THIS RECIPE, LEAVE A COMMENT AND PLEASE GIVE IT A STAR RATING!
Post has been updated in September 2019 with new photos and additional information.
Did you make this? Be sure to leave a review below and tag me @the_chunky_chef on Facebook and Instagram!
Ingredients
- 1 lb. dried elbow pasta
- 1/2 cup unsalted butter
- 1/2 cup all purpose flour
- 1 1/2 cups whole milk
- 2 1/2 cups half and half **see chef tips #1 below**
- 4 cups shredded medium cheddar cheese divided (measured after shredding)
- 2 cups shredded Gruyere cheese divided (measured after shredding)
- 1/2 Tbsp. salt
- 1/2 tsp. black pepper
- 1/4 tsp. paprika smoked paprika is our favorite!
Instructions
- Preheat oven to 325 degrees F and grease a 3 qt baking dish (9x13"). Set aside.
- Bring a large pot of salted water to a boil. When boiling, add dried pasta and cook 1 minute less than the package directs for al dente. Drain and drizzle with a little bit of olive oil to keep from sticking.
- While water is coming up to a boil, shred cheeses and toss together to mix, then divide into three piles. Approximately 3 cups for the sauce, 1 1/2 cups for the inner layer, and 1 1/2 cups for the topping.
- Melt butter in a large saucepan over MED heat. Sprinkle in flour and whisk to combine. Mixture will look like very wet sand. Cook for approximately 1 minute, whisking often. Slowly pour in about 2 cups or so of the half and half, while whisking constantly, until smooth. Slowly pour in the remaining half and half plus the whole milk, while whisking constantly, until combined and smooth.
- Continue to heat over MED heat, whisking very often, until thickened to a very thick consistency. It should almost be the consistency of a semi thinned out condensed soup.
- Remove from the heat and stir in spices and 1 1/2 cups of the cheeses, stirring to melt and combine. Stir in another 1 1/2 cups of cheese, and stir until completely melted and smooth.
- In a large mixing bowl, combine drained pasta with cheese sauce, stirring to combine fully. Pour half of the pasta mixture into the prepared baking dish. Top with 1 1/2 cups of shredded cheeses, then top that with the remaining pasta mixture.
- Sprinkle the top with the last 1 1/2 cups of cheese and bake for 15 minutes, until cheesy is bubbly and lightly golden brown.
Want to save this recipe for later? Click the heart in the bottom right corner to save to your own recipe box!
Chef Tips
- Half and half is a common dairy product in the US - https://www.thekitchn.com/what-is-halfandhalf-ingredient-intelligence-205959
- Please feel free to add additional seasonings per your tastes, this is a base recipe that you can change up to make your own. Garlic powder, onion powder, ground mustard, smoked paprika, and hot sauce are some favorites of ours to add.
- To get the 4 cups of cheddar, use a 16 oz block of cheddar and shred.
- To get the 2 cups of gruyere, use as close to an 8 oz block of gruyere as you can (different brands have different sized blocks), and shred.
- This recipe wasn't designed to be cooked in a slow cooker, but I do know some readers have kept it warm in one after being baked. If you're looking for a mac and cheese recipe that's meant to be cooked in a slow cooker, I have one for you https://www.thechunkychef.com/ultra-creamy-crockpot-mac-and-cheese/
Mac and Cheese can be made ahead:
- Make as directed (but do not bake), transfer to baking dish and cool completely. Cover tightly with foil and refrigerate 1-2 days ahead.
- Before baking, let dish sit on counter for 30 minutes.
- Bake at recipe temperature for 25-35 minutes, until hot and bubbly.
Freezing
- I haven't tested freezing this recipe, but my advice (based on many reader's feedback) would be to make the mac and cheese (but don't bake it), then let it cool completely. Cover the dish tightly with several layers of foil and freeze. Thaw completely in the refrigerator (the exact amount of time will depend on the dish you're using, how cold your refrigerator is, etc). Let the dish sit at room temperature for about 30 minutes, then preheat the oven. Bake as directed, but you'll need to add at least 10-15 minutes of extra cooking time since the dish will still be chilled.
FIVE CHEESE VARIATION:
Replace cheese amounts with the following:- 2 cups cheddar cheese, shredded
- 1 cup Colby cheese, shredded
- 1 cup Muenster cheese, shredded
- 1 1/2 cups Gruyere cheese, shredded
- 1/2 cup mozzarella cheese, shredded
FOR A CRUNCHIER TOPPING AND FIRMER CONSISTENCY:
- Prepare recipe as directed but bake at 350 or 375 F degrees for 20-30 minutes. Broil at the end of baking for approximately 2-5 minutes, until golden brown and crunchy.
Video
Nutrition Disclaimer
The Chunky Chef is not a dietician or nutritionist, and any nutritional information shared is an estimate. If calorie count and other nutritional values are important to you, we recommend running the ingredients through whichever online nutritional calculator you prefer. Calories can vary quite a bit depending on which brands were used.

Larisa says
Added half a cube of cream cheese. Pre-made the day before the party. The final bake will be right before people arrive
Monica says
I made this a few months ago, and I was a hit! I want to make this today, but I can’t find medium cheddar cheese. Would sharp cheddar be a good substitute, or mild cheddar?
The Chunky Chef says
I would grab one block of sharp and one block of mild 🙂
Stephanie Kennedy says
This has been my go-to for my kids, plus any BBQ or family event for the past couple of years! It’s always a hit, so much so that at one BBQ we brought it to everyone else scooped it up before my family had a chance to put it on their plates!
Erin says
I LOVE your recipe been using it a while now. Would it be ok to make the cheese sauce 2-3 days before and keep it in the fridge?
The Chunky Chef says
So glad you enjoy it! You can make the sauce ahead of time (that’s a great way to make this dish ahead of time without having the pasta soak up too much sauce!), and heat it up on the stovetop before mixing it with the cooked pasta. When reheating, you may need to add a splash of extra milk to loosen it up, and make sure you whisk it often to prevent any potential separation.
Ellen says
This is the best Mac&Cheese I ever made. Delicious, smooth and creamy. It seems like a lot of steps, but it is so worth it! My family and everyone who has had the pleasure of tasting it loves it.
Jane E Weisner says
Excellent recipes add dry mustard
adrian mccracken says
Fixing to make!! I couldn’t find gruyere so subbed for Colby also sharp cheddar hope it’s good
Emma says
How much dry mustard did you add?
Maura says
How much dry mustard?
Angel Scott says
1/2 tsp dry mustard
Mary Briggs says
Hi! can you freeze the Mac and cheese? if so, how should I do it?
The Chunky Chef says
I haven’t tested freezing this recipe, but my advice (based on reader feedback) would be to make the mac and cheese (but don’t bake it), then let it cool completely. Cover the dish tightly with several layers of foil and freeze. Thaw completely in the refrigerator (the exact amount of time will depend on the dish you’re using, how cold your refrigerator is, etc). Let the dish sit at room temperature for about 30 minutes, then preheat the oven. Bake as directed, but you’ll need to add at least 10-15 minutes of extra cooking time since the dish will still be chilled.
Jillian says
What should I do if I don’t have any half and half? And I’ll only be cooking this on the stove top (if that makes a difference) I’m very excited to try it though
The Chunky Chef says
You can substitute it with just about any dairy milk 🙂
JEANNE CONNOR says
Best mac and cheese ever! I added the Ritz cracker topping and broiled it for 3 minutes. It was so delicious!
Mark P says
I added 5 strips of crispy bacon (finely chopped) and a third of an onion (sauteed in the bacon grease) to the cheese/noodle mix. Was delicious.
Stefanie says
Made this exactly as written with no modifications on this first attempt, and it turned out really good! I think next time I will probably make the suggested change of baking at 350° for 30 minutes and broiling at the end rather than just doing 325° for 15 minutes, just to get more of a browned “crust” on the top. I may also add a little garlic powder and onion powder to enhance the flavor a bit more. Great recipe and I think this would be fantastic to make ahead in anticipation of a holiday dinner!
Shawny says
Great recipe! Thank you. My boyfriend might marry me now.
Marissa says
this is the only Mac & cheese recipe I use and I’ve given it to many of my friends/family because they love it just as much!! I love making it mid morning/afternoon and popping it in the oven before dinner,
Melissa Anderson says
This was by far the best Mac and Cheese recipe I’ve ever tried. Saving this one for good. Thanks for sharing!
pam says
Sorry, I neglected to include the 5 start that are much deserved.
Pam says
The recipe worked out very well. I appreciate the there were suggestions on how to modify the ingredients. My variations were close to the recipe, but had some modest alterations. The overall quantities and method was my guide and you suggestions informed me about the options.
ellie says
it was dope as ballz
Mike says
I’m assuming that’s good?
Dea says
No more dry Mac n cheese. I’ve been making this recipe for years now and it’s come out either chef’s kiss perfect and then, not so much. It was perfect tonight and what makes it look exactly like that picture is getting the pasts to cheese sauce proportion right. I have to weigh the pasta and cheese because I’m not good at eyeballing, apparently. But when I take the extra step to weigh it out, it is magnificent. Also, while you could substitute the Gruyère for what you have on hand, I would recommend going to get some.
Monique says
Delicious, I used smoked cheddar cheese and added panko bread crumbs to the top.
Very cheesy fantastic recipe!
Dea says
I LOOOOOOVE bread crumbs on my mac n cheese. Toasted in butter, with Parmesan, and parsley. The crunchy topping is everything.
Katie says
I’m making this tonight and expecting leftover – which is great because our kids are home for spring break. And tips on reheating leftovers? Thanks so much!
The Chunky Chef says
Reheating tips are listed in the post above the recipe card, under the heading “storing mac and cheese” 🙂 Good luck on spring break!
Jade says
I am 12 and I made this Mac and cheese for my family when my mom had a. Cold and we all love it it is so creamy and so rich.it is a family staple now❤️
Kristine Dengler says
How many servings does this recipe make as a side dish?
The Chunky Chef says
I would estimate about 10-12 servings as a side. However you’re free to divide the pan up into as many (or little) servings as you’d like.