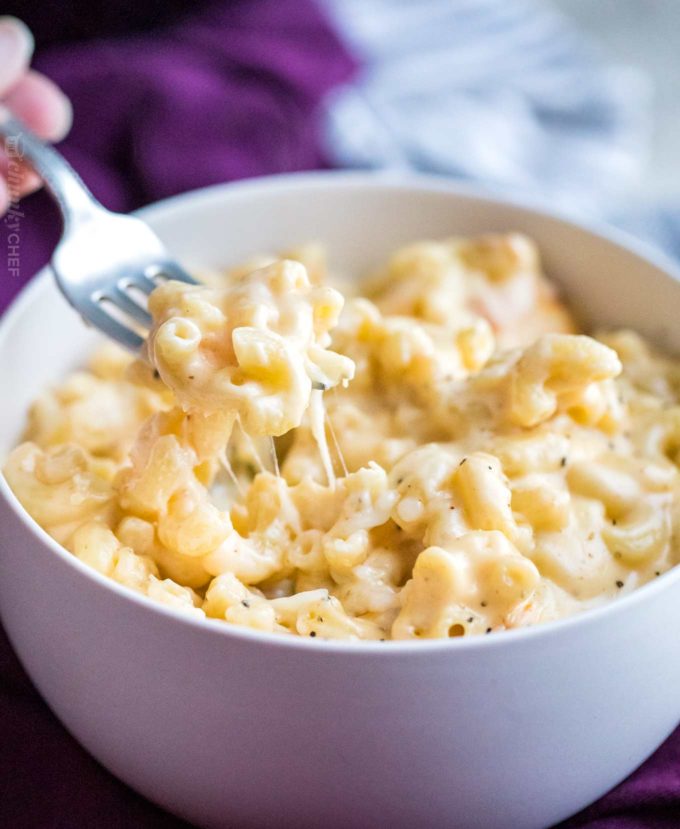
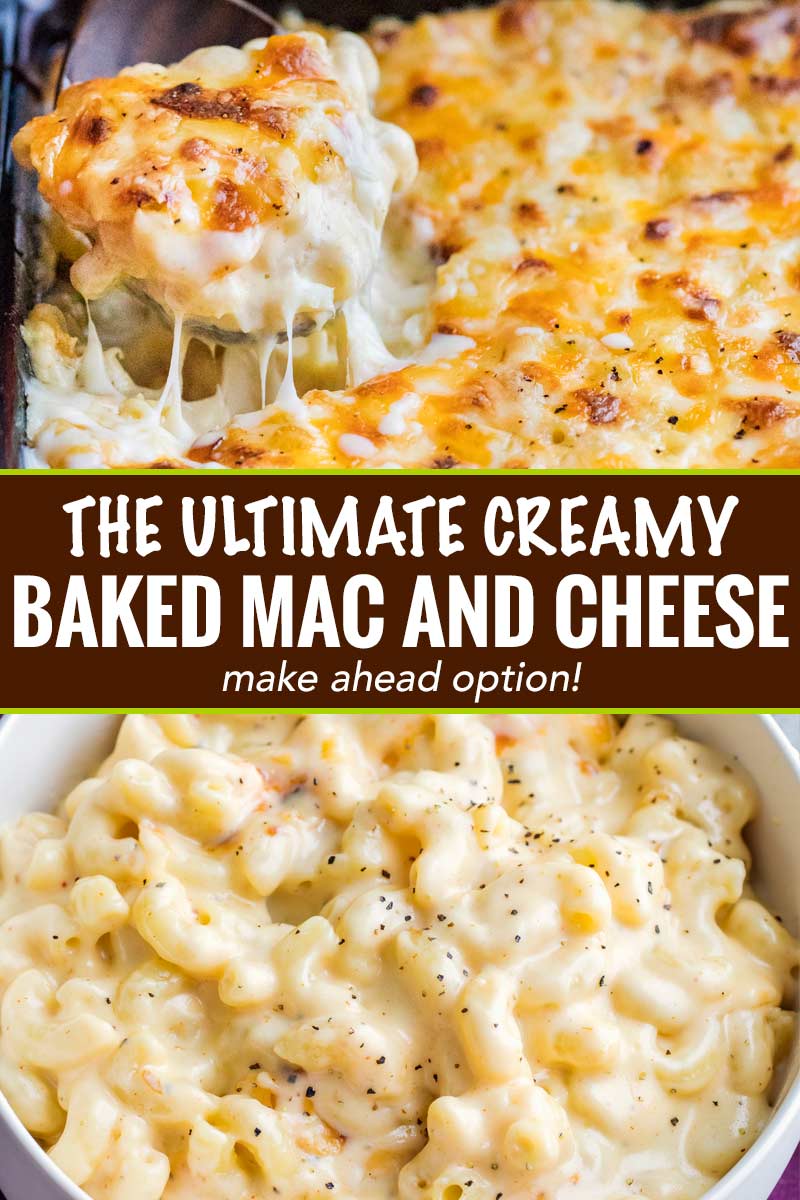
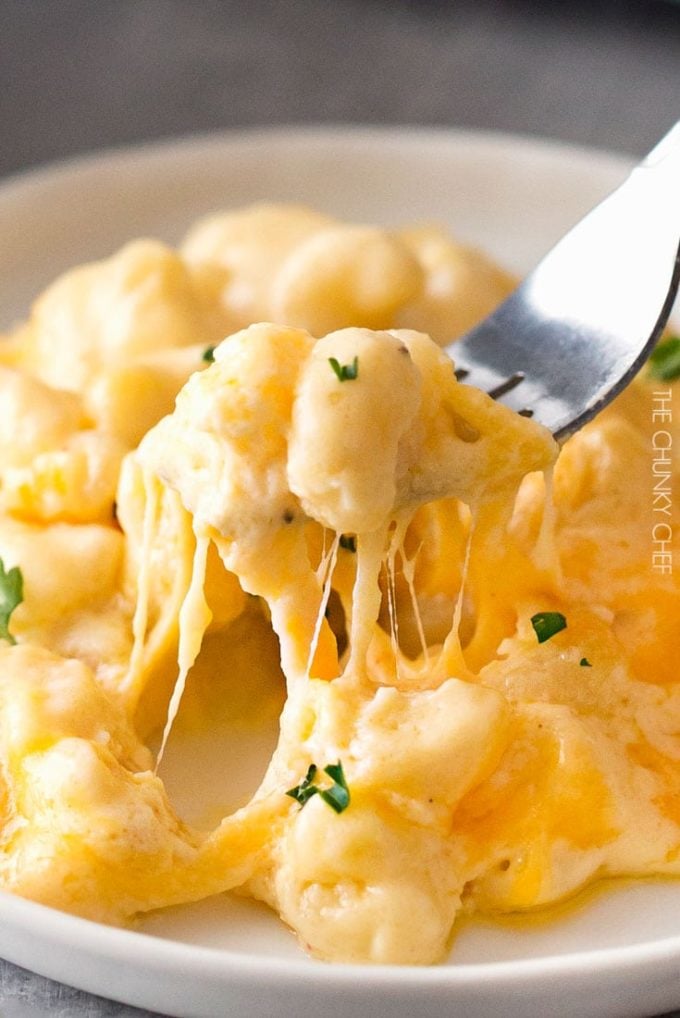
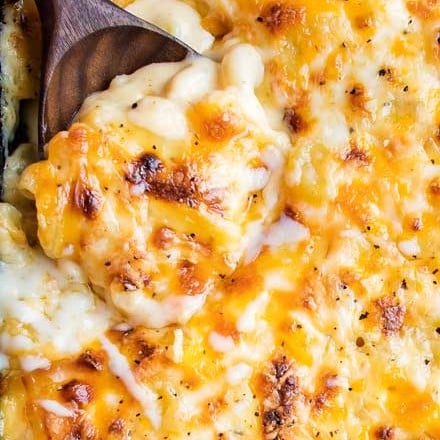
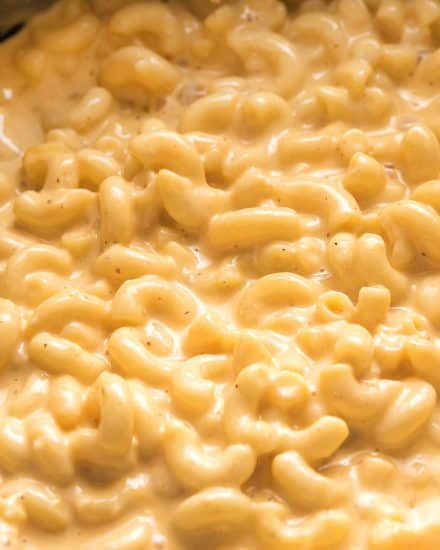
This baked mac and cheese is a family favorite recipe, loved by both children and adults. It uses a combination of cheeses, layered in the dish as well as melted into a rich and creamy cheese sauce, for the ultimate in cheesy deliciousness! Perfect for a comforting dinner or as a holiday side dish!
Looking for other comfort food dishes? Check out my Homemade Sloppy Joes, Creamy Broccoli Cheddar Soup, Crockpot Meatloaf, and Homestyle No-Boil Mashed Potatoes!
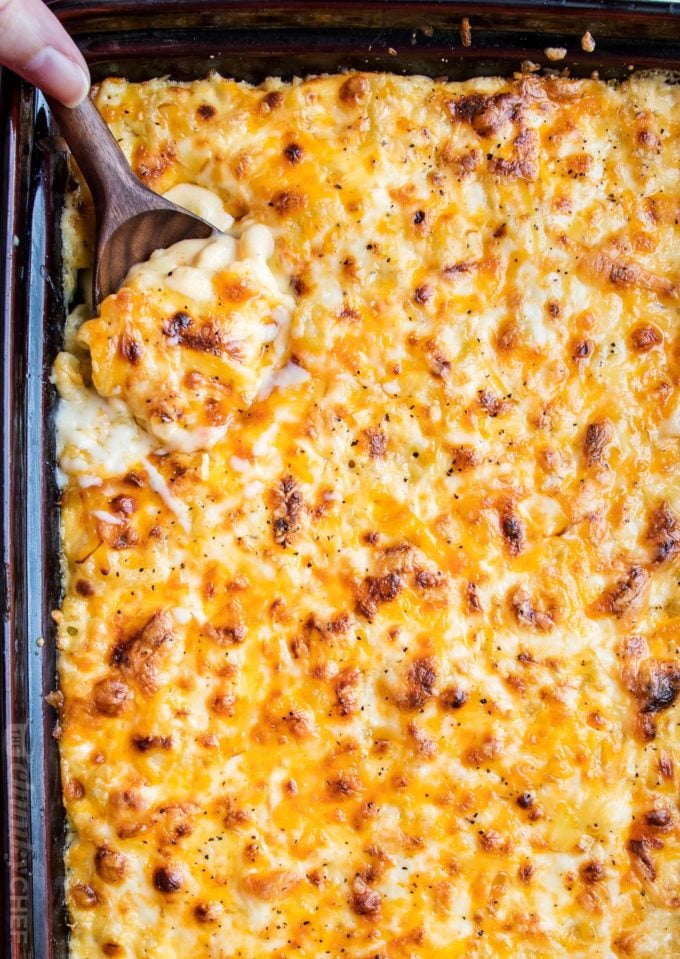
BAKED MAC AND CHEESE
Baked mac and cheese. It’s nearly the universal comfort food, and there are SO many variations! In fact, I almost didn’t post this recipe, as there are SOOOO many mac and cheese recipes available, and most people already have their favorite way of making it.
Of course, there’s no “right” way or “wrong” way, so I’m here sharing the way I like to make my mac and cheese (the way my family loves it too).
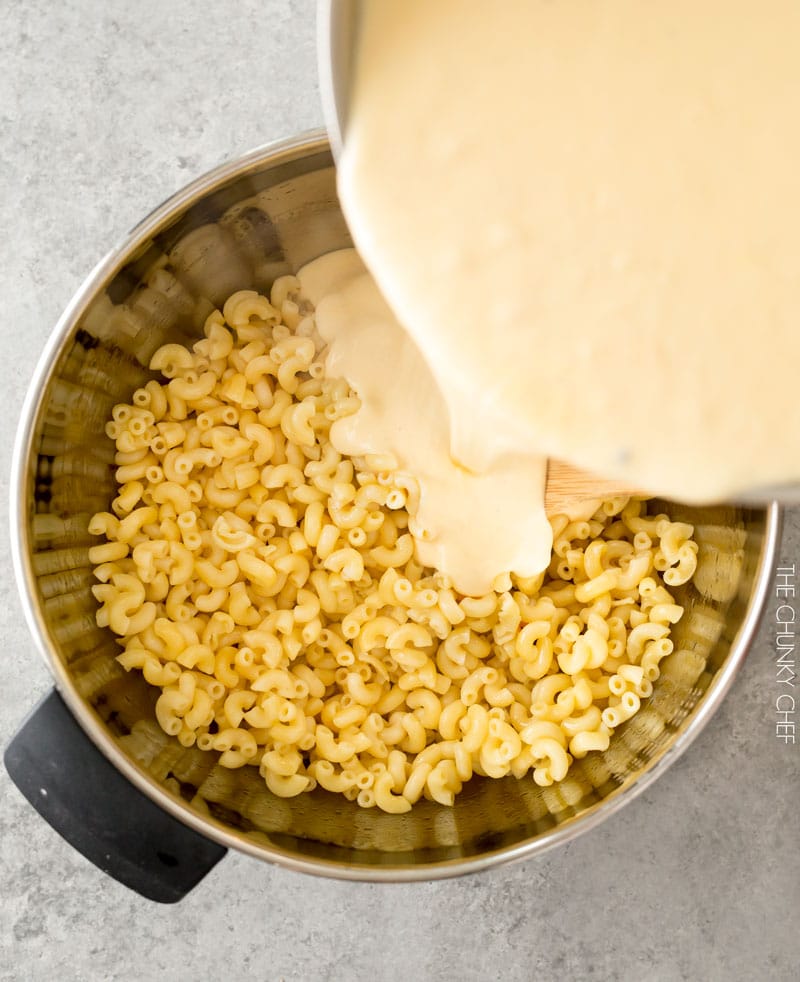
HOW TO MAKE MAC AND CHEESE
If you’ve never made homemade mac and cheese before, it can seem a bit daunting. But don’t worry, we’ll break it down and take it step by step!
- Boil the pasta, drain.
- Make the cheese sauce by combining a fat (butter), and starch (flour), then whisking in the milk products.
- Cook the sauce until it’s nice and thick.
- Add in shredded cheeses, stir well.
- Combine cheese sauce with cooked pasta.
- Transfer half of the mac and cheese to a baking dish, sprinkle with more shredded cheese.
- Top with the rest of the mac and cheese, top with more shredded cheese.
- Bake and prepare to thoroughly enjoy!
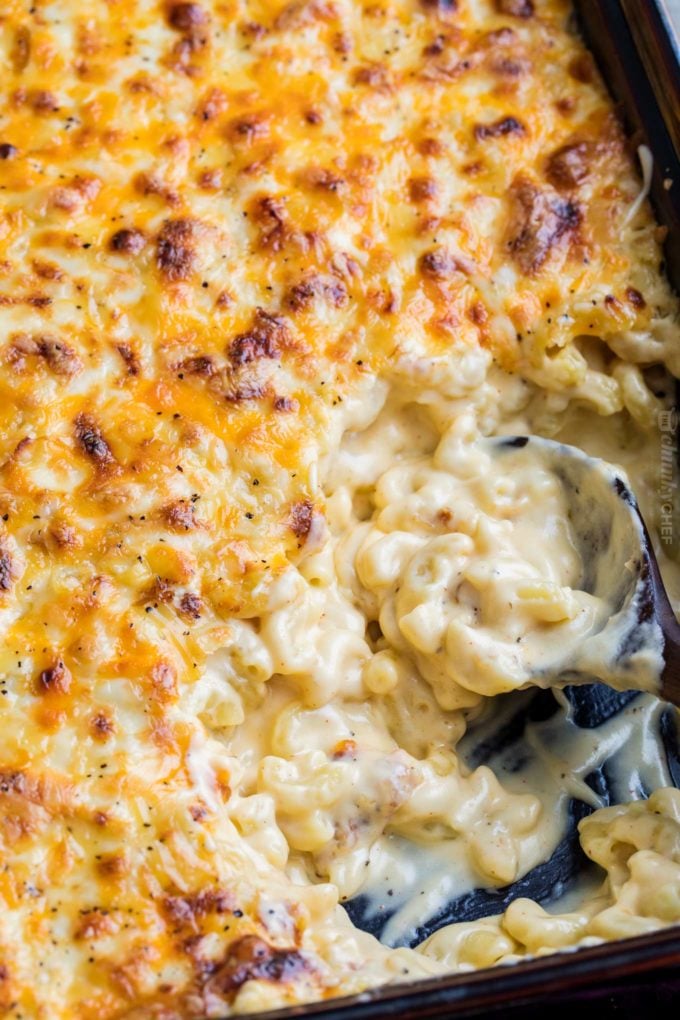
COOKING TIPS FOR BAKED MAC AND CHEESE
- Boiling the pasta – cook the pasta less than you normally would. I like to boil my elbow pasta for between 4 and 5 minutes. The pasta will continue to cook in the oven, and you don’t want it to get mushy.
- Use room temp liquids – if you can… cold liquids generally take longer to thicken than warmer ones. I usually set my milk and half and half out while the water for the pasta is coming up to a boil.
- The cheeses – use your favorites! Our personal favorites are the cheddar and gruyere used in this recipe, but you can be very creative with the cheese selection here. Mozzarella, gouda, smoked gouda, swiss, monterey jack, colby jack, colby. There are plenty of reader comments down below the recipe that talk about the cheeses they used!
- Shred your own – I know it’s a pain, and it’s SO tempting to use the pre-shredded cheese in the bags. But those bags of cheese contain a starchy substance that keeps the cheese from clumping… which also prohibits it from melting as well as it should.
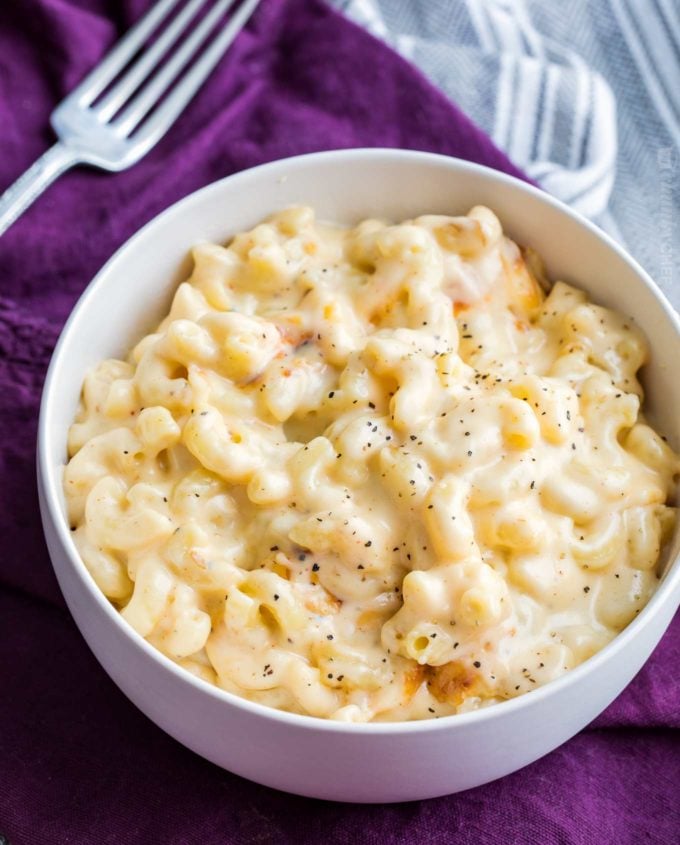
VARIATIONS OF MAC AND CHEESE
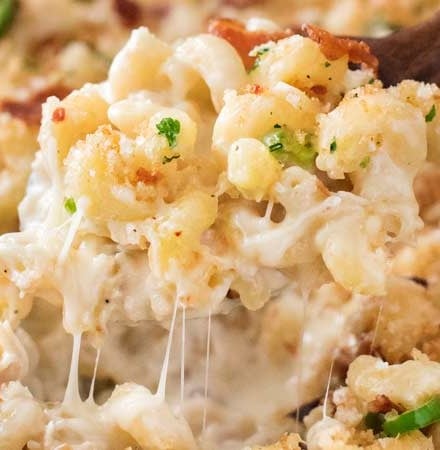
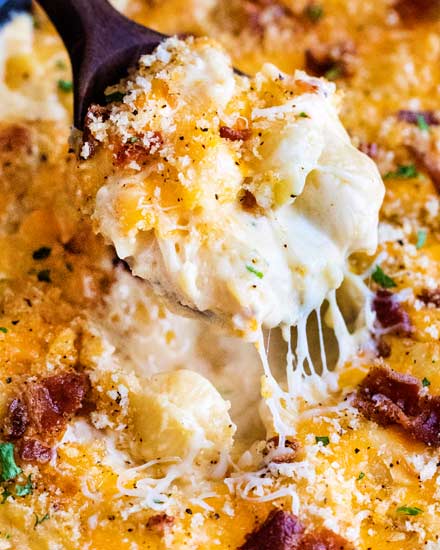
- Bacon – if you love bacon, feel free to add some crispy, crumbled bacon to the topping, or even inside the mac and cheese as well!
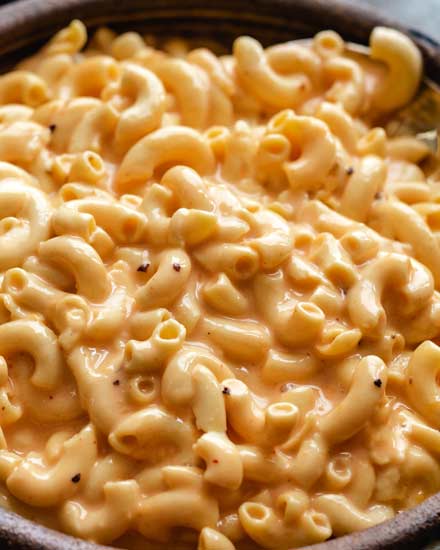
- Stovetop – if you’d prefer not to bake this mac and cheese, you don’t have to! Make sure you boil your pasta until al dente (check the packaging for correct times), and you’ll only need about 3 – 3 1/2 cups of cheese total. No need to layer the pasta and cheese, just add all the cheese to the sauce, then combine with the pasta.
- Different Toppings – I’m a huge fan of the cheese layer on top, since it gets nice and crispy, but we also love tossing 1 cup of panko with 2 Tbsp of melted butter and using that as a topping. 1 cup of crushed Ritz crackers with 2 Tbsp of butter work amazingly well too!
- Different Baking Times – the recipe calls for a lower baking temperature and time, but most of the time I find myself adjusting that based on my family’s tastes. I like to bake this mac and cheese at 350 F degrees for 30 minutes, then broil for 2-3 minutes to get that glorious cheesy “crust”.
MAKING MAC AND CHEESE AHEAD OF TIME
- Make as directed (but do not bake), transfer to baking dish and cool completely. Cover tightly with foil and refrigerate 1-2 days ahead.
- Before baking, let dish sit on counter for 30 minutes.
- Bake at recipe temperature for 25-35 minutes, until hot and bubbly.
As a caveat, this recipe, as with most mac and cheese recipes, loses some of it’s creaminess when made ahead. This dish has been tested when made right away, which yields the best results.
I would increase the amount of sauce slightly if you need to make this recipe ahead of time.
STORING MAC AND CHEESE
Any leftovers need to be refrigerated and covered tightly. Mac and cheese can be stored this way for 3-4 days.
To reheat, stir in a little bit of milk or cream and microwave partially covered with plastic wrap. Stir often as it reheats.
SPECIAL EQUIPMENT USED IN THIS RECIPE
- Box Grater – remember, the best mac starts with freshly shredded cheese!

BE SURE TO SCROLL DOWN TO CHECK OUT OTHER READERS’ COMMENTS!
AND DON’T FORGET, IF YOU’VE MADE THIS RECIPE, LEAVE A COMMENT AND PLEASE GIVE IT A STAR RATING!
Post has been updated in September 2019 with new photos and additional information.
Did you make this? Be sure to leave a review below and tag me @the_chunky_chef on Facebook and Instagram!
Ingredients
- 1 lb. dried elbow pasta
- 1/2 cup unsalted butter
- 1/2 cup all purpose flour
- 1 1/2 cups whole milk
- 2 1/2 cups half and half **see chef tips #1 below**
- 4 cups shredded medium cheddar cheese divided (measured after shredding)
- 2 cups shredded Gruyere cheese divided (measured after shredding)
- 1/2 Tbsp. salt
- 1/2 tsp. black pepper
- 1/4 tsp. paprika smoked paprika is our favorite!
Instructions
- Preheat oven to 325 degrees F and grease a 3 qt baking dish (9x13"). Set aside.
- Bring a large pot of salted water to a boil. When boiling, add dried pasta and cook 1 minute less than the package directs for al dente. Drain and drizzle with a little bit of olive oil to keep from sticking.
- While water is coming up to a boil, shred cheeses and toss together to mix, then divide into three piles. Approximately 3 cups for the sauce, 1 1/2 cups for the inner layer, and 1 1/2 cups for the topping.
- Melt butter in a large saucepan over MED heat. Sprinkle in flour and whisk to combine. Mixture will look like very wet sand. Cook for approximately 1 minute, whisking often. Slowly pour in about 2 cups or so of the half and half, while whisking constantly, until smooth. Slowly pour in the remaining half and half plus the whole milk, while whisking constantly, until combined and smooth.
- Continue to heat over MED heat, whisking very often, until thickened to a very thick consistency. It should almost be the consistency of a semi thinned out condensed soup.
- Remove from the heat and stir in spices and 1 1/2 cups of the cheeses, stirring to melt and combine. Stir in another 1 1/2 cups of cheese, and stir until completely melted and smooth.
- In a large mixing bowl, combine drained pasta with cheese sauce, stirring to combine fully. Pour half of the pasta mixture into the prepared baking dish. Top with 1 1/2 cups of shredded cheeses, then top that with the remaining pasta mixture.
- Sprinkle the top with the last 1 1/2 cups of cheese and bake for 15 minutes, until cheesy is bubbly and lightly golden brown.
Want to save this recipe for later? Click the heart in the bottom right corner to save to your own recipe box!
Chef Tips
- Half and half is a common dairy product in the US - https://www.thekitchn.com/what-is-halfandhalf-ingredient-intelligence-205959
- Please feel free to add additional seasonings per your tastes, this is a base recipe that you can change up to make your own. Garlic powder, onion powder, ground mustard, smoked paprika, and hot sauce are some favorites of ours to add.
- To get the 4 cups of cheddar, use a 16 oz block of cheddar and shred.
- To get the 2 cups of gruyere, use as close to an 8 oz block of gruyere as you can (different brands have different sized blocks), and shred.
- This recipe wasn't designed to be cooked in a slow cooker, but I do know some readers have kept it warm in one after being baked. If you're looking for a mac and cheese recipe that's meant to be cooked in a slow cooker, I have one for you https://www.thechunkychef.com/ultra-creamy-crockpot-mac-and-cheese/
Mac and Cheese can be made ahead:
- Make as directed (but do not bake), transfer to baking dish and cool completely. Cover tightly with foil and refrigerate 1-2 days ahead.
- Before baking, let dish sit on counter for 30 minutes.
- Bake at recipe temperature for 25-35 minutes, until hot and bubbly.
Freezing
- I haven't tested freezing this recipe, but my advice (based on many reader's feedback) would be to make the mac and cheese (but don't bake it), then let it cool completely. Cover the dish tightly with several layers of foil and freeze. Thaw completely in the refrigerator (the exact amount of time will depend on the dish you're using, how cold your refrigerator is, etc). Let the dish sit at room temperature for about 30 minutes, then preheat the oven. Bake as directed, but you'll need to add at least 10-15 minutes of extra cooking time since the dish will still be chilled.
FIVE CHEESE VARIATION:
Replace cheese amounts with the following:- 2 cups cheddar cheese, shredded
- 1 cup Colby cheese, shredded
- 1 cup Muenster cheese, shredded
- 1 1/2 cups Gruyere cheese, shredded
- 1/2 cup mozzarella cheese, shredded
FOR A CRUNCHIER TOPPING AND FIRMER CONSISTENCY:
- Prepare recipe as directed but bake at 350 or 375 F degrees for 20-30 minutes. Broil at the end of baking for approximately 2-5 minutes, until golden brown and crunchy.
Video
Nutrition Disclaimer
The Chunky Chef is not a dietician or nutritionist, and any nutritional information shared is an estimate. If calorie count and other nutritional values are important to you, we recommend running the ingredients through whichever online nutritional calculator you prefer. Calories can vary quite a bit depending on which brands were used.


Crystal says
I am going to make this on Thursday. So excited. My issue is that so only have one 9×13 pan..and that’s reserved for the green bean casserole. My question is is it okay to make in a foil pan? If so, do I need to adjust the cook time?
The Chunky Chef says
I think a foil pan would work just fine, with no adjustments needed (it’s a very forgiving recipe) 🙂
Natalie says
Has anyone added extra pasta or is the saucyness enough? Looks very saucy so I was wondering if anyone has added more pasta leaving same ingredients…
Karleena says
Could you tell me what I could substitute the Gruyere cheese with? I wanted to use it but I cannot find it at any store nearby
and I’m running out of time.
The Chunky Chef says
Swiss or smoked gouda would be a good substitute.
Kim says
Do you grate the guryere
The Chunky Chef says
Yes, all cheese is grated, per the recipe and instructions.
Charissa Siler says
Can you add egg to this dish????? Growing up, I’ve always seen people add an egg to the mixture.
The Chunky Chef says
Typically mac and cheese recipes that use egg to bind all the ingredients together don’t use the flour and butter. This recipe uses a roux (butter fat and flour mixed together) to thicken the sauce and bind the ingredients together. So I can’t say for sure if adding an egg would negatively impact the recipe or not, but I wouldn’t recommend it.
Karli says
can I make this in a crock pot?
The Chunky Chef says
I haven’t personally tested it, but you may want to scroll through the comments and see if any other readers have successfully done it.
Aubrey M Granot says
I have made this recipe baked as directed to do but I want to take it to a carry in for work & I work in a factory where bringing a crock pot is more ideal. Could I put this in a crock pot on low or keep warm & it be okay?
The Chunky Chef says
I haven’t personally tested it, so I can’t say for certain, but I *think* that would be okay. You might want to scroll through the comments and see if any other readers have successfully done it.
Mario M says
I just made this recipe this morning for a work potluck and I made it in a crockpot. However, I made it slightly differently in order to keep the oven-baked goodness. The stoneware from your crockpot may be oven-safe (Crock Pot brand ones are), though they aren’t broiler-safe. So, I made the recipe like normal, then poured it into the crockpot stoneware and placed that in the oven for about 20-25min @350degrees. Then, when I pulled it out of the oven I placed it into the heating base and took it in to work. Once at work, I plugged it in and left it on Low for a while, then reverted to Warm. Based on comments from coworkers it was a success! The last few times I’ve made mac&cheese, I’ve done it this way to reserve the crunchiness, but still have it in a functional, travel container which can keep it warm. It’s become my go-to method these days, particularly if it’s not for a meal at home.
Fay Bailey says
Hello,
Can you replace the half & half with heavy. whipping cream? Thank you
The Chunky Chef says
You sure can!
Nichole Whitlock says
I love this recipe! I make this all the time, it is my absolute favorite! I have a question though… I am looking to make this to bring to a family thanksgiving dinner and as you know oven space is precious. Would I be able to make this and layer it with all of its cheesy goodness in a crockpot? Put it on low for maybe a couple of hours? What are your thoughts? Thanks so much for an amazing recipe! 🙂
The Chunky Chef says
So glad you love it!! I’ve never tested the recipe that way, but I think it would work out well 🙂
Mario M says
While I’ve not yet attempted this recipe (though I plan to tomorrow), with other baked mac&cheese recipes, I’ve used a Crockpot as well.
However, I’ve done a variation from your suggestion. The stoneware portion of your crockpot “should” be oven-safe (Crock Pot brand says theirs are, maybe research to be 100% sure). I’ve made the recipe and just poured it into the crockpot stoneware then placed it into the oven for the desired length of time.
Then, once it’s out of the oven, the stoneware can be dropped right into the heating base and you can turn it to warm or low to keep it warm and gooey for as long as you need. This has helped me out for potlucks and family gatherings where I wanted the baked texture but wanted to be able to keep it warm for a time as well.
Dave says
Hi! I’m planning on using this recipe because of all the raving reviews for a potluck and saw it feeds about 8-10 people. Any recommendations on ingredients to feed around 15?
The Chunky Chef says
I would just double all the ingredients and cook in a very large foil baking pan (or cook in 2 separate 9×13 pans).
Raj says
What can i substitute all purpose flour with to make it gluten free? Thank you!
The Chunky Chef says
I don’t have any experience with gluten-free products, so you might need to do a google search and see what a good substitute would be.
Gr says
I just used gluten free penne and gluten free all purpose flower and it turned out amazing
Trina Miller says
Do u add the milk and half and half together in the pan?
The Chunky Chef says
Yes, in step 4 of the recipe 🙂
Tina says
I read the secret to creamy macaroni and cheese is to cook in stovetop and not to bake it. Can I use your recipe but cook on stovetop. I dislike a crunchy top and a casserole like consistency. Thanks so much!
The Chunky Chef says
This doesn’t really have a casserole consistency, since there’s no egg to bind it together, but it does have that crunchy topping… so you can just make the cheese sauce and combine it with cooked pasta and serve 🙂
DD says
Recipe seems simple to follow, but I’m curious as to why flour is added?
The Chunky Chef says
Flour is added to the melted butter to form a roux, which thickens the half and half and milk to make a thick cheesy sauce.
Kelly Richardson says
One last question, will using self rising flour make a difference? Or should I go buy all purpose? Thanks
The Chunky Chef says
Self rising has leavening agents in it… I would probably use all purpose, unfortunately.
Chad says
Hello. This recipe appears delicious and the desired “creaminess” I cannot find with others. I intend to make this as a side for thanksgiving. A quick question. I make another mac and cheese with a smoked cheddar and smoked paprika as I like the smokiness taste. Will this flow well with the Gruyere cheese? I’d plan to use 2 cups smoked cheddar, 2 cups sharp cheddar, and the 2 cups of Gruyere. One more thing – if I top with some Panko bread crumbs should I bake them with the dish or add them after baking? Thanks a lot!
The Chunky Chef says
I think smoked cheddar and smoked paprika would be amazing with the gruyere! And I’d add the panko before baking, so it can get nice and crispy 🙂
Kelly says
Love this recipe! I made it for Thanksgiving last year and this year my in-laws told me they couldn’t WAIT for my Mac n’ cheese again. Eekk! So glad I found the recipe again, I’ve tried many but I will stick with this one from here on out! Thank you for sharing!
Kelly Richardson says
Does it matter what kind of Gruyere cheese you buy?
The Chunky Chef says
I wouldn’t think so… my store only carries aged gruyere.
Anthony Allen says
Thanks for the tips! I think I’ll try just broiling it next time. I plan to make it for thanksgiving because it was a delicious and an easy recipe to follow. The kids loved it last time despite it being on the dry side, so it’s still a winner in our house either way!
Rachael Putnam says
How many doors this recipe feed
The Chunky Chef says
There’s a bright green box in the upper left-hand corner of the recipe box that says how many servings are in each recipe (8-10 servings for this recipe).