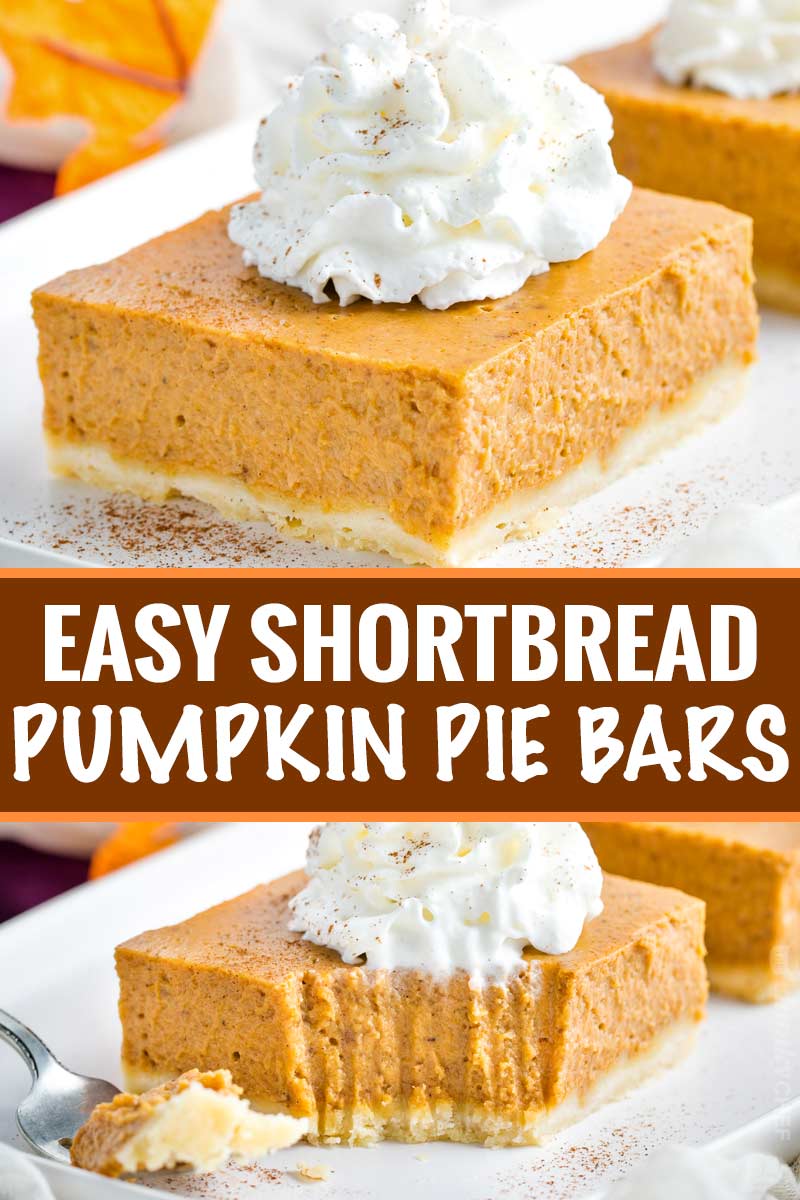
All the amazing flavor of your favorite classic pumpkin pie, but without the finicky pie crust! These pumpkin bars are so easy to make, and taste great!
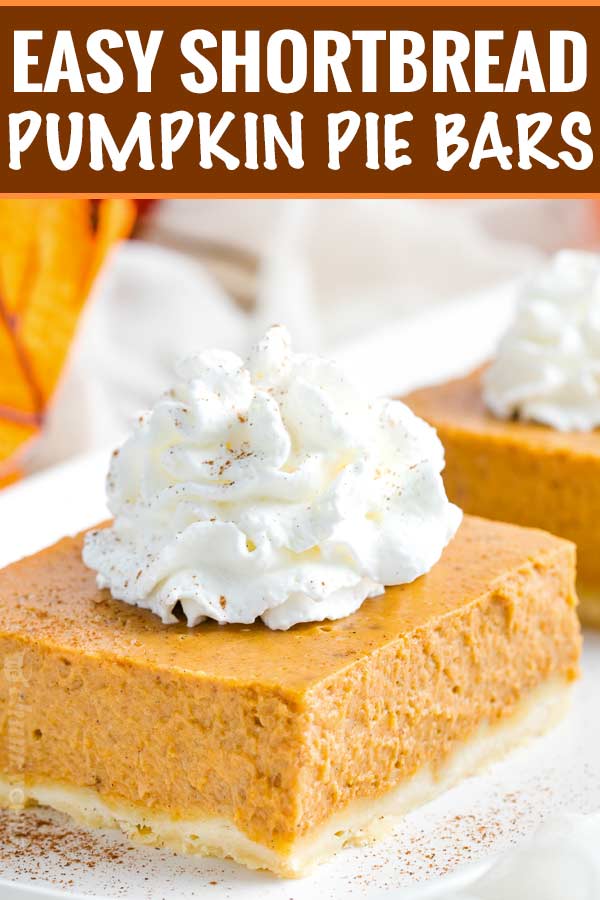
Hopefully the weather is starting to cool down where you are. We’re still plugging away in the mid to upper 80’s, BUT it’s supposed to cool down a lot for the weekend, and I can’t wait! I’ve been in such a Fall frame of mind, and it’s hard to stay that way when I have to keep the AC running all the time lol. One of the reasons I love Fall so much (other than the comfort and game day foods), is all the Thanksgiving recipes… specifically, the pumpkin pie!
I’ve gone on about my love/hate affair with pie crust (read about my epic crust fail HERE!), and you can actually listen to me talk about my epic cooking fail on this Dishing with Delishes Podcast episode. So when I was testing pumpkin pie recipes, I really wanted one that didn’t need an actual pie crust. So many of you have written me to say that you also have issues with making the perfect crust, and I love that. We all have our strengths, and our areas we need improvement! So I came up with this INCREDIBLY easy pumpkin pie bar recipe that uses a no pre-bake shortbread crust!
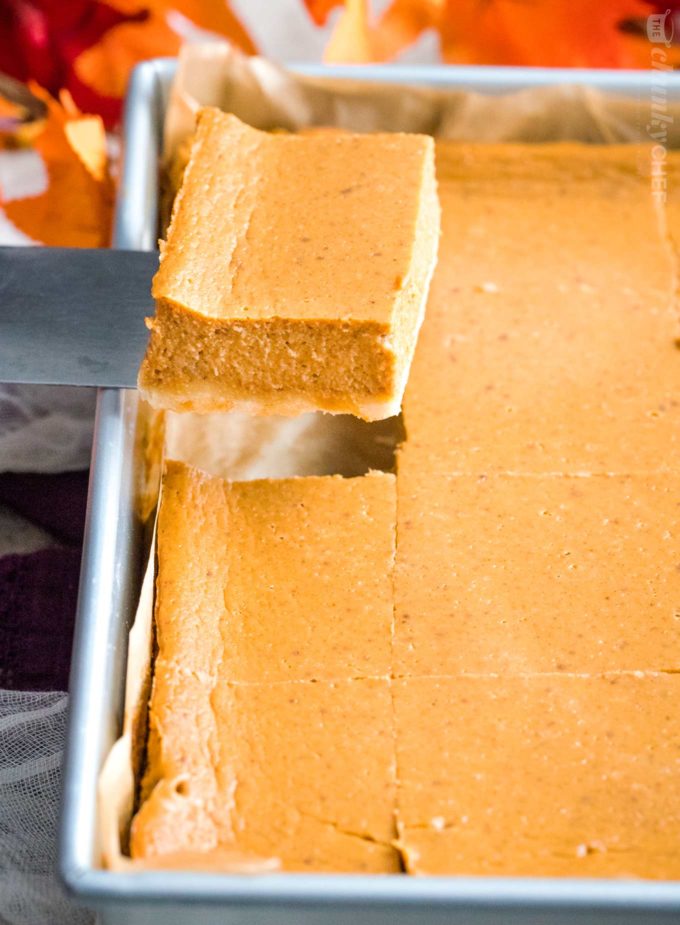
HOW TO MAKE PUMPKIN PIE BARS
You’ll love how simple this recipe truly is. First you need to make your crust, which is just combining flour and sugar and cutting some cold butter into it. I usually use a pastry cutter for that, but if you’d rather use a food processor, just pulse it until you see coarse crumbs. No need to roll the crust, it’ll still be powdery… just press it into the baking dish with your hands. No need to pre-bake it either!
Next, you’re going to make the pumpkin pie filling. Pumpkin pie is a custard-like mixture, so it comes together really quickly. Combine your ingredients, and stir in the evaporated milk. Just pour the filling over the crust, bake, and cool!
HOW DO I KNOW WHEN MY PUMPKIN PIE BARS ARE DONE BAKING?
This can be a little tricky, but I’m here to help! Start checking around 65 minutes of baking time, and using an oven mitt, gently give the pan a little wiggle. The bars should jiggle a little in the center, but not be wet and super jiggly all over. Remember not to cut the bars right away… pumpkin pie needs time to set, which happens during the cooling and refrigerating process. It’s so tempting to try a bite, but be patient… they’ll be worth the wait!
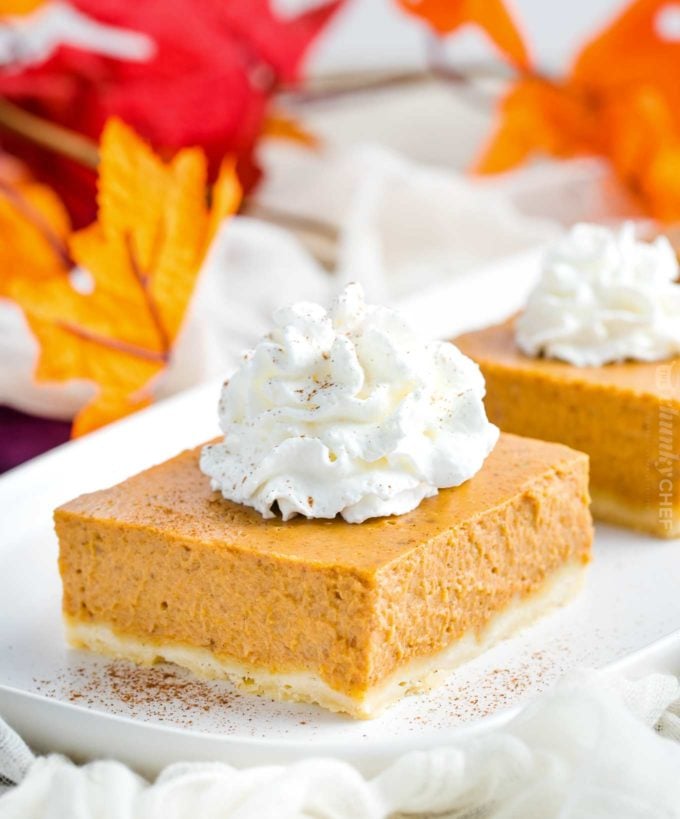
HOW DO YOU STORE PUMPKIN PIE BARS?
Since this is homemade, and therefore preservative free, plus made with dairy and eggs… it needs to be refrigerated. Just cover the pan tightly with foil and they’ll keep for 3-5 days. You may notice when you take the bars out of the refrigerator they’re a little wet on top. That’s totally normal and due to temperature changes. Lightly dab it with a clean paper towel and it’ll be good as new!
WHAT ABOUT FREEZING… CAN THESE PUMPKIN BARS BE FROZEN?
Yes! Just remember to cool them completely first, then cover the pan tightly with a layer of plastic wrap, then a layer of foil. Pumpkin pie bars can be frozen for 1-2 months, and to defrost them, just place in the refrigerator for a full 24 hours.
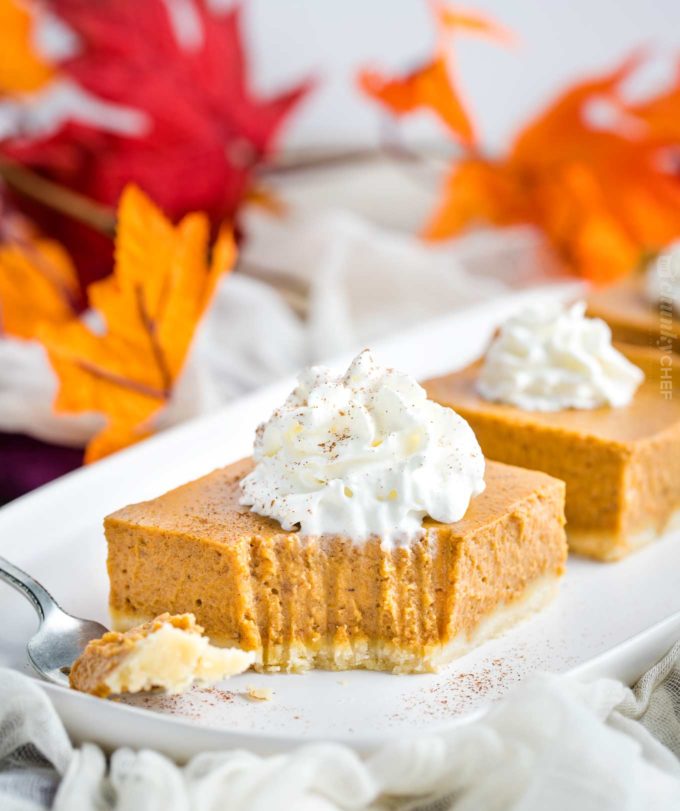
WHY USE EVAPORATED MILK?
I love to use evaporated milk in this recipe because it’s thicker than normal milk, and has the flavor of cream, without adding all the fat and calories that heavy cream would add. By no means is this a “healthy” pumpkin pie bar recipe… but every little bit counts, especially during the holidays right? Some recipes call for using sweetened condensed milk… which would be delicious, but you’d need to omit some of the sugar in the filling.
PRO TIPS FOR MAKING PUMPKIN PIE BARS:
- Plan ahead. These bars have to cool and refrigerate for several hours for the custard to fully set, so make them plenty early enough.
- Use quality canned pumpkin. I’ve had the best results with this recipe, and others, by using Libby’s brand. Store brand, for me, didn’t taste as good.
- When making the crust, it may look like it’s not mixed enough. It’ll still be pretty flour-y and powdery. That’s okay, it all comes together in the oven… like magic!
- When the pumpkin bars are finished baking, they’ll be puffy in the pan. Don’t worry, as it cools, the filling will sink back down… just like a classic pumpkin pie would.
- Pumpkin pie bars can be served cold, at room temperature, or slightly warmed. Personally, I prefer cold or room temperature.
SHOP THE RECIPE:
- Baking Pan – I use this pan for nearly all my baking… it’s amazing and clean up is a breeze.
- Pre-cut parchment paper – never struggle with a roll again!
OTHER GREAT PUMPKIN DESSERTS:
Did you make this? Be sure to leave a review below and tag me @the_chunky_chef on Facebook and Instagram!
Ingredients
SHORTBREAD CRUST:
- 1 1/2 cups all purpose flour
- 1/4 cup granulated sugar
- 1/2 cup cold butter , cubed
FILLING:
- 29 oz can pumpkin puree (NOT pumpkin pie filling)
- 4 large eggs
- 1 tsp salt
- 2 1/2 tsp pumpkin pie spice
- 2 cups granulated sugar
- 2 (12 oz each) cans evaporated milk
Instructions
- Preheat oven to 425 F degrees. Line a 9x13" baking dish with parchment paper or aluminum foil and set aside.
- In a small mixing bowl, combine flour and 1/4 cup sugar. Add cubes of butter and cut into the flour mixture using a pastry cutter or two forks. This can also be done in a food processor by pulsing until the mixture looks like coarse crumbs.
- Press crust into the prepared baking dish in an even layer and set aside. To a large mixing bowl, add pumpkin, eggs, salt, pumpkin pie spice, and 2 cups of sugar. Whisk or beat together. Add evaporated milk and stir until well combined.
- Pour mixture over crust in prepared pan and bake at 425 F degrees for 15 minutes. Leave the pan in the oven and reduce oven temperature to 350 and continue baking another 50-55 minutes, until filling is set.
- Remove pan from oven and cool completely on a wire rack. Cover and refrigerate at least 2 hours before cutting into bars. I usually make my bars the night before, so they're refrigerated overnight.
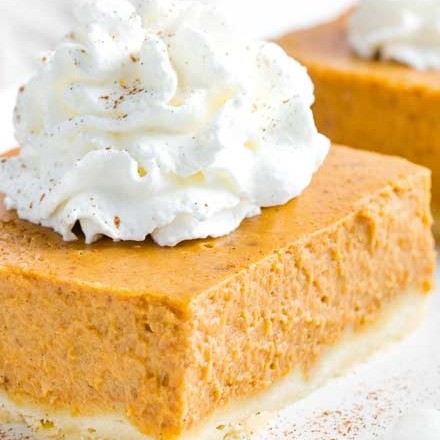
- Slice into squares and serve with whipped cream and a light dusting of cinnamon if desired.
Want to save this recipe for later? Click the heart in the bottom right corner to save to your own recipe box!
Chef Tips
Video
Nutrition Disclaimer
The Chunky Chef is not a dietician or nutritionist, and any nutritional information shared is an estimate. If calorie count and other nutritional values are important to you, we recommend running the ingredients through whichever online nutritional calculator you prefer. Calories can vary quite a bit depending on which brands were used.

Anna says
I made these last night and tasted them while they were still warm. It was so hard not to eat half the pan! So good! I did make a couple of changes to the recipe: I used heavy cream instead of canned milk, made my own pumpkin pie spice, and grated in about a teaspoon of fresh ginger. I also prebaked the crust for about 10 minutes. The crust looked like it wouldn’t work, but it was brilliant. These are going into the rotation!
Amy says
As I usually do in baked goods, I cut the sugar in the filling by a quarter to 1.5 cups, and it tasted perfect. The shortbread was better (softer) after two days in the fridge, and when it was fresh I thought it would taste better with a little salt. I’m pinning this one!
Nancy O says
I made these instead of a pie and everyone LOVED them! The shortbread crust made such a nice change from regular pie crust. I had to substitute the 2nd can of evaporated milk with half & half as I didn’t have 2 cans! They were such a hit that I didn’t come home with any. Thank you for sharing!
Rose C says
I like the filling but I added more pumpkin pie spice than the recipe called for and also added cinnamon. It definitely needed the added spices. I had concerns about not pre-baking the crust and I was right to have concerns. I followed the directions and did not pre-bake the crust and the crust did not bake properly. It is somewhat raw and ruins the bars. Next time I will pre-bake the crust for about 15 minutes.
The Chunky Chef says
I’ve never had that issue (otherwise why would I post it as written), but all ovens do cook differently. Glad you can alter this to your needs for the next time 🙂
Kassaundra says
I am a huge pumpkin fan. Fall is my favorite time of year!
I made the recipe for a big family dinner and added a stabilized whipping cream with maple candied toasted pecans atop. What a hit!!!
Will definitely make again!
Danita Cronkhite says
I did make these for my family so they have some sweet treats to munch on during the week leading up to Thanksgiving. I love to bake! These and your lemon bars (my personal favorite) are so good. I wish I had found a recipe for pecan bars though, so far the ones I’ve found on line are woefully lacking, plus I like having all my favorites in one place.
Paula Keiper says
I want to make these for Thanksgiving but I don’t want the parchment or foil. Can you just make these in a 9×13 and prepare the bottom somehow by spraying?
The Chunky Chef says
You could try it, but you’d likely have a difficult time getting the first slice out of the pan without mangling it. I always use parchment (or foil, but mostly parchment) with my baking recipes, so I haven’t tested using this with just spraying or buttering the pan, and can’t say how well it would turn out.
Michelle McGuire says
As soon as the last piece is gone I want to bake another. I just can’t get enough, I love these pumpkin bars just as the recipe calls for, I wouldn’t change a thing
Donna says
Am I able to “Share” this recipe somehow?
Thank you. It’s delicious.
The Chunky Chef says
Glad you enjoyed it! Where are you wanting to share it?
Donna Thompson says
Definitely a recipe that will be used again. No pIe crust needed!
It was a huge hit with my 13 friends. How may I share the recipe?
Chef Jeff says
Hi Donna.
See the 3 little dots on the upper right. Click and scroll down to the share icon (looks like a constellation). Now you can share wherever you prefer
Kylie says
Definitely a keeper! I made these for the first time last night and I’m very happy with how they turned out. I was concerned that the crust mix was too dry, I used my food processor so I may have over-mixed it. I decided to pre-bake it for eight minutes, and it turned out great. I made my own pumpkin pie spice mix and I used a metal pan to bake the bars. This will definitely be a staple recipe from now on!
Brenda says
Hello Canadian friends.. anyone make this with a 796 ml can of pumpkin and 2 354 cans of carnation evaporated milk?
Penny says
Hi, yes after trying to convert can measurements to the recipe I used the full can of pumpkin purée and two cans of 354ml evaporated milk it turned out perfect..
Anna says
Can I use an equal amount of heavy cream instead of evaporated milk?
The Chunky Chef says
I haven’t tested this recipe using heavy cream, so I can’t say for certain how well it would work, although I think it would be okay. If you do some experimenting, I’d love to know how it turns out 🙂
Jacqueline b Holt says
I have made this recipe many times! It’s easy to make and super yummy! You get more servings from this than with a pie! I’m bringing them to a goodbye summer/ Hello Fall!
Deborah says
Great recipe! I, however, used sweet potato instead. You definitely need to half the sugar and take the condensed milk down by 3/4. Also increase nutmeg as a substitute for the pumpkin spice.
Karla says
These pumpkin bars are absolutely DELICIOUS! My family loved them. I don’t think I will ever bake another pumpkin pie again. We loved the shortbread crust. My hubby didn’t want me to send the leftovers home with anyone 🙂 The crew is still raving about these bars and told me not to lose the recipe. They want them again soon!!! I did not use the parchment paper but sprayed the pan and they were just fine. You do have to fine tune the baking time so they are not too jiggly in the middle. Thank you for the recipe!
Mona says
Usually bought Costco’s Pumpkin Pie but they got moldy day after. Decided to do these bars because of all the positive comments and I like a shortbread crust. These were outstanding! Would only do these in the future!! Thank you for this awesome recipe! One issue I had was with parchment paper up the sides. Won’t do again. Fell into custard when I carried over to oven. Will definitely just grease and lightly flour pan.
ShellyM says
This recipe was so easy to make and delicious. I was looking forward to a shortbread cookie like crust but the crust tasted more like a pie crust which is perfectly fine but just was expecting it to be sweeter and more buttery like a shortbread cookie. I will definitely make this again!
Sarah N says
The custard is amazing and a great texture, but I’m having a lot of trouble getting the crust to work out for me. I did pre-bake after reading comments, for about five minutes because my oven is notoriously strange and likes to burn things if I do them for too long, but the final product turned out a gummy crust that didn’t want to come out of the pan.
I did see in the comments that someone suggests that this might be because I used a glass pan. I will try metal next time, because I really want to get these right!