
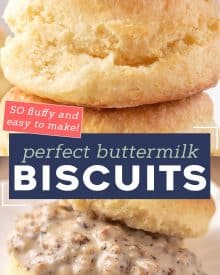
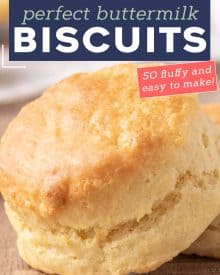
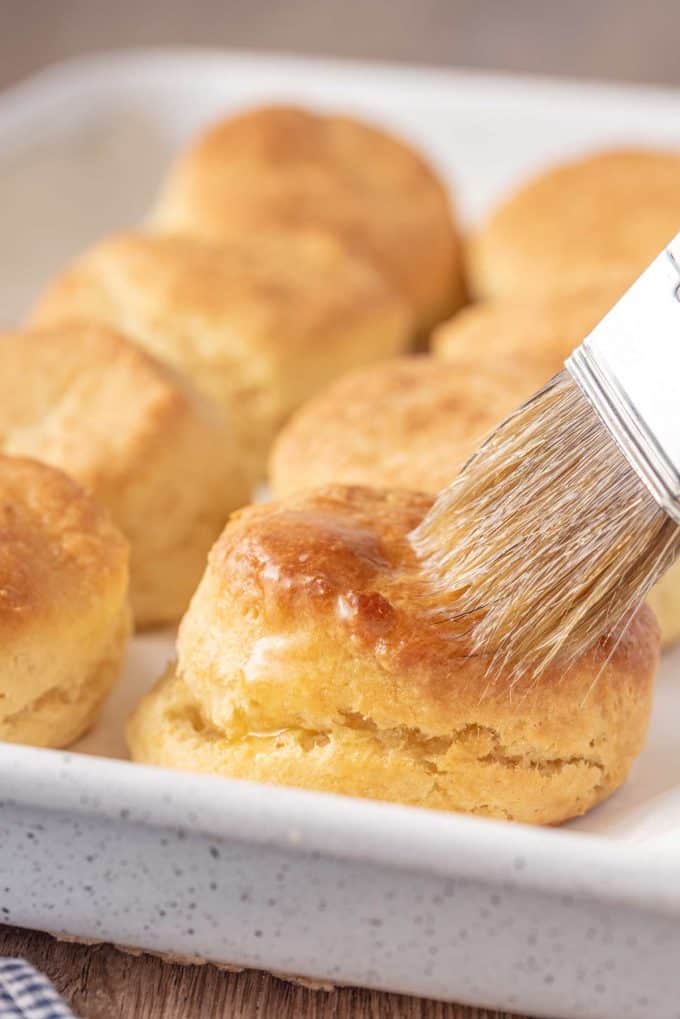
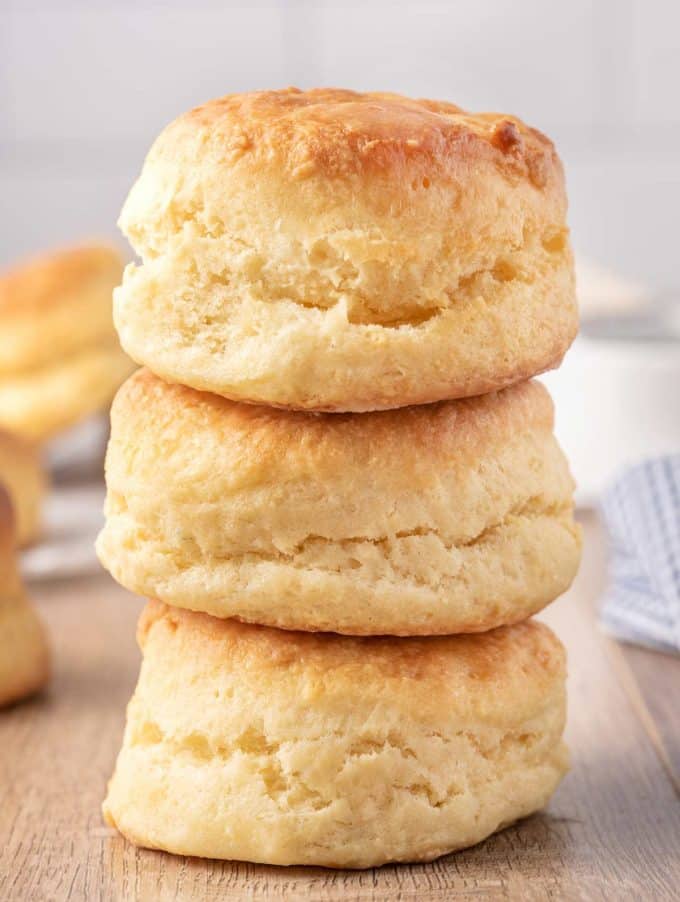
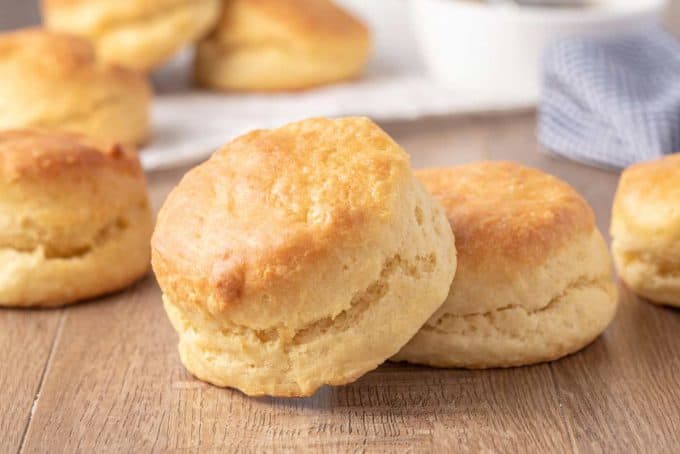
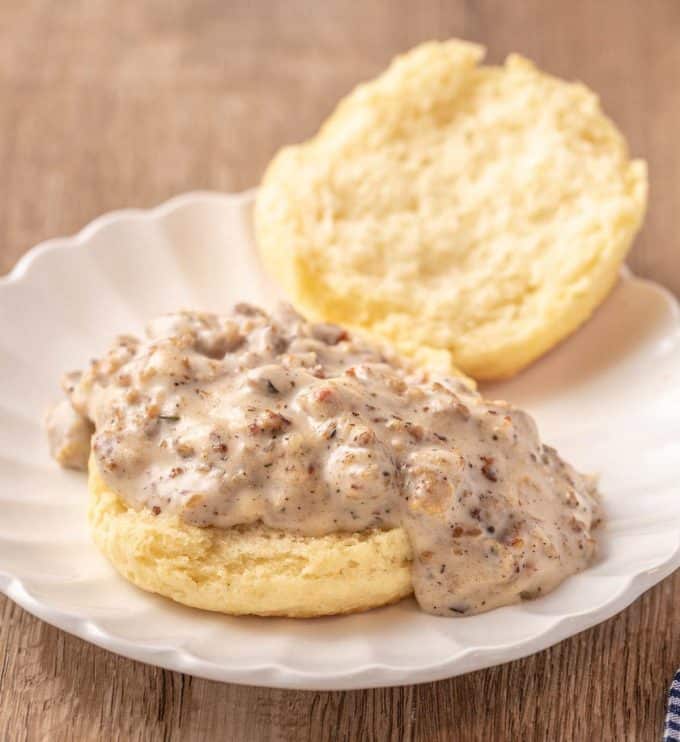
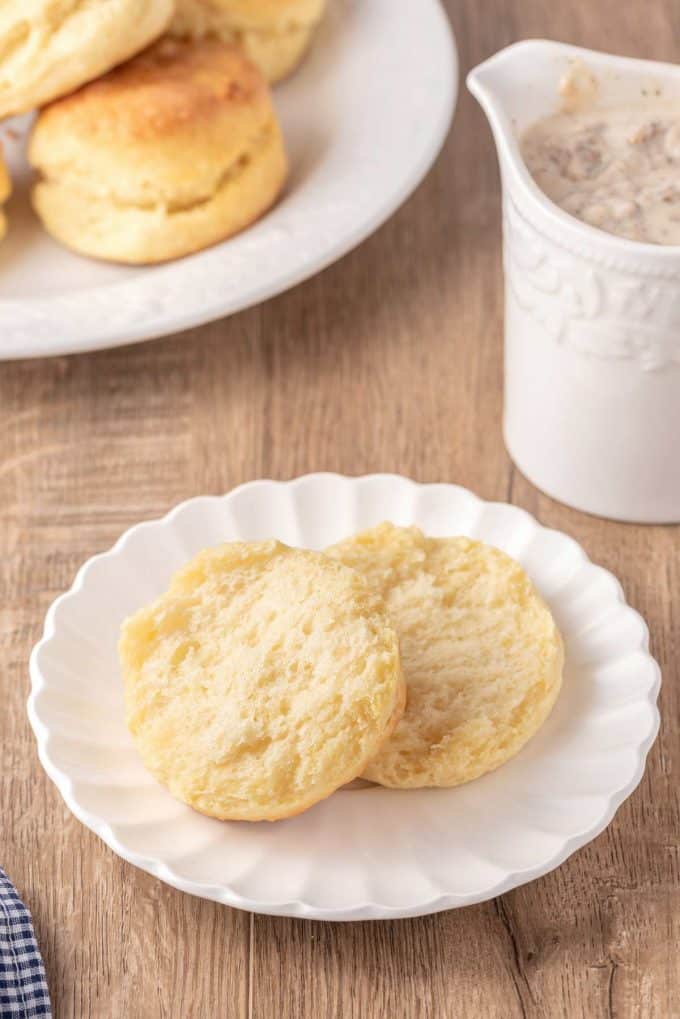
Learn how to make the BEST Buttermilk Biscuits from scratch! They’re so light and flaky, and plenty fluffy. Perfect for topping with sausage gravy, butter, honey or jam!
This is part of a series of recipes here on the site that I’m calling “Back to Basics“. In this series you’ll find recipes that are common building blocks for beginner cooks, as well as homemade versions of pantry/store-bought staples, such as cream of mushroom soup, pie crust, garlic bread, etc. With easy to follow instructions, detailed notes, and step by step photos, you’ll be on your way to being a master in your kitchen in no time!
Is there anything better than a hot, buttery, fluffy biscuit? I mean you can eat them plain, or top them with just about anything!
Until about 10 years ago, for me, making biscuits usually involved opening a can… you know, the one that you peel the label and twist the can and it pops open (scaring you half to death)?
They were decent, but I always wanted to be able to serve up some amazing homemade biscuits. So of course I set about trying to make the very best biscuits.
Because once you try homemade biscuits, you won’t want to go back!
This recipe has been on the blog for years (since 2015), but it needed some new beautiful photos and super clear step by step instructions. So let’s dive in!
How to make buttermilk biscuits?
This is just an overview; the full ingredients and directions are in the recipe card toward the bottom of this post.
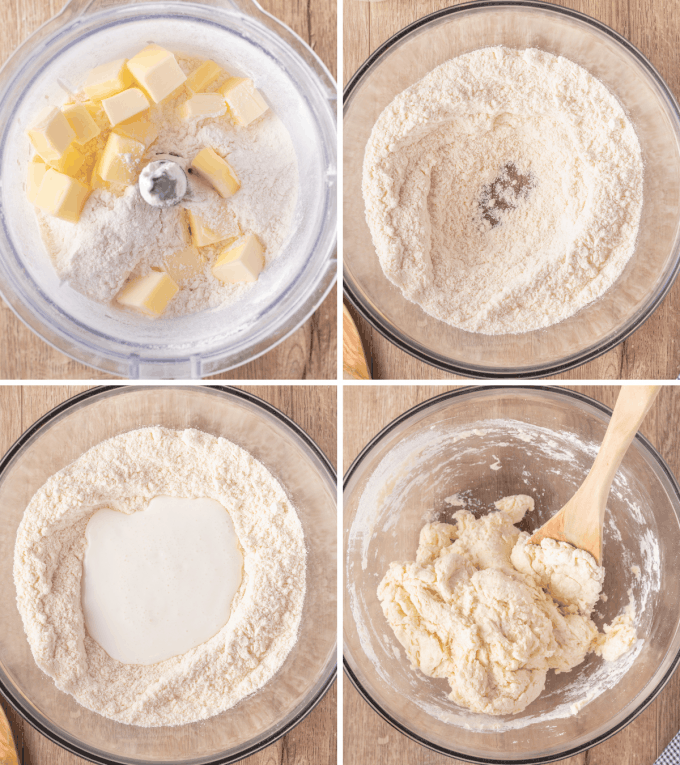
- Add the dry ingredients to a food processor. Top with cold cubes of butter.
- Pulse. Just pulse until coarse crumbs appear. Small pea-sized pieces of butter are great.
- Add to mixing bowl and make a well in the center. Pour in cold buttermilk.
- Stir until combined. Dough should be slightly sticky/tacky.
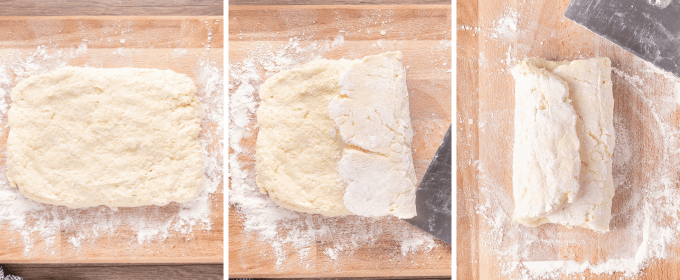
- Flour a work surface and turn out dough. If you have a big cutting board that will work, or you can just use your counter.
- Pat dough into a rectangle. You’re shooting for about 8-9 inches long.
- Fold the right side in towards the middle. Like you would if you were trifolding a piece of paper.
- Fold the left side in towards the middle.
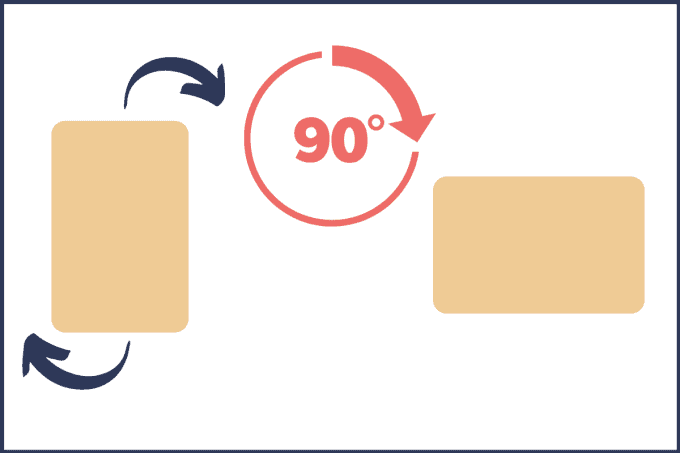
- Rotate the folded dough a quarter turn. After folding, the dough should be a vertical folded rectangle. Turn it to be horizontal.
- Pat dough down into 8-9 inch flat rectangle again.
- Repeat trifold folding process from process images above. Right into the middle, then left into the middle.
- You can technically stop here, as you’ve done the folding process twice. But for even more layers, rotate the dough a quarter turn again, pat it down, and trifold it one more time.
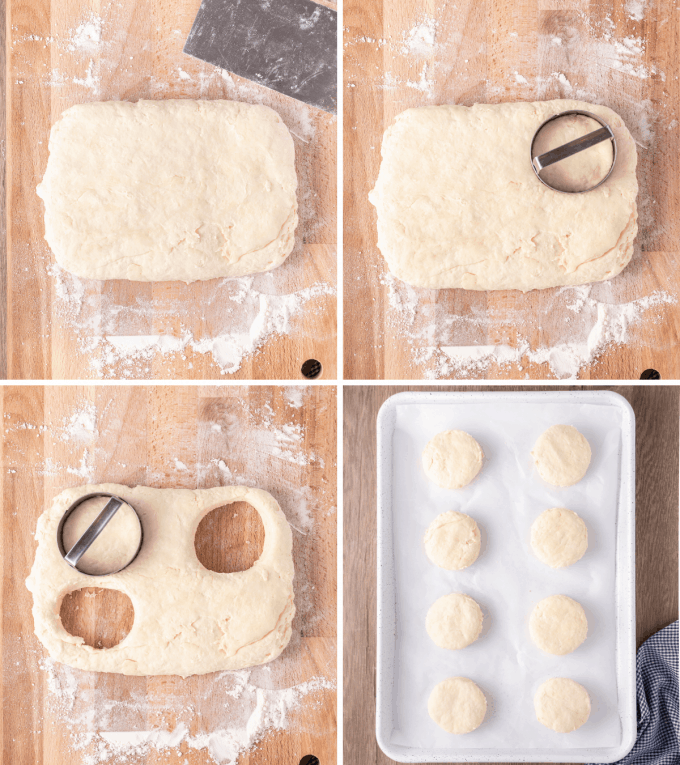
- Pat down the dough into a flat rectangle again. You’re shooting for about 1 inch thick.
- Use biscuit cutter to cut out as many biscuits as you can get from your rectangle. I can normally get about 4.
- Gather dough scraps together and re-pat into a flat, 1 inch rectangle.
- Cut out more biscuits. Again, I get about 4.
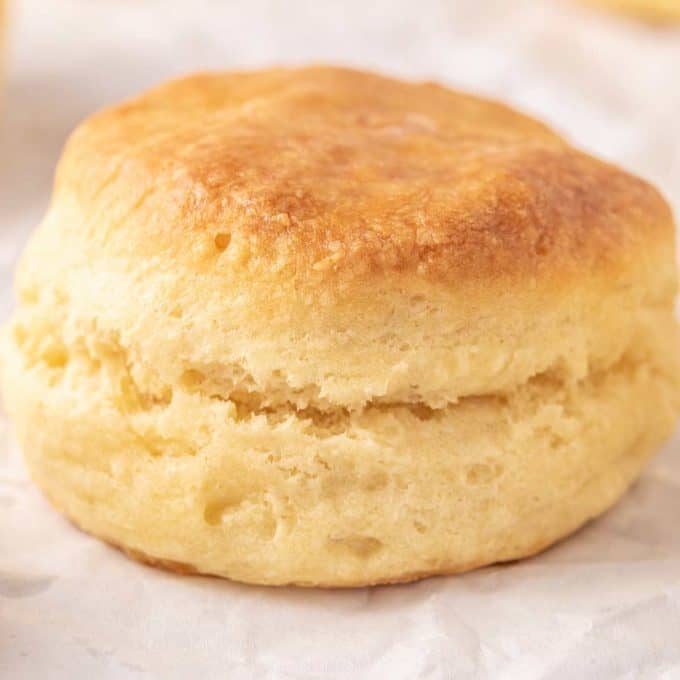
- Add biscuits to baking sheet and bake until golden brown and cooked through. This will take about 12-15 minutes.
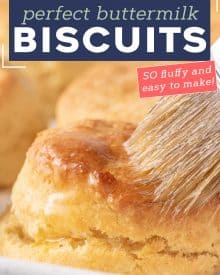
- Brush with melted butter if desired.
Helpful Tip!
When cutting the biscuit dough, don’t twist the biscuit cutter. Just push down, then pull straight up. If you twist, you run the risk of the twisting motion “sealing” the edges of the dough and inhibiting the rising process. For the tallest biscuits, don’t twist!
Variations of this recipe
- Honey – try swapping the granulated sugar for honey (and add it with the buttermilk). It adds a beautiful flavor!
- Self rising flour – if you have self rising flour, you can use it for this recipe! Just omit the salt and decrease the baking powder to 1 1/2 tsp.
- Buttermilk substitute – if you don’t have buttermilk on hand, you can make your own! Mix 1 Tbsp lemon juice or white vinegar with whole milk and let it sit about 10 minutes. It will look a bit curdled. Stir and use.
- Cast iron skillet – these biscuits can absolutely be baked in a cast iron skillet! No need to use parchment paper in that case, just add the biscuits and bake as directed.
- Cheese biscuits – try adding 1/3-1/2 cup shredded cheddar cheese (or your favorite) to the biscuit dough.
- Garlic herb biscuits – add 1/2 tsp each garlic powder, dried parsley, and dried chives.
FAQ’s
Buttermilk does two main things in this biscuit recipe. First, it adds a beautiful slight tang to the flavor of the biscuits. Secondly, it reacts with the leavening agents in the dough (the baking soda/powder) to help the biscuits rise in the oven.
Absolutely! The cold butter is the key to those flaky tall layers. As the cold butter in the dough hits the hot oven, it gives off steam and puffs up; making those fabulously tall, fluffy, and flaky biscuits.
Nope, in fact that would be bad for the dough. Biscuit dough should be handled gently and quickly, so the dough stays tender and cold. Overworking the dough will yield biscuits that are flat, hard and chewy.
You definitely want to use non-expired baking powder for this recipe, or your biscuits won’t rise. To test your baking powder, add a bit to hot water. If it bubbles and fizzes, you’re good to go! However, if your baking powder is older than 6 months, it’s best to just get a new can. The older one can still be used for cleaning purposes!
Making buttermilk biscuits ahead of time
I found that making the dough ahead of time didn’t work as well, since the leavening agents (specifically the baking powder), will start activating as soon as the ingredients are mixed. This means when the biscuits are baked, they won’t rise as much as they should.
Freezing
You can, however, cut the biscuits and immediately freeze them. Place the cut biscuits on a wax paper lined baking sheet and freeze for 1-2 hours, or until hard. Then transfer the frozen biscuits to a freezer safe container and freeze for up to 3 months.
To bake frozen biscuits, bake at 425°F for about 20 minutes, or until golden brown and cooked through.
Storage
Biscuits will keep for up to 3-5 days in an airtight container. You don’t have to refrigerate, but you can if you want to.
To reheat leftover biscuits, bake at 300°F for about 10-12 minutes, then brush lightly with melted butter.
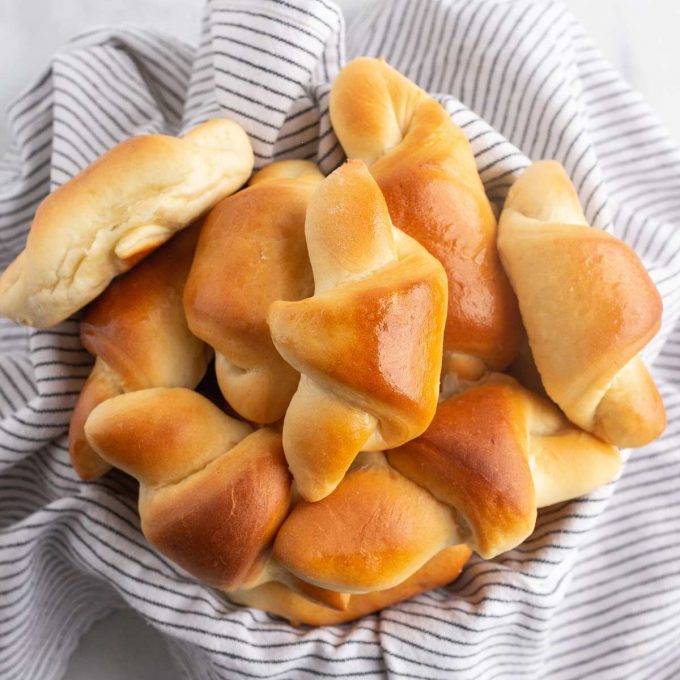
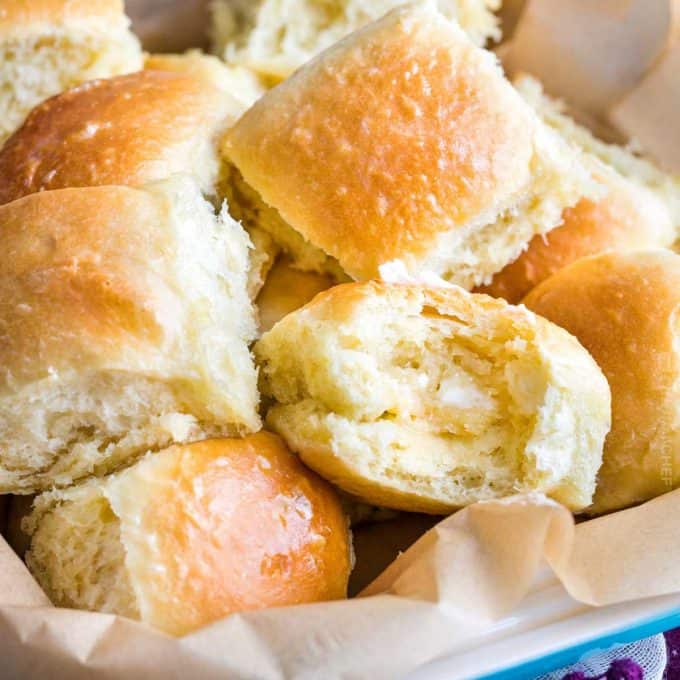
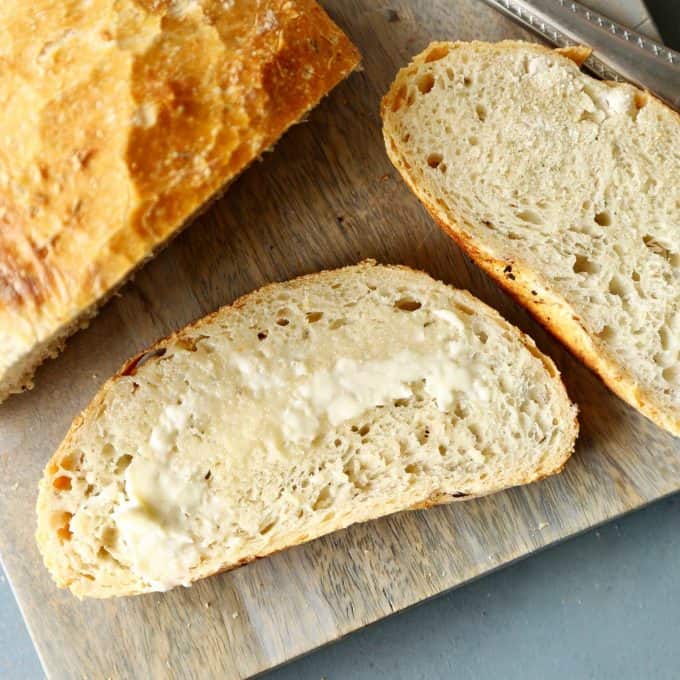
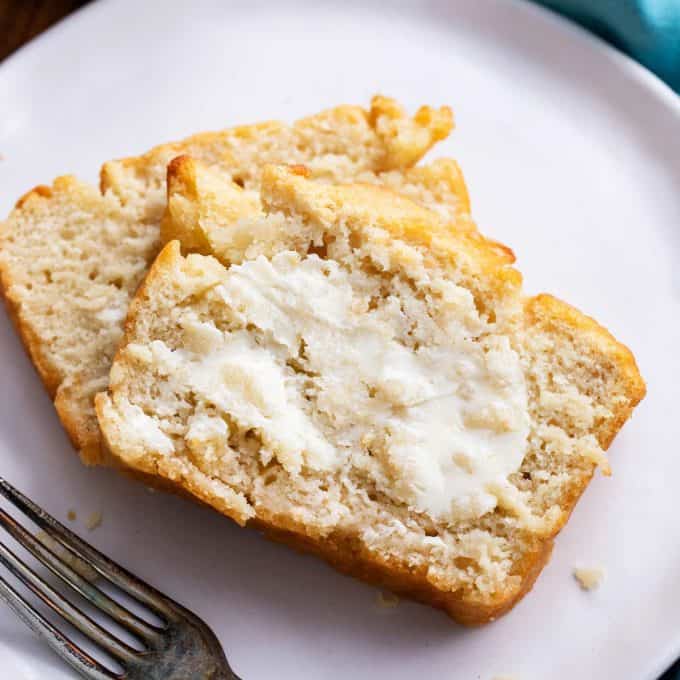
Other Bread Recipes:
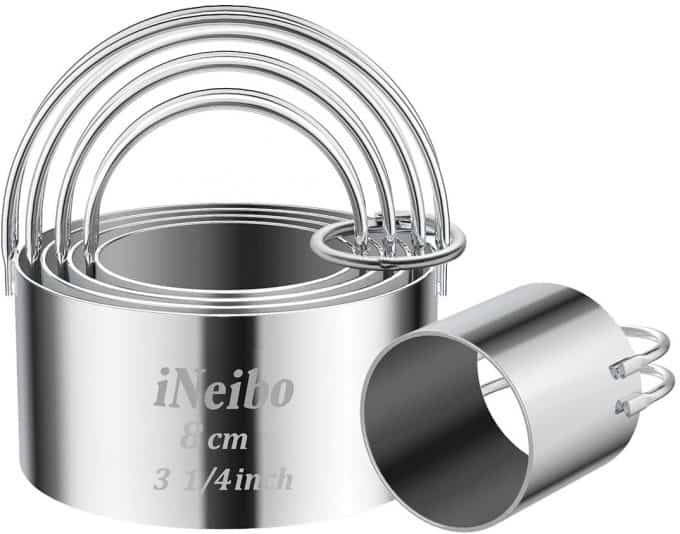
My Favorite Biscuit Cutters!
I really love that these cutters have the diameter etched on the side, and the handles make them easy to maneuver!
Did you make this? Be sure to leave a review below and tag me @the_chunky_chef on Facebook and Instagram!

Ingredients
- 6 Tbsp unsalted butter
- 2 cups all purpose flour
- 1 Tbsp sugar
- 1/4 tsp baking soda
- 1 Tbsp baking powder
- 1 tsp salt
- 1 cup buttermilk
Instructions
- Cut butter into small cubes. Place the butter on a plate and place in the freezer while you mix the dry ingredients. The butter should be very cold.
- Preheat oven to 450°F and line a baking sheet with parchment paper or nonstick foil. Set aside.
- In a food processor (or large bowl), add flour, sugar, baking soda, baking powder and salt. Pulse a time or two to combine (or whisk if you're using a bowl).
- Add the butter to the food processor and pulse to combine, until it looks like coarse crumbs (you could also use a pastry cutter or 2 forks in a large bowl).
- Add the butter and flour mixture to a large bowl and make a well in the middle. Add the cold buttermilk. Stir until dough is mixed and combined, it will be slightly sticky/tacky. If it's still really sticky, add a bit more flour!
- Turn out the dough onto a floured surface (I use my counter) and pat into a rectangle about 8-9 inches long.
- Gently fold the right side towards the middle, then fold the left side in towards the middle as well. It should look like a trifold paper.
- Rotate the dough a quarter turn (it should be horizontal), then pat down into a 8-9 inch long rectangle again. Repeat the folding technique from the step above, at least 1 more time, and up to 2 more times. So 2 or 3 times total. The more folding you do, the more layers you'll have.
- Pat dough down into a rectangle again, about 1 inch thick.
- With a 2.5 inch round biscuit cutter, push down to cut the dough and pull straight up (remember not to twist!). Leftover scraps can be combined and cut again – but no more than 2 or 3 more times.
- Place the biscuits on prepared baking sheet, almost touching each other, and bake at 450°F for 12-15 minutes until browned and cooked through.
- After the biscuits are baked, brush tops with melted butter.
Want to save this recipe for later? Click the heart in the bottom right corner to save to your own recipe box!
Chef Tips
- These biscuits are amazing served with Sausage Gravy!
- As things like humidity, the way flour is measured, etc can affect the way recipes like these buttermilk biscuits turn out… use the flour/buttermilk measurements as an approximation. If you notice your dough is really sticky, add a bit more flour and work it in. If you notice your dough is not wet enough, add a tiny splash more buttermilk.
- Make sure the butter and buttermilk are very cold. It’s essential to having these biscuits turn out well.
- Don’t skip the folding of the dough – it creates those flaky layers.
- Try to work through the dough folding and cutting fairly quickly, as the colder the dough is, the higher the biscuits will rise.
- During really hot months, or if your kitchen is fairly warm, once the biscuits are cut and on the baking sheet, you can refrigerate for 10-15 minutes before baking.
Nutrition Disclaimer
The Chunky Chef is not a dietician or nutritionist, and any nutritional information shared is an estimate. If calorie count and other nutritional values are important to you, we recommend running the ingredients through whichever online nutritional calculator you prefer. Calories can vary quite a bit depending on which brands were used.
Eleanor P Hawkins says
Excellent
Liz says
Can’t wait to make your buttermilk biscuits! Will let you know how they turn out. Thank you.
Robin R Garcia says
These are the best biscuits I’ve ever made thank you.even better than our family recipe I’ve made for forty years.
Rivers says
Good Morning i love this recipe I was looking for this for a long time. Thanks
Miss Tonya D WALLER says
That was a great recipe
Beti | easyweeknightrecipes says
Everyone loved these Buttermilk Biscuits! I will definitely be making these again and again! Great recipe!
katerina @ diethood.com says
I am loving these Buttermilk Biscuits! They sound incredibly delicious!! I can’t wait to try them!
Beth says
Homemade biscuits are everything in this household! So excited to give these a try! My family and I are going to love them!
Catalina says
It’s so great to make biscuits at home! Seems so easy with your recipe!
Erin | Dinners,Dishes and Dessert says
This Buttermilk Biscuits are so pretty! Love the recipe too!
Adri Barr Crocetti says
I’ll be honest. I have not made these biscuits yet, but I am certain they are terrific. The 5 star rating is for your exceptional tutorial. It is thorough, and gives the reader everything he or she needs to know before jumping in. The photos are great added value. So 5 stars for your teaching. Brava!
Jo says
Amazing buttermilk biscuits! And I love how fluffy it is!
Janie says
I can no longer see your recipe for sausage gravy under the sausage and gravy recipe post. Was it eliminated from your site?
We enjoyed it very much so would like to see it posted once again! If you cl could email the recipe that would be great as well!
Thanks!
Amanda says
It’s not being eliminated, it’s just getting it’s own separate post, that will be up tomorrow 🙂
Julie Silvey says
These look good and are easy to make!
GEORGE PSYCHAS says
loved them
Joy Ballance says
I’m 62 years old and your buttermilk biscuits are without a doubt every bit as good as what my grandmother and momma would make us growing up. I’ve been sharing your recipe and everyone loves it! God. Bless me thank you for sharing it with us. 🎶🥰🙏🎶
Joy Ballance says
Meant to say God bless you!🤣🎶
Diane says
Super recipe. I use this as my go to for making biscuits. Raise nicely and taste great. Gravey is super too. I just use seasoned salt and pepper.
Amber Leipner says
I just wanted to let you know I accidently used a different recipe after using yours at least a dozen times and I was soo disappointed I clicked on the wrong pin on my Pinterest while in a rush! I absolutely love your recipe and for someone who has failed many many times your recipe is fool proof. The biscuits and gravy bring me back to my childhood and are the best easiest recipe I have found. I have made a point to write it on a card and place it in my top kitchen draw to make sure I NEVER make that mistake again!!! Thank you again for a perfect fool proof recipe!
Elizabeth Pizza says
I have been making flat biscuits my whole baking life. Tried your method and voila! Nice tall flaky biscuits. Even my husband commented. Gravy recipe same as mine – so put the two together and…heaven!
Robbin says
Loved the gravy. I did add a pinch of cayenne and a pinch of sage and a few dashes of chalupe hot sauce. A very good base.