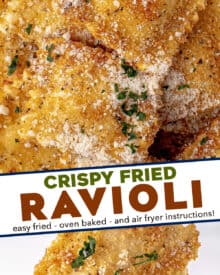
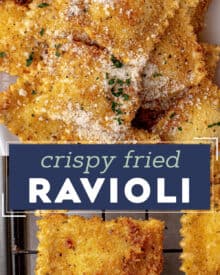
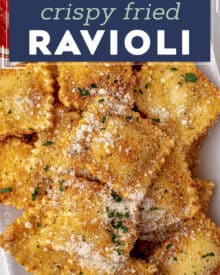
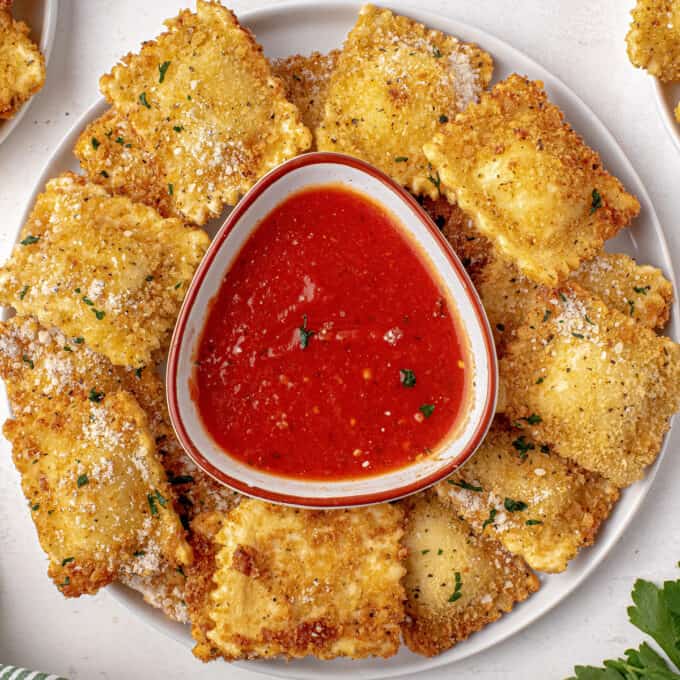
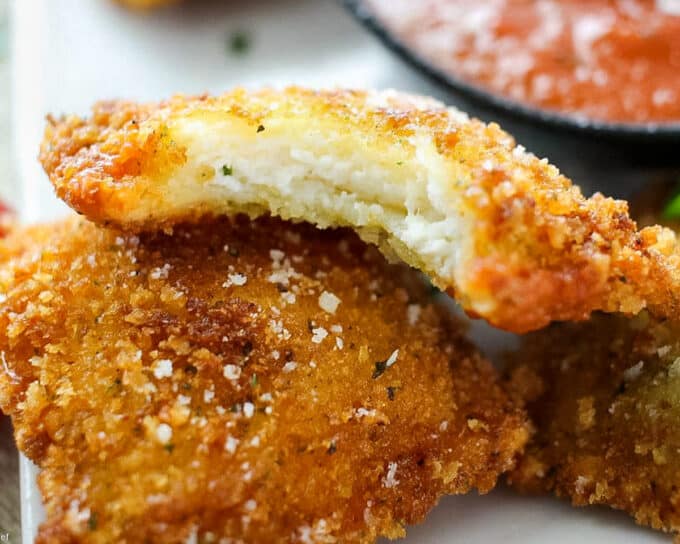
This Fried Ravioli recipe is made with frozen ravioli (meat, cheese, or veggie) that are coated in Italian panko breadcrumbs and fried until perfectly crispy and golden brown. Dust them with Parmesan cheese and serve alongside some marinara sauce and watch them disappear! Perfect as an appetizer, game day food, or a fun family dinner!
This is one of my Appetizer recipes I know you’ll want to keep on hand!
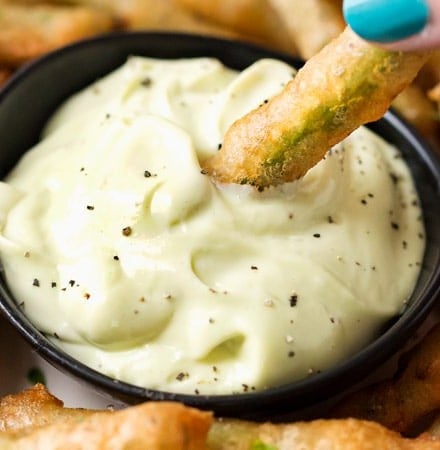
Have you ever had fried or toasted ravioli? It’s a popular appetizer here at some Italian restaurant chains, and let me just say… wow… it’s incredibly delicious!
It’s also pretty easy to make at home, for a fraction of the price.
This is a recipe that’s been on the website for years (since 2015!), and while the recipe remains the same, I’ve updated the post with additional information, new photos, and a more clear recipe (with more specific ingredient quantities).
We love this as a party appetizer, but it’s also one of our favorite dinners! Served alongside some roasted vegetables or a big salad, it definitely makes dinner fun.
How to make fried ravioli?
This is just an overview; the full ingredients and directions are in the recipe card toward the bottom of this post.
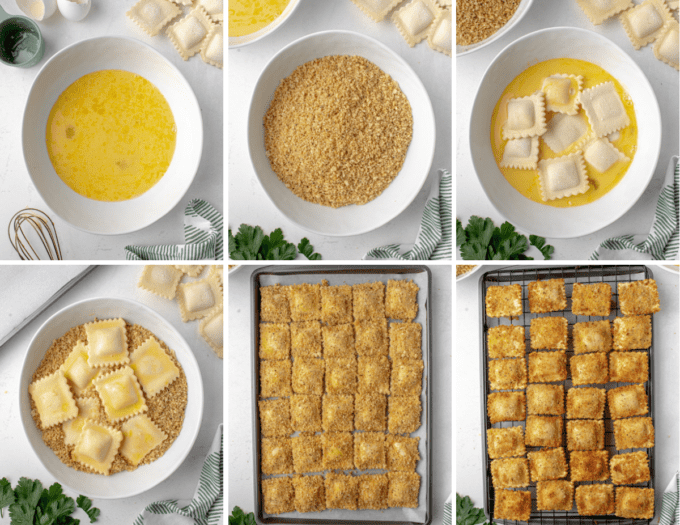
- Prepare breading area. This is important so all the breading steps are done in the same general area, and makes things move smoothly.
- Dip ravioli in egg wash. You can do a couple at a time, or one at a time, whichever you prefer.
- Dredge in breadcrumbs. Again, one at a time, or several at a time, just make sure you really press the breadcrumbs into both sides of the ravioli.
- Fry. Please be careful while frying, and make sure you’re adding the ravioli away from your body so you don’t get splashed.
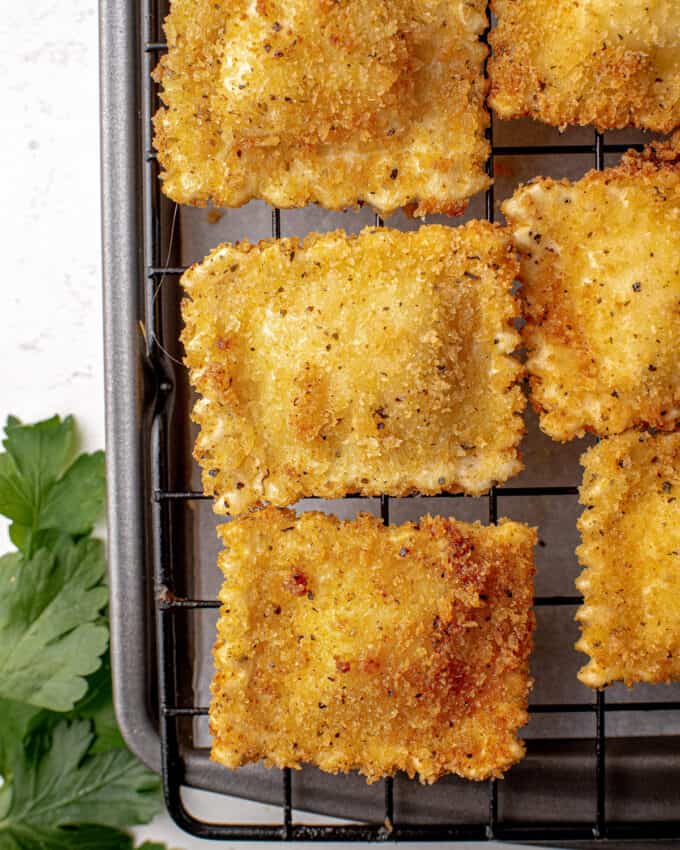
- Cool. Placing the fried ravioli on a wire rack topped baking sheet gives the excess oil a place to drip off, as well as keeping the air circulating around the ravioli, which keeps them nice and crisp.
Helpful Tip!
Frying can be intimidating, but don’t panic. You can do this, and you really don’t need a bunch of expensive equipment. I’ve included a frying tips section right above the written recipe, that will turn you into a frying master in no time!
Variations of this recipe
- Ravioli – our favorite ravioli to use in this recipe is Louisa brand, or even our local grocery store brand. However, feel free to use your favorite type and brand!
- Breadcrumbs – if you’d like, you can replace about 1/3 of the panko with some Italian seasoned traditional breadcrumbs. If you’re having trouble or are worried about the ravioli not being completely coated, this can help since the regular breadcrumbs are smaller and can fill in the gaps left by the larger panko crumbs.
- Seasoning – if you don’t have Italian seasoned breadcrumbs, you can use plain breadcrumbs (2 cups) and add 1.5 – 2 Tbsp of dried Italian seasoning, 1 tsp kosher salt, and 1 tsp garlic powder.
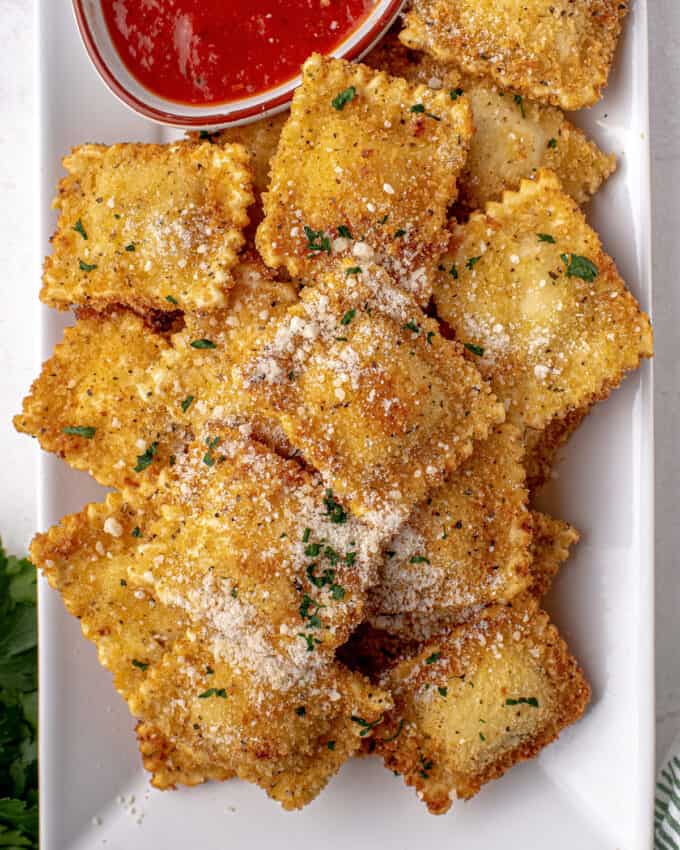
- Dipping sauce – we love this with my homemade marinara, but a great garlic alfredo sauce would also be fantastic.
FAQ’s
Yes, frozen ravioli should be thawed before being breaded and fried.
I’ve tested this recipe using frozen (and then thawed) beef, cheese, and mushroom ravioli. I’ve also tested refrigerated cheese and beef ravioli (such as Buitoni brand). So while I can’t say for certain other types would work, I’m fairly sure this recipe can be used with any frozen or refrigerated ravioli.
Making fried ravioli ahead of time
This recipe, like all fried foods, tastes best when made fresh.
However, several parts of this recipe can be prepped ahead!
How to prep ahead for this recipe:
- Panko breadcrumbs – if you’re making your own seasoned panko, it can be stirred together and kept covered at room temperature for several days.
- Marinara – if you’re making your own marinara, the sauce can be made several days ahead of time and kept refrigerated.
- Ravioli – the frozen ravioli can be thawed in the refrigerator a day or so before making this recipe.
- Breaded – you can also bread these ravioli and keep them covered in the refrigerator for a day.
Storage
Leftover fried ravioli should be refrigerated in an airtight container and eaten within 3-4 days.
Reheating leftover fried foods can be tricky, but I recommend reheating the ravioli in a preheated 375°F oven for about 10-15 minutes.
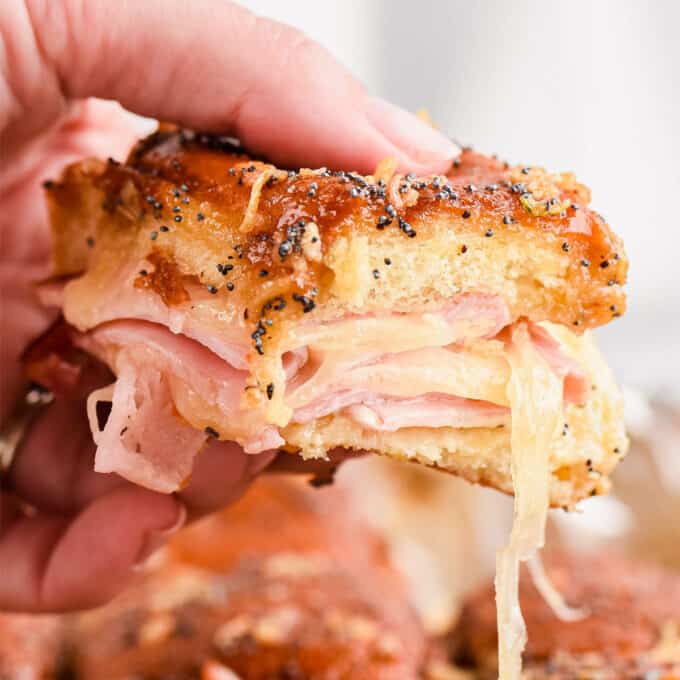
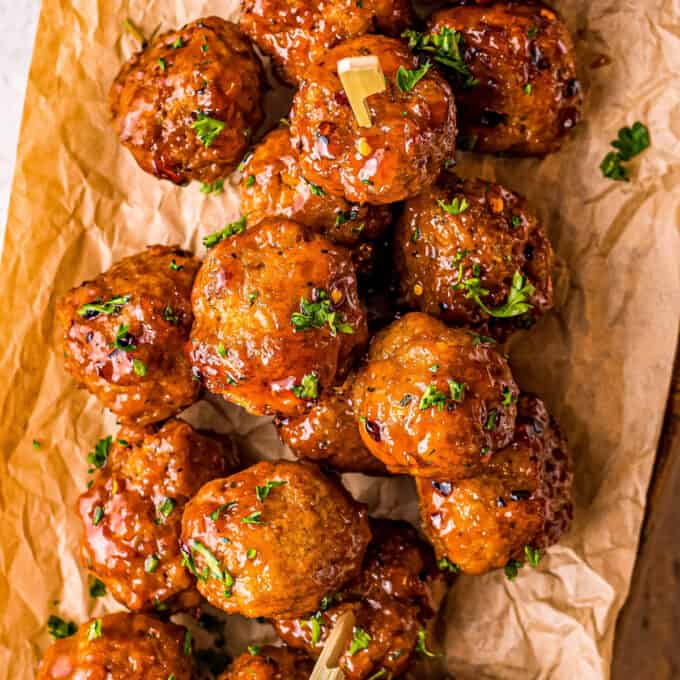
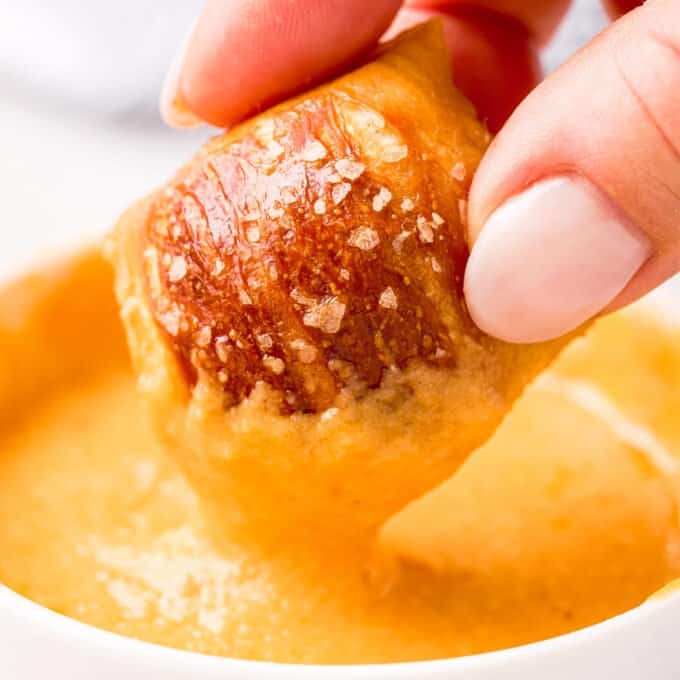
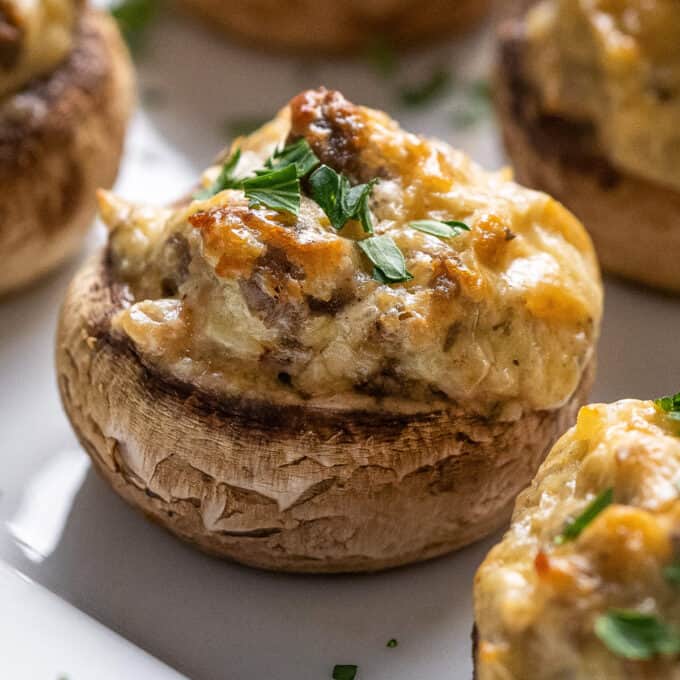
More Fun Appetizer Recipes:
My Favorite Pan to Fry In!
I love using this enameled cast iron pan to fry in. It’s heavy bottomed, holds heat evenly, is shallow enough to be able to work in, yet deep enough so you don’t get splatters of oil all over your stove! If you’d like to take the guesswork out of getting your oil to the right temperature, try using this inexpensive frying thermometer.
Tips to Fry Like a Pro!
I know frying can be a bit intimidating, but I promise, it’s easier than you think!
- Pat the raviolis dry before breading. The egg wash will slide right off a wet ravioli, which means the breading won’t stick properly.
- Use a thermometer to ensure the oil is the right temperature. Guessing just isn’t the way to go here. If the oil is too hot, the ravioli will burn before warmed through. If the oil is too low, the ravioli will take on too much oil and be oily and soggy. Around 350°F is the sweet spot.
- Drop the breaded food away from you when you add them to the oil. Hot oil is not fun to get on your bare skin – trust me!
- Don’t overcrowd the pot/pan. Every time you add anything to hot oil, it lowers the temperature a bit. So adding all your ravioli at once will drop the temperature too much, which leads to unevenly cooked, oily and soggy food. I like to add about 10 ravioli at a time, when using a large pot.
- Use a frying spider instead of tongs to handle fried food in the oil. Tongs have a tendency to rip off pieces of that delicious breading. Spiders are inexpensive and great for so many things.
- Drain the fried food of excess oil after frying by adding it to a wire cooling rack. This elevates the food and keeps the coating crisp.
Did you make this? Be sure to leave a review below and tag me @the_chunky_chef on Facebook and Instagram!

Ingredients
Ravioli
- 20 – 25 oz package frozen ravioli (any variety) thawed
- 2 cups Italian panko breadcrumbs
- 2 eggs
- 1/2 cup milk
- Canola oil for frying
To serve
- marinara sauce warmed, for dipping
- grated Parmesan cheese for garnish
- minced fresh parsley for garnish
Instructions
Prepare
- Add enough oil to dutch oven (or other large heavy bottomed pot) to be about 2 inches deep, and heat over MED heat to 350°F. Line a baking sheet with a paper towel, then top with a wire cooling rack. Set aside, near the stove.
- Top another baking sheet or large plate with wax paper. Line up 2 shallow bowls next to the baking sheet, so you'll be working towards it.
- In the the first bowl, add the eggs and milk, beating together.
- In the second bowl, add the panko breadcrumbs.
Bread the ravioli
- Make sure thawed raviolis are dry, then add a ravioli to the bowl with the egg wash. Turn to coat all sides.
- Move egg coated ravioli into the bowl with the breadcrumbs, then turn and press/pat to completely coat the ravioli in breadcrumbs.
- Transfer ravioli to wax paper lined baking sheet, and repeat with all remaining raviolis.
Fry
- When oil is hot and has come to the 350°F temperature, gently add several raviolis (carefully dropping away from you), being careful not to add too many as this will overcrowd the pan and the ravioli won't get as crisp and the oil temperature will drop too much.
- Fry for approximately 2-4 minutes, or until golden brown and crisp, flipping over halfway through frying so the other side can brown.
- Remove to prepared wire cooling rack topped baking sheet, and repeat with any remaining raviolis, working in batches.
Serve
- Before serving, warm the marinara sauce and sprinkle raviolis with grated Parmesan and minced parsley if desired.
Want to save this recipe for later? Click the heart in the bottom right corner to save to your own recipe box!
Chef Tips
- I’ve estimated this recipe will serve about 8 people as an appetizer, however the exact serving amount will be up to you.
- Exact oil amount isn’t listed, since this will vary from person to person, as the width of the pan will alter the amount of oil needed to reach approximately 2 inches deep.
Fried Ravioli in the Air Fryer:
- Bread ravioli as directed.
- Spray ravioli on both sides with nonstick cooking spray (we love a non-aerosol avocado oil for this).
- Preheat air fryer to 350°F.
- Add enough ravioli to make a single layer in your air fryer’s basket.
- Air fry for 10 minutes, flipping over halfway through.
- Repeat with remaining ravioli.
“Fried” Ravioli Baked in the Oven:
This version is not as crisp, but is an option if you don’t want to fry or have an air fryer.- Bread ravioli as directed.
- Preheat oven to 425°F and add an oven-safe rack on top of a baking sheet (this is the best way to do it), or line a baking sheet with foil or parchment paper.
- Spray ravioli with nonstick cooking spray, and bake for 10-15 minutes. If baking on a rack, there’s no need to flip them over. If baking on foil or parchment, flip them over halfway through.
Nutrition Disclaimer
The Chunky Chef is not a dietician or nutritionist, and any nutritional information shared is an estimate. If calorie count and other nutritional values are important to you, we recommend running the ingredients through whichever online nutritional calculator you prefer. Calories can vary quite a bit depending on which brands were used.
Georgia says
I can’t wait to make these for my daughters get together birthday party! They look delicious 😋
Cindy says
I made this the other night. We absolutely loved it! I followed the recipe as written. The raviolis were crispy and very well seasoned. Got really rave reviews from hubby. This is awesome! I will definitely make this again.
Cindy says
I don’t usually rate recipes, but I had to this time. My husband and I both thought this was awesome! I followed the recipe as written. The raviolis turned out crispy and very well seasoned. I will definitely make this again! Thank you for sharing the recipe.
nacho says
Pathetic, firstly there is no such thing as italian panko, secondly i worked as head pasta maker for a bunch of sicilians and every time we had pan fried ravs for lunch they were closer to pot stickers than this crumbed yank sh*t that you are putting out, and also make your’e own rav, it’s an insult to good pasta using that frozen mass produced crap you find in a supermarket. I love american food but it’s people like you who give it’s stereotypical view i’ts sh*ft by using frozen mass produced crap and then crumb it and deep fry it, hint if you are going to put two inches of oil into a dutch oven you might as well use a deep fryer.
The Chunky Chef says
Oh Nacho… wake up on the wrong side of the bed today? Or this just your sparkling personality? I’m not going to argue with you about how this isn’t an authentic recipe, that of course you can make your own ravioli (I do it often actually), etc. Perhaps you should start your own recipe website so you can share your vast and worldly culinary knowledge with the rest of us mere mortals. Oh and just a hint, it costs absolutely nothing to be a kind human being. Best of luck and please have the day you deserve 🙂
Babaganoosh says
Keep up the great work girl!!!
Babaganoosh says
You are a jerk. That is all.
Barber says
You know, I see recipes online all the time that i do not like or would not eat so you know what I do? I keep scrolling. I don’t spew hate or make others feel bad for things they like. You are a pathetic human being nacho idiot.
Kellbell says
This was pretty awesome i make all your recipes exactly as written the first time and see if I need to adjust. This was very good I made double and they were extra crispy (and a little chewy but I couldn’t find a good brand so I attribute that to that factor) really easy and very filling.
I do want add (not for this instance) but I do wish you would include what temp to keep the pan on the next step. Many of your recipes don’t include the temp after removing meat from you pan and continuing on or on next steps. I’ve messed up a few because I suspect I should’ve lowered the temp. Thank you so much your recipes are really fantastic, I’ve made so many and only didn’t care for 3 which I Chalk up to the operator lol